

Appearance
Collecting Recurring Payments
When your Spaces and Courses are private, you can charge for access — and with Paymattic you can charge on a recurring basis instead of a one-time fee. By adding a monetized Space or course to a Paymattic subscription form, members are billed automatically on the schedule you set. This guide shows you how.
Use Case: You run a paid membership community and want members to pay monthly for access to your private "Pro Members" Space. A Paymattic subscription form bills them each month and keeps their access active for as long as the subscription is live.
✨ Note: Before you start, make sure your Space or course is already monetized through Paymattic. See Monetizing with Paymattic for the full setup.
Add a Monetized Space or Course to a Paymattic Subscription Form
To collect recurring payments, you connect the Space or course to a Paymattic subscription form.
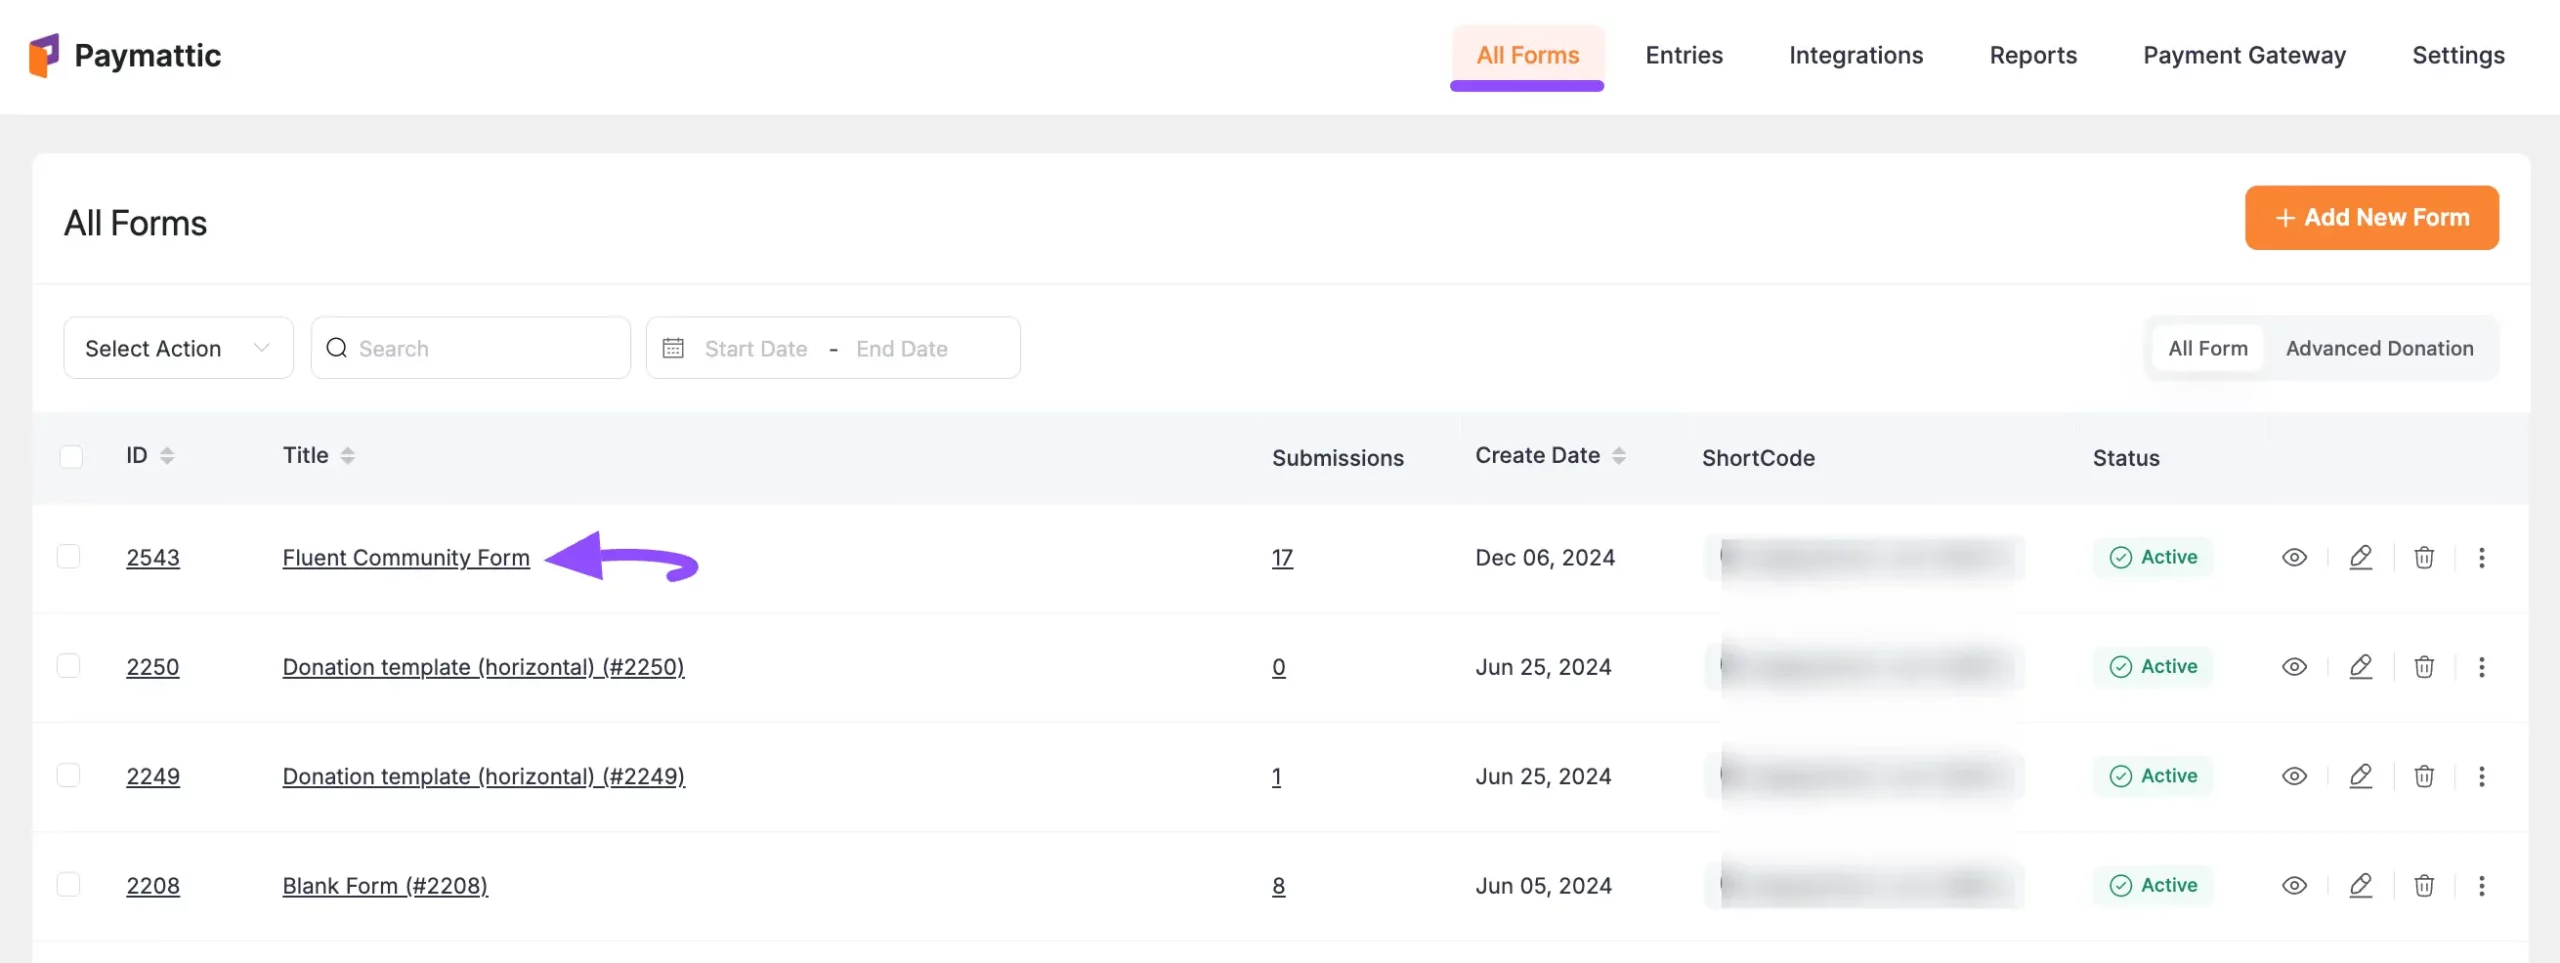
Go to your Paymattic Dashboard, open All Forms, and select the Subscription Form you want to use.
✨ Note: If you don't have a subscription form yet, create one in Paymattic first, then come back here.
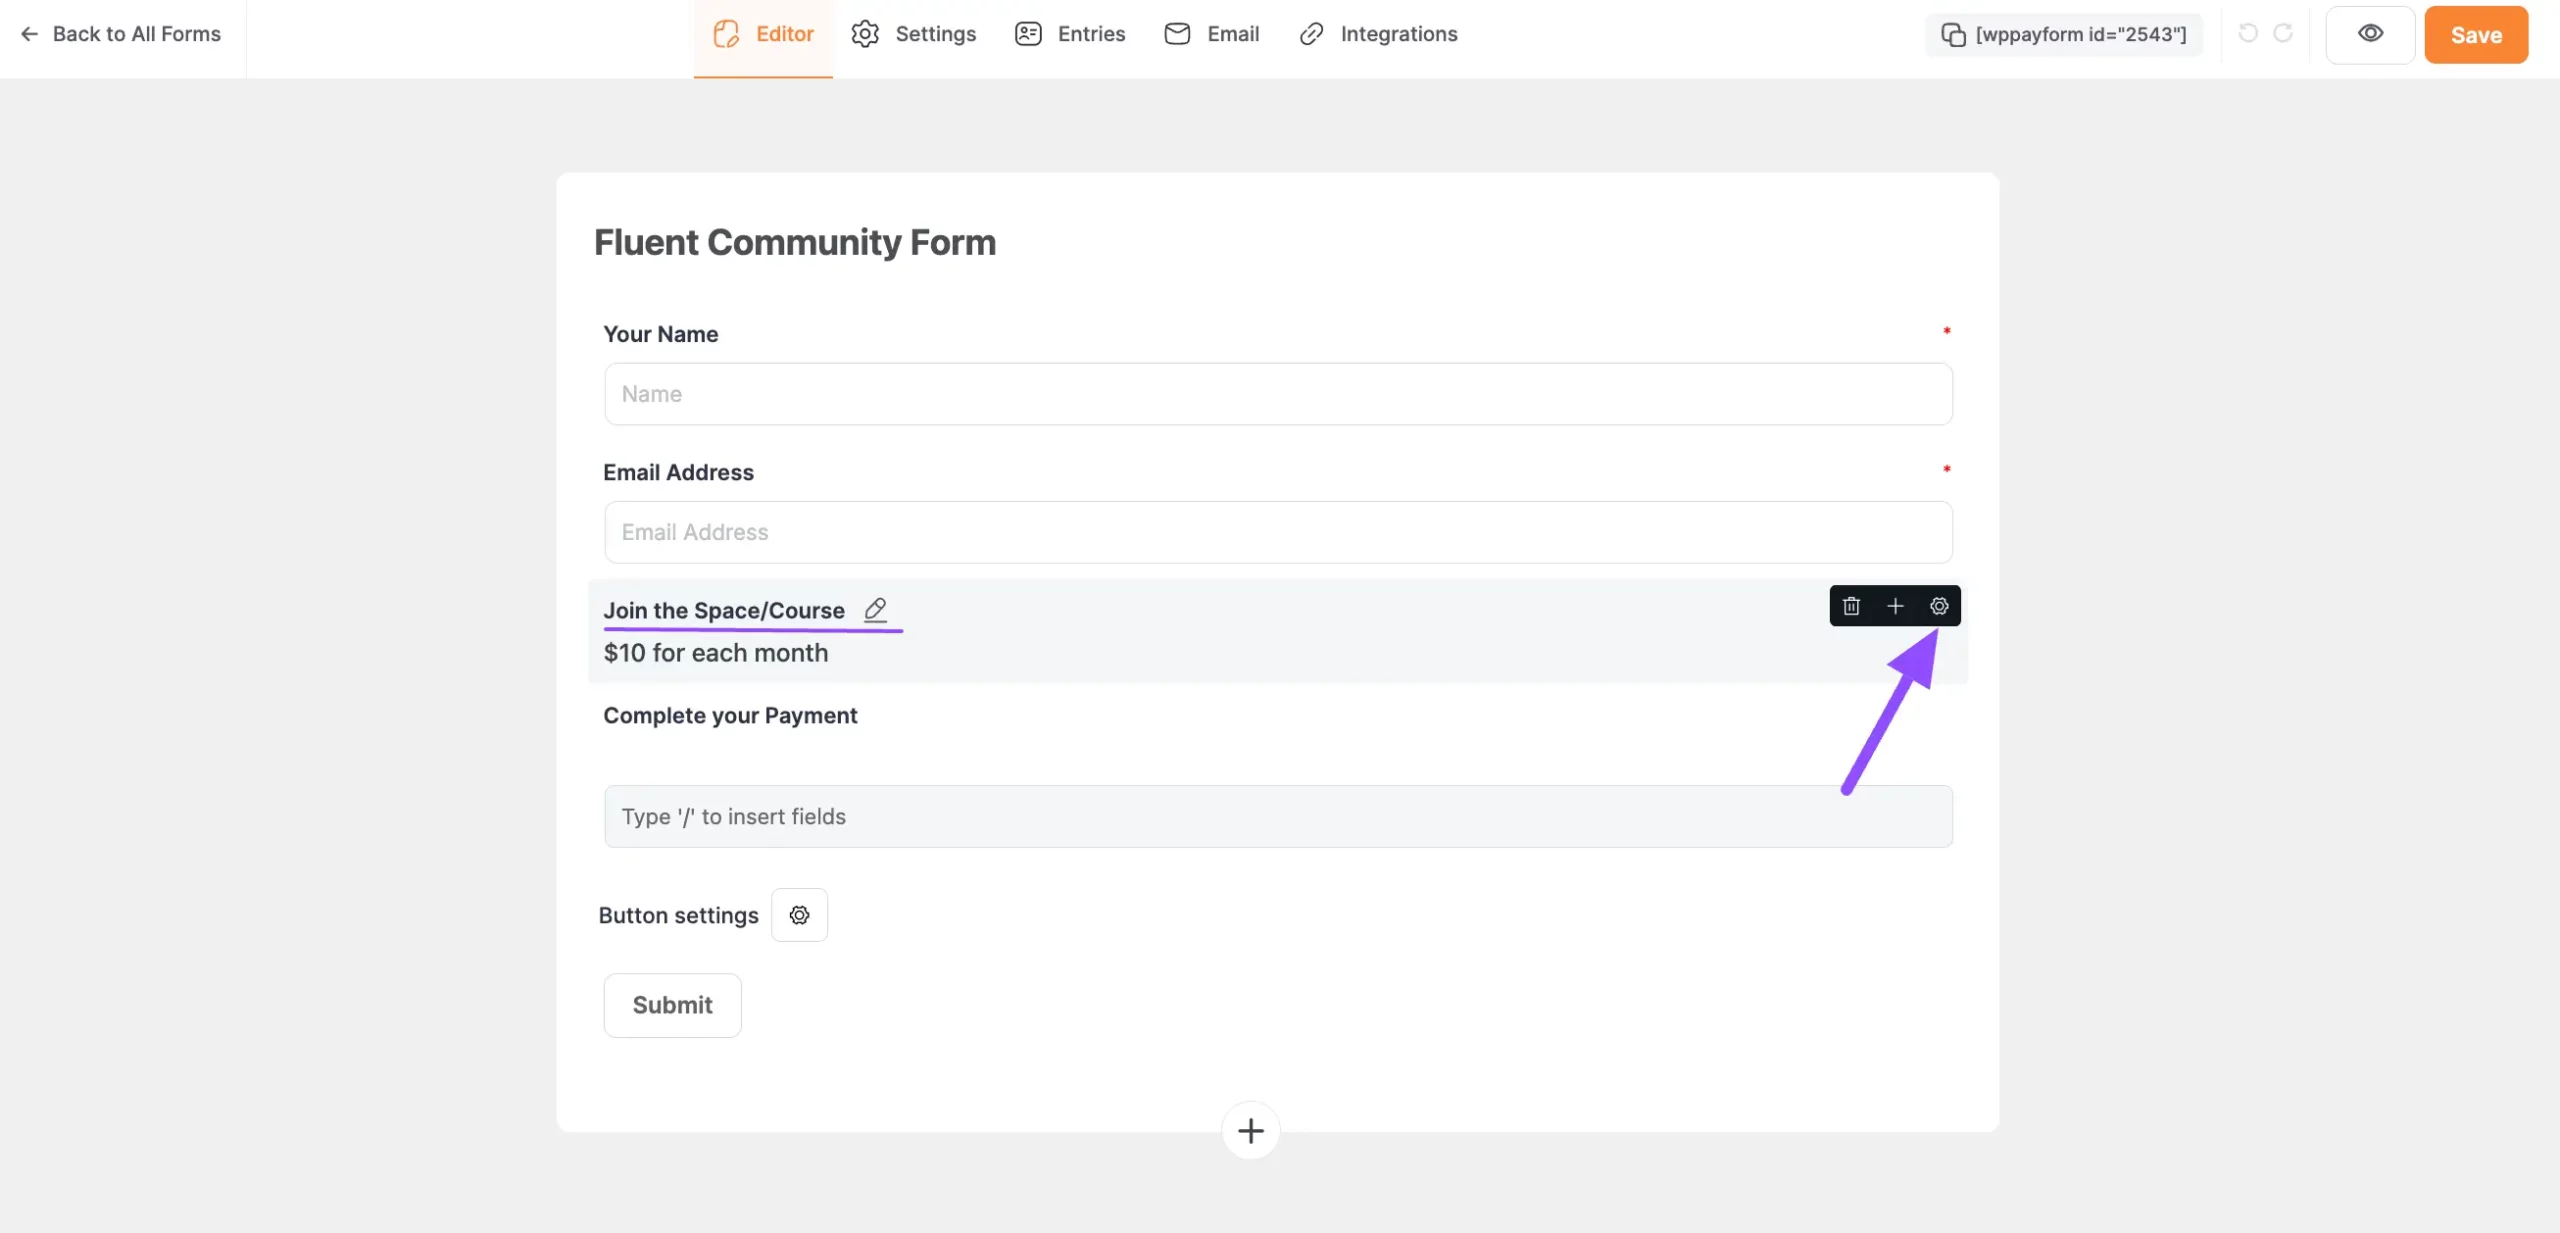
On the Editor page, you'll see the Subscription Item field already in place. Adjust its settings anytime with the Settings Icon on the right.
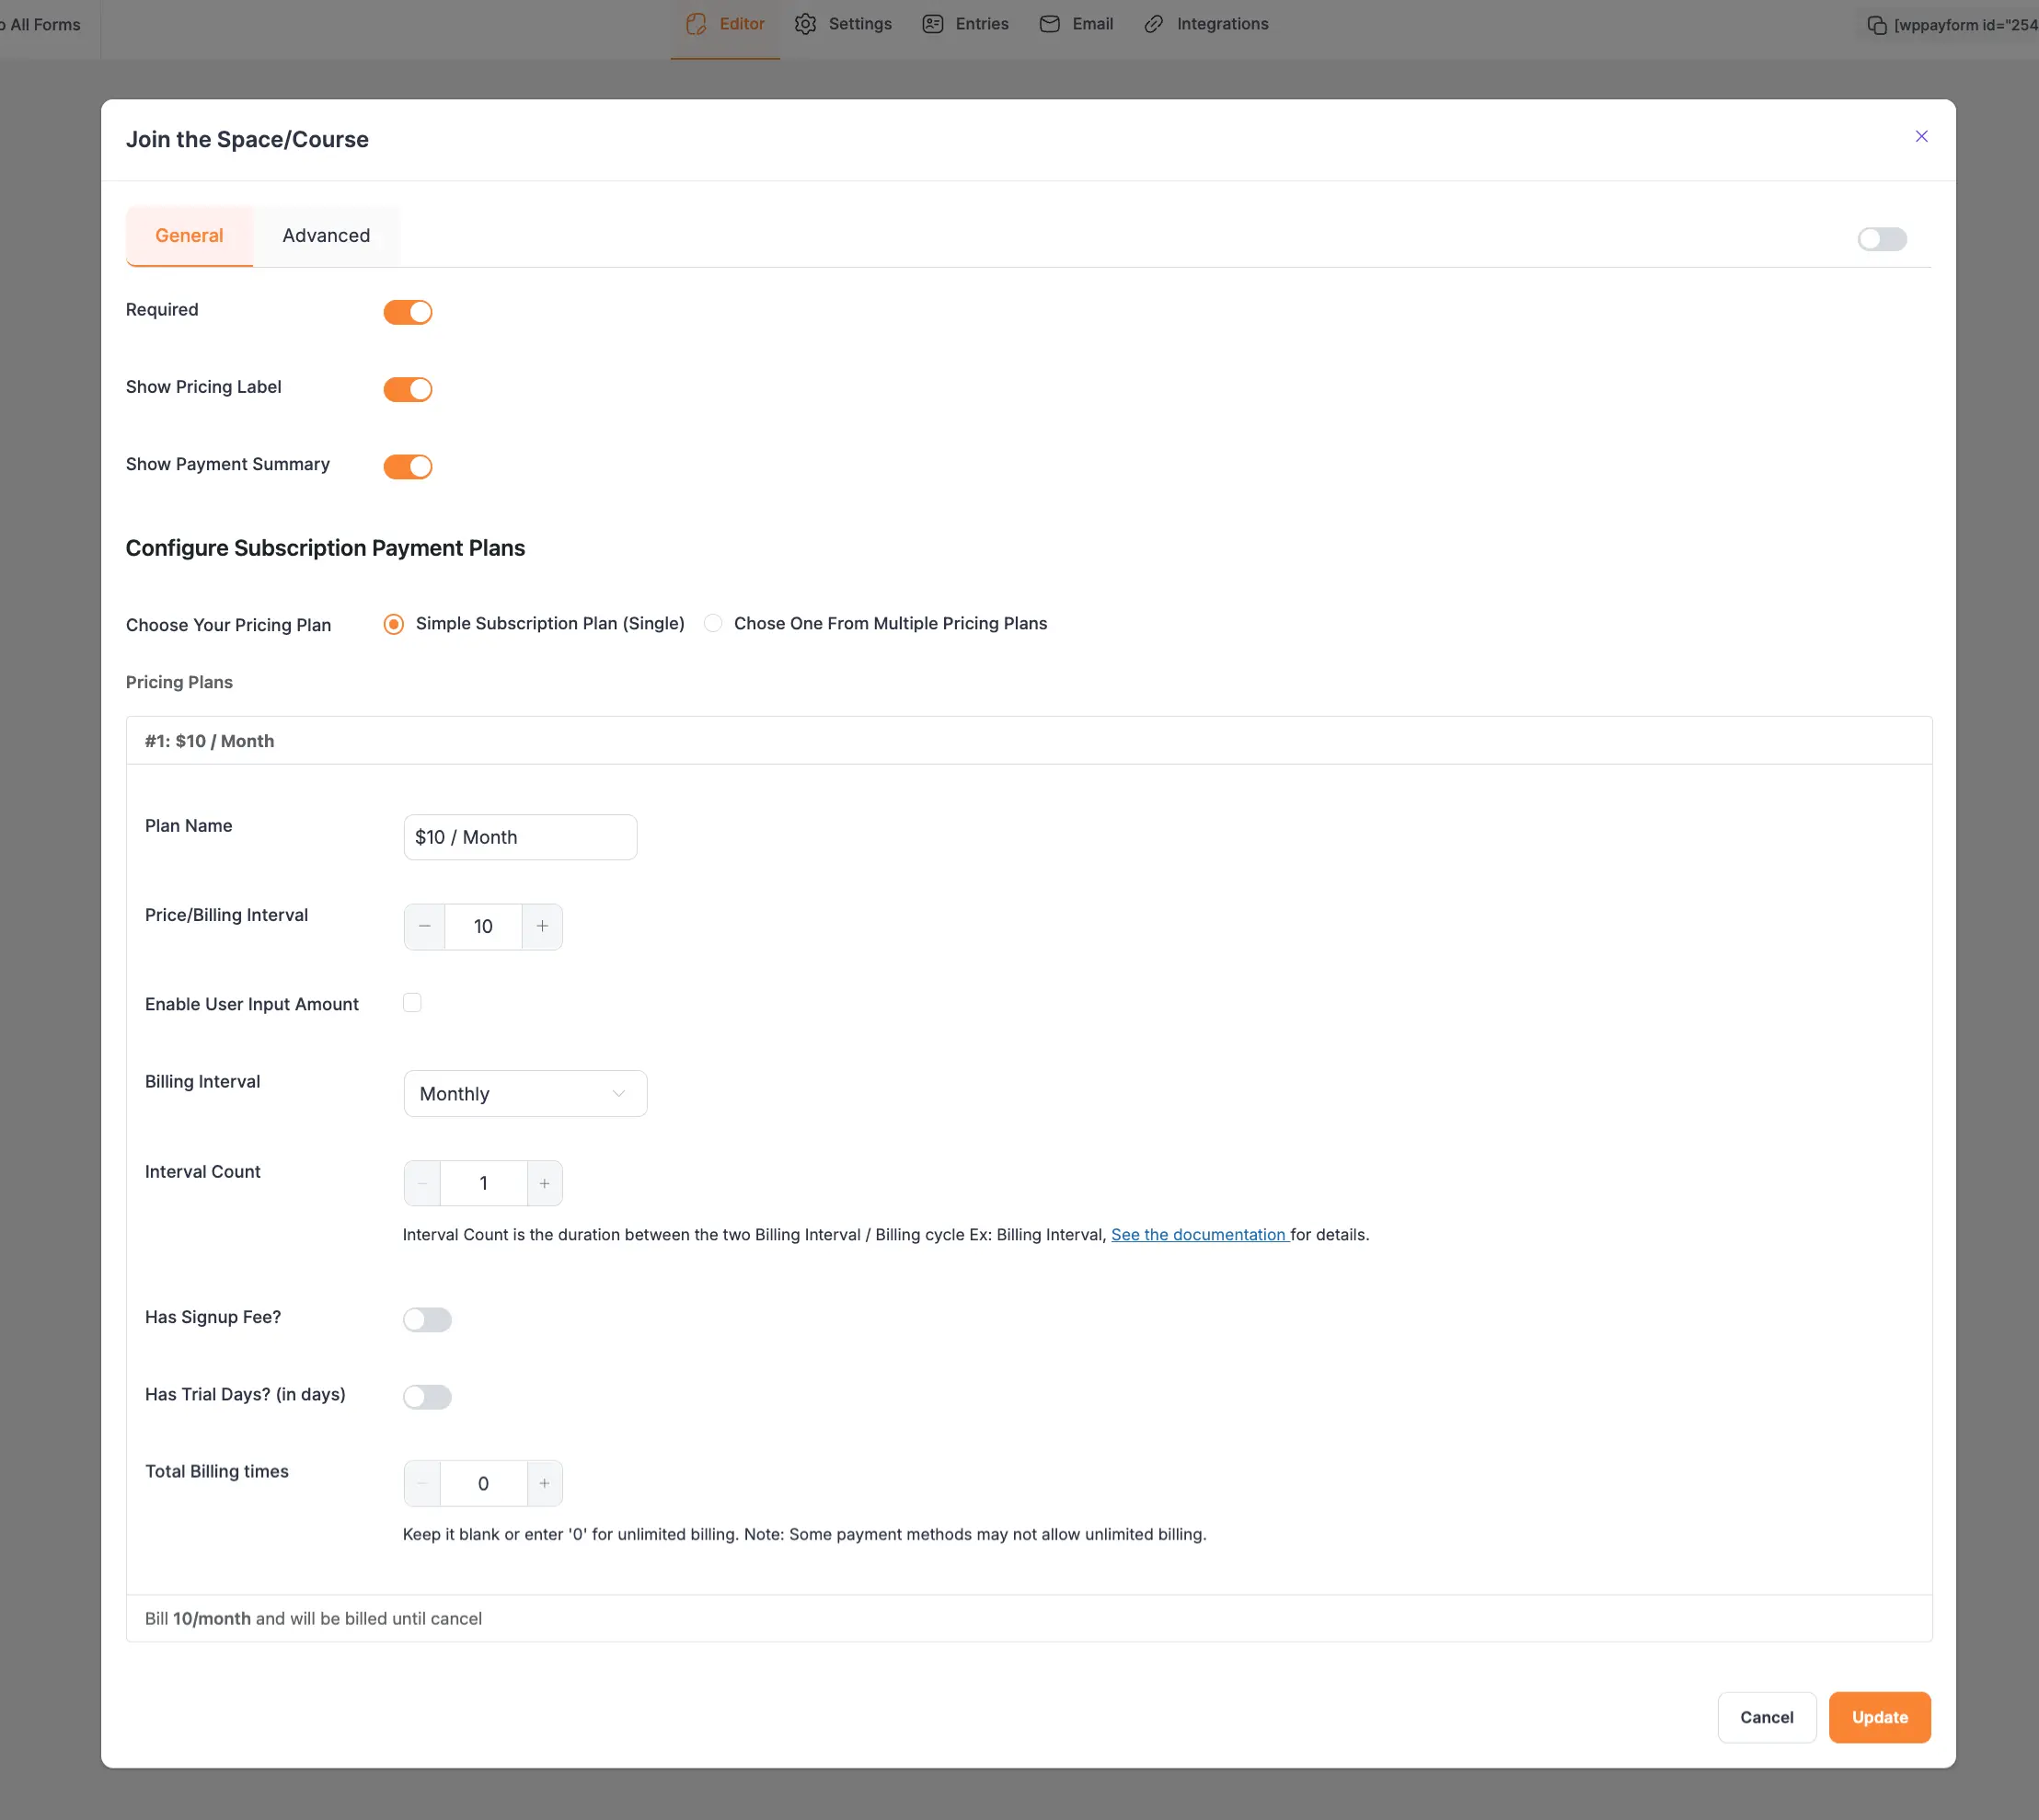
Click Settings to configure your subscription payment plans. For a full breakdown of every option, see the Paymattic subscription field documentation.
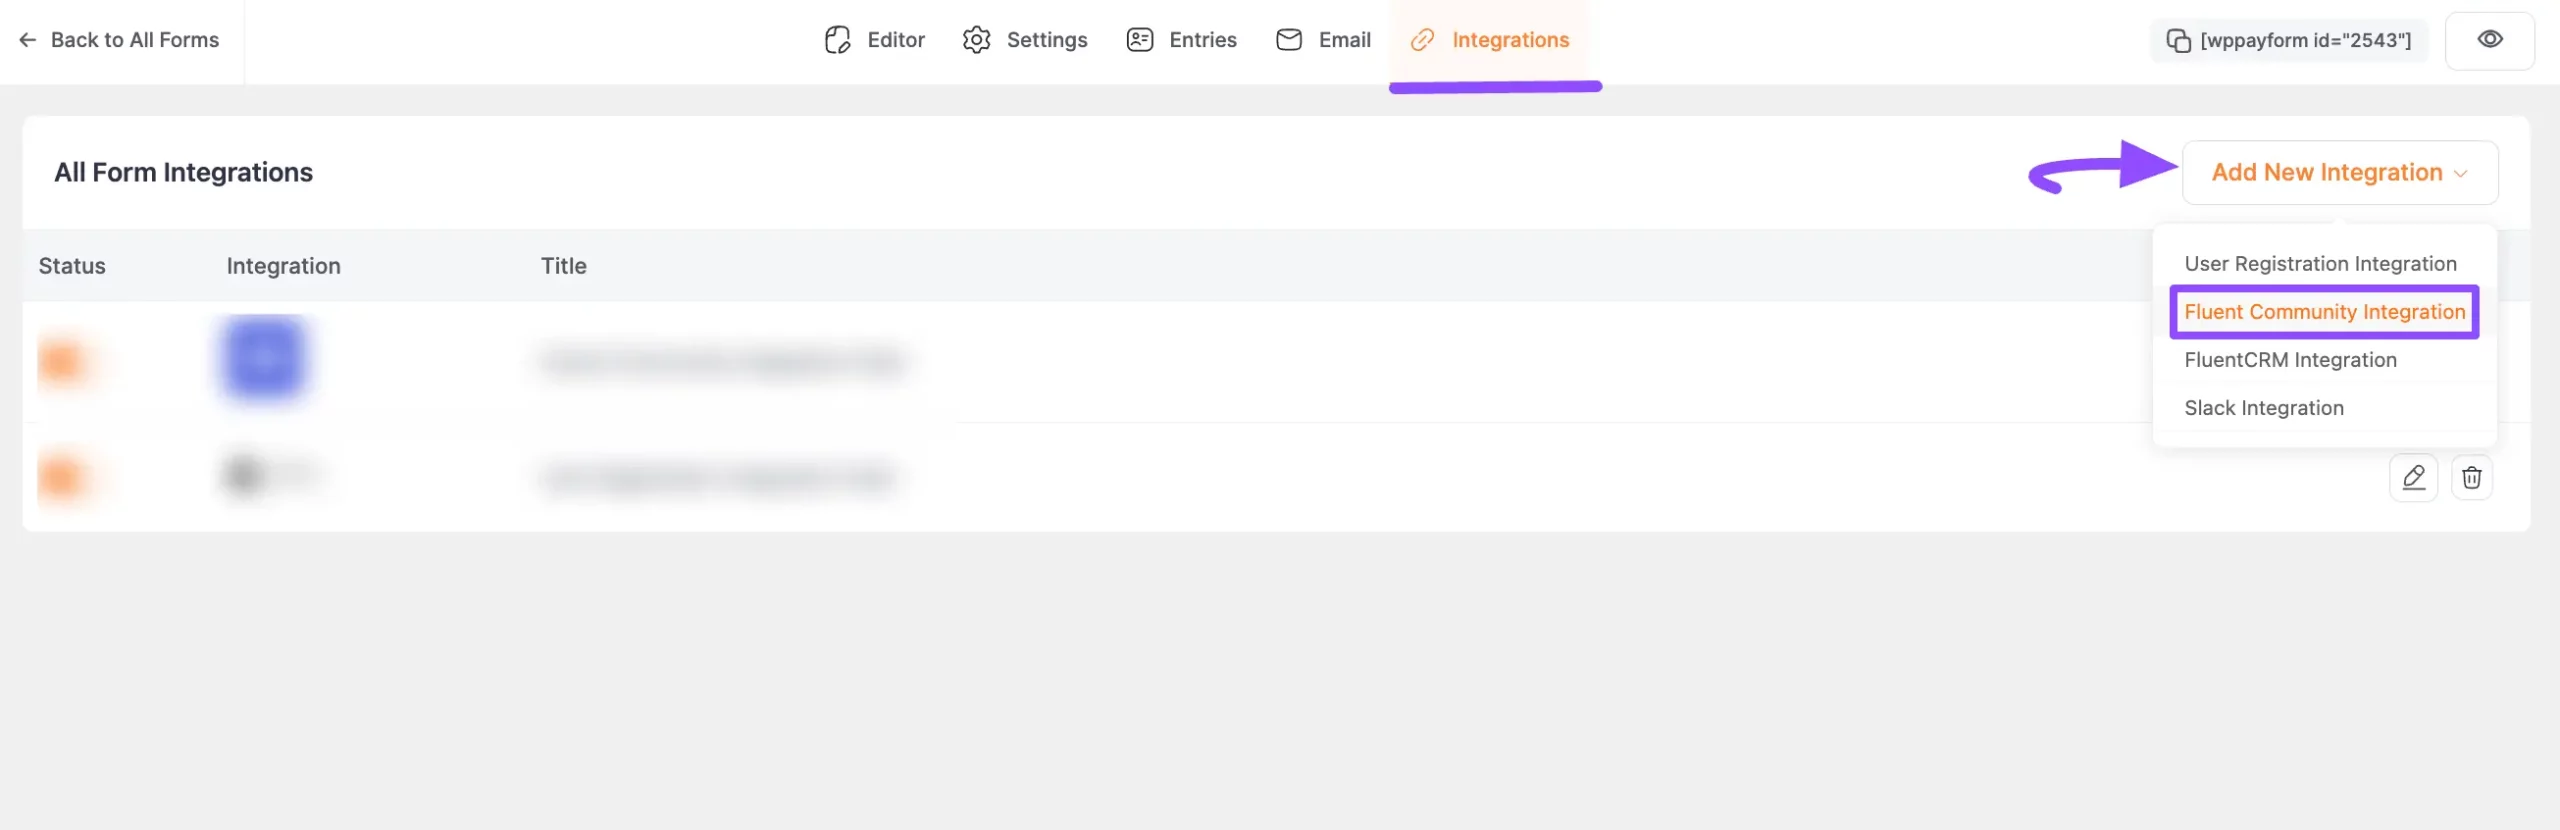
With the subscription field set up, open the Integrations tab, expand the Add New Integration dropdown, and add the FluentCommunity Integration.
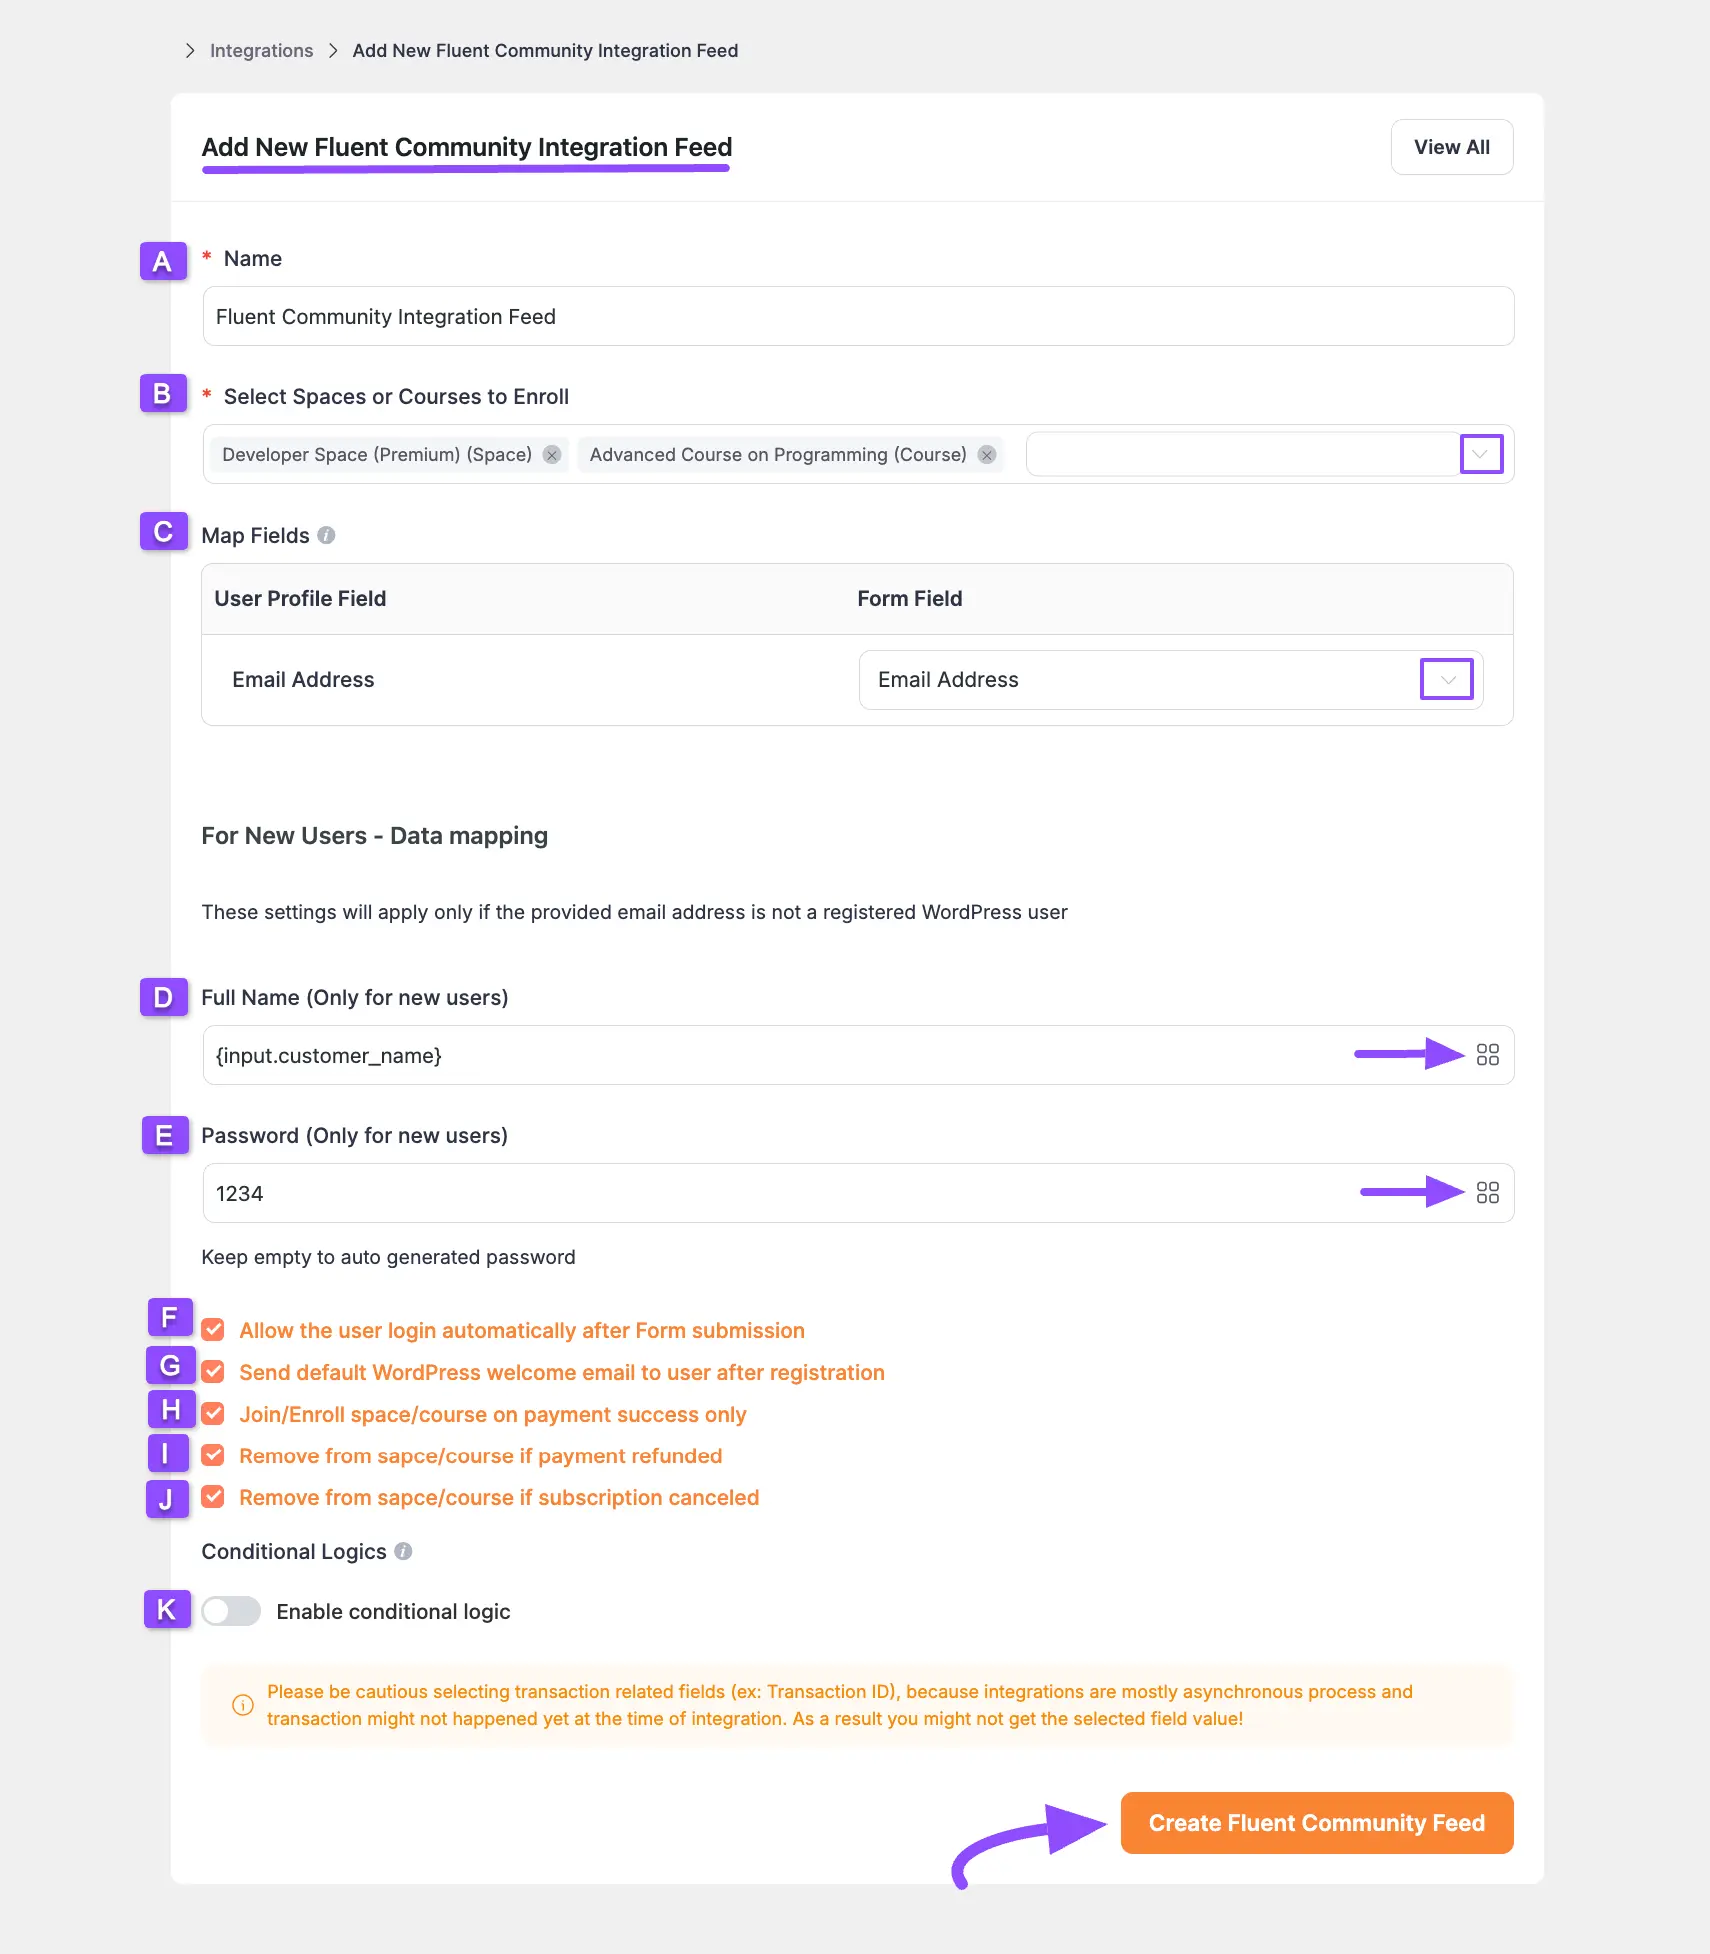
A settings popup appears for configuring FluentCommunity. Here's what each option does:
- Name: A label for the feed.
- Select Spaces or Courses to Enroll: Choose one, several, or all Spaces and courses that subscribers should be added to immediately after form submission.
- Email Address: Select the field to use as the user's email address.
- Full Name (Only for new users): Use the
{input.customer_name}shortcode via the ShortCode Icon. - Password (Only for new users): Set a fixed password for every new user, or leave it empty to auto-generate one per user.
- Allow the user login automatically after Form submission: Logs the user into their Paymattic User Dashboard right after submitting.
- Send default WordPress welcome email to a user after registration: Sends a welcome email with login details and a password-reset option.
- Join/Enroll space/course on payment success only: Enrolls users only after payment succeeds. Leave it unchecked and users get access without a successful payment.
- Remove from space/course if payment refunded: Automatically removes users when a payment is refunded.
- Remove from space/course if subscription canceled: Automatically removes users when they cancel a subscription.
- Enable conditional logic: Set conditions on form submission. See the Paymattic conditional logic guide; this feature requires the Paymattic Pro plugin.
Once configured, click Create FluentCommunity Feed to add the feed.
Publish Your Paymattic Subscription Form
With your Space or course added, publish the subscription form and link its URL to the Lock Screen. For the publishing steps, see Monetizing with Paymattic.
Start Collecting Recurring Payments
Once the subscription form is published and its URL is linked to your Space or course, you're ready to collect recurring payments. Visitors see the Lock Screen with your CTA button pointing to the subscription form, and paying subscribers are enrolled and billed automatically on schedule.
For managing subscriptions afterward, Paymattic covers how to manage your subscriptions and how to cancel a subscription manually in its own documentation.