

Appearance
Monetizing With Paymattic
Paymattic is a WordPress plugin for building payment and donation forms, and it integrates directly with FluentCommunity. The approach mirrors the Fluent Forms flow: you set a Space or course to Private, add a custom Lock Screen with a Call to Action button, and point that button at a Paymattic form. When someone pays, the FluentCommunity integration enrolls them automatically.
Use Case: You sell access to a premium "Developer Space" and an "Advanced Programming" course. You build one Paymattic form that enrolls buyers into both, then link that form to each Lock Screen so paying customers get instant access.
Monetize a Space with Paymattic
Create or Edit a Space
Open the Space you want to monetize — either a new one or an existing one. For the full walkthrough on building a Space, see Creating a New Space.
Set the Space to Private
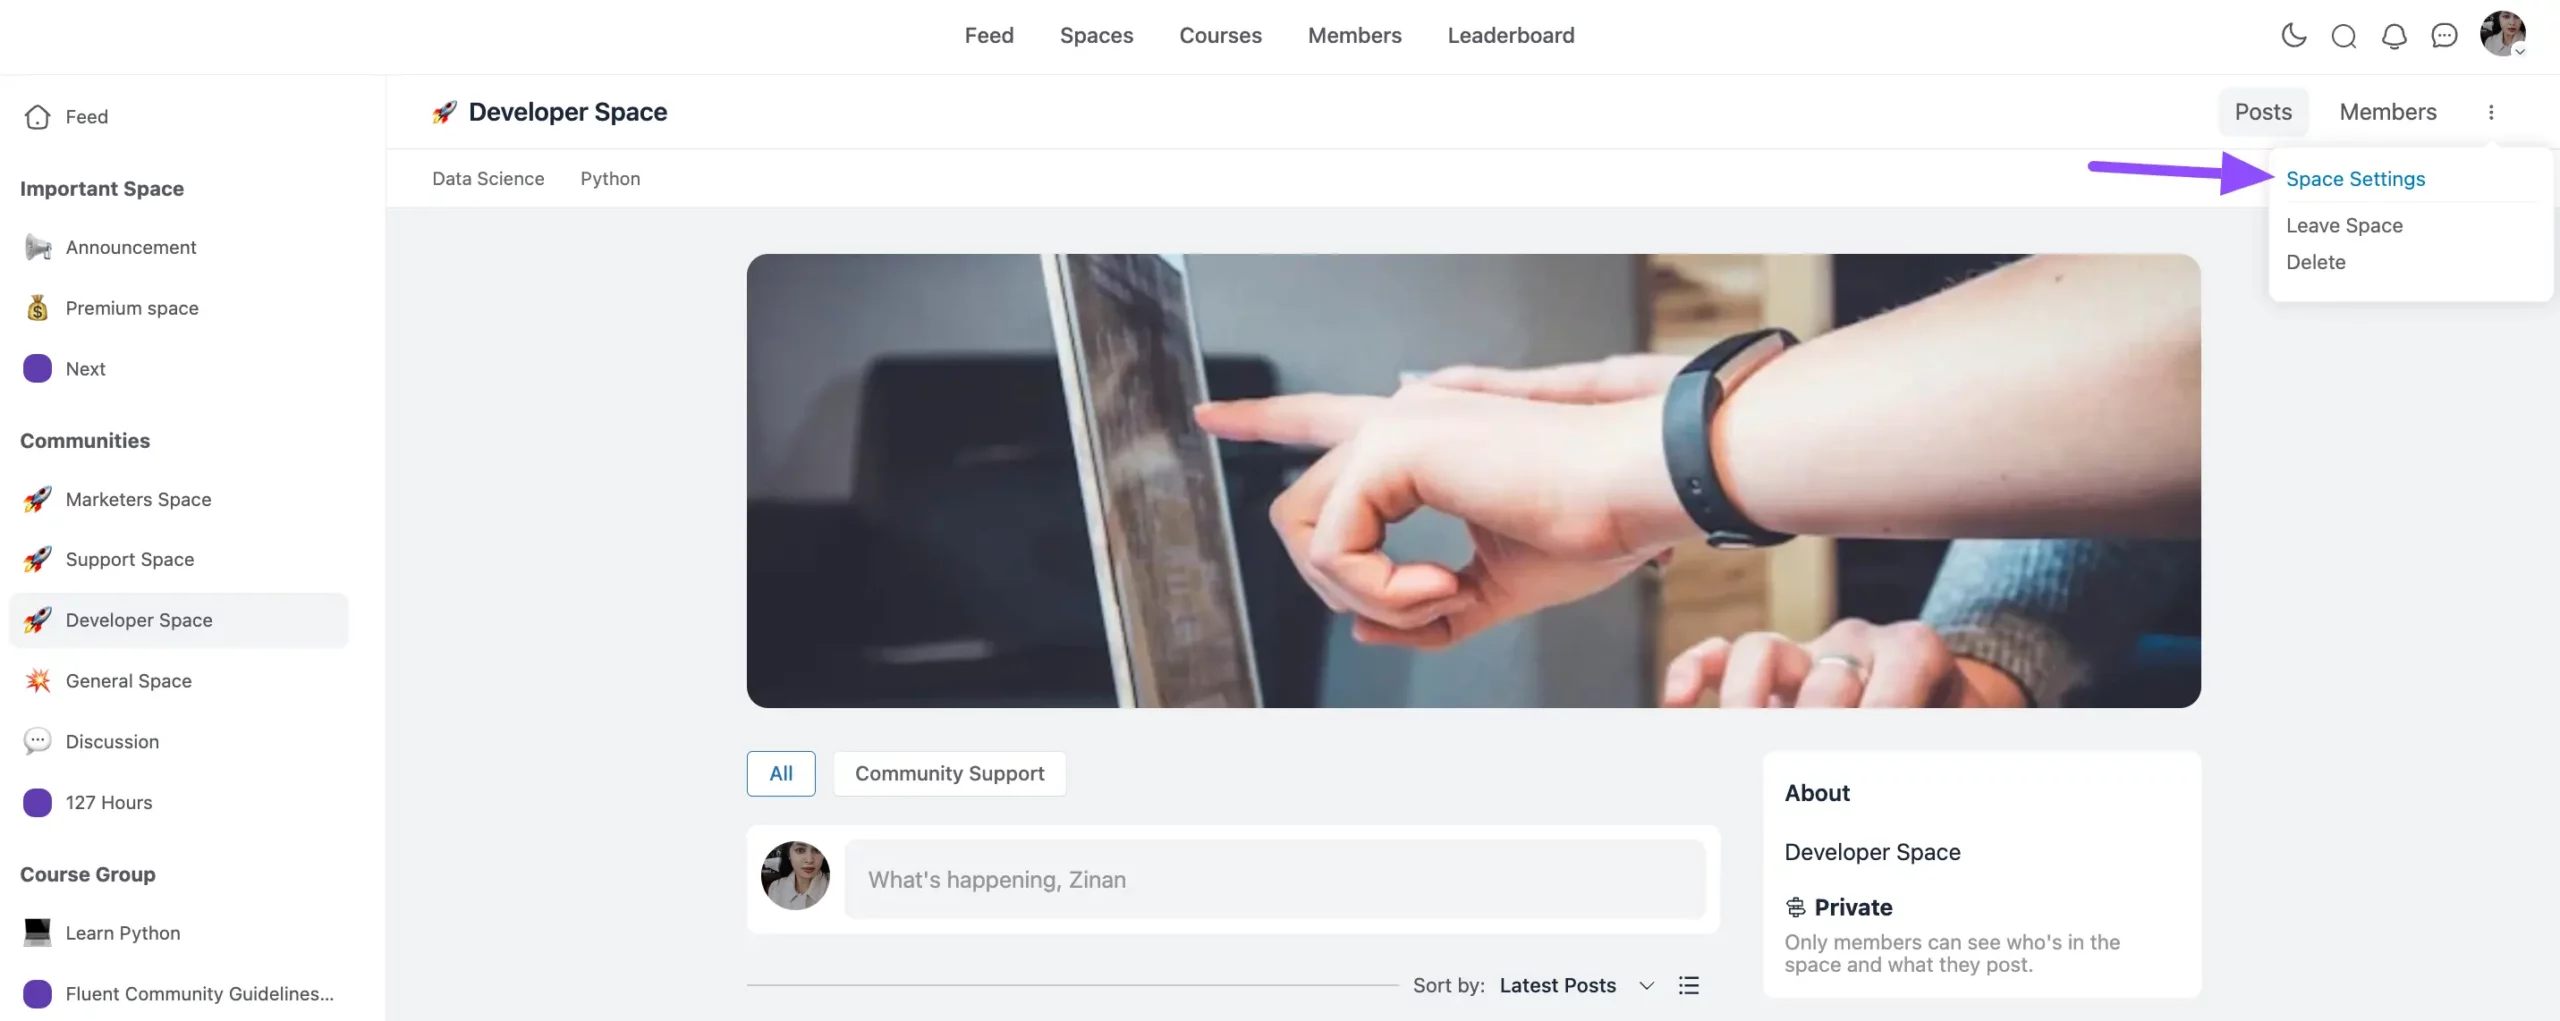
On the Space you want to monetize, click the three-dot button in the top-right corner and choose Space Settings.
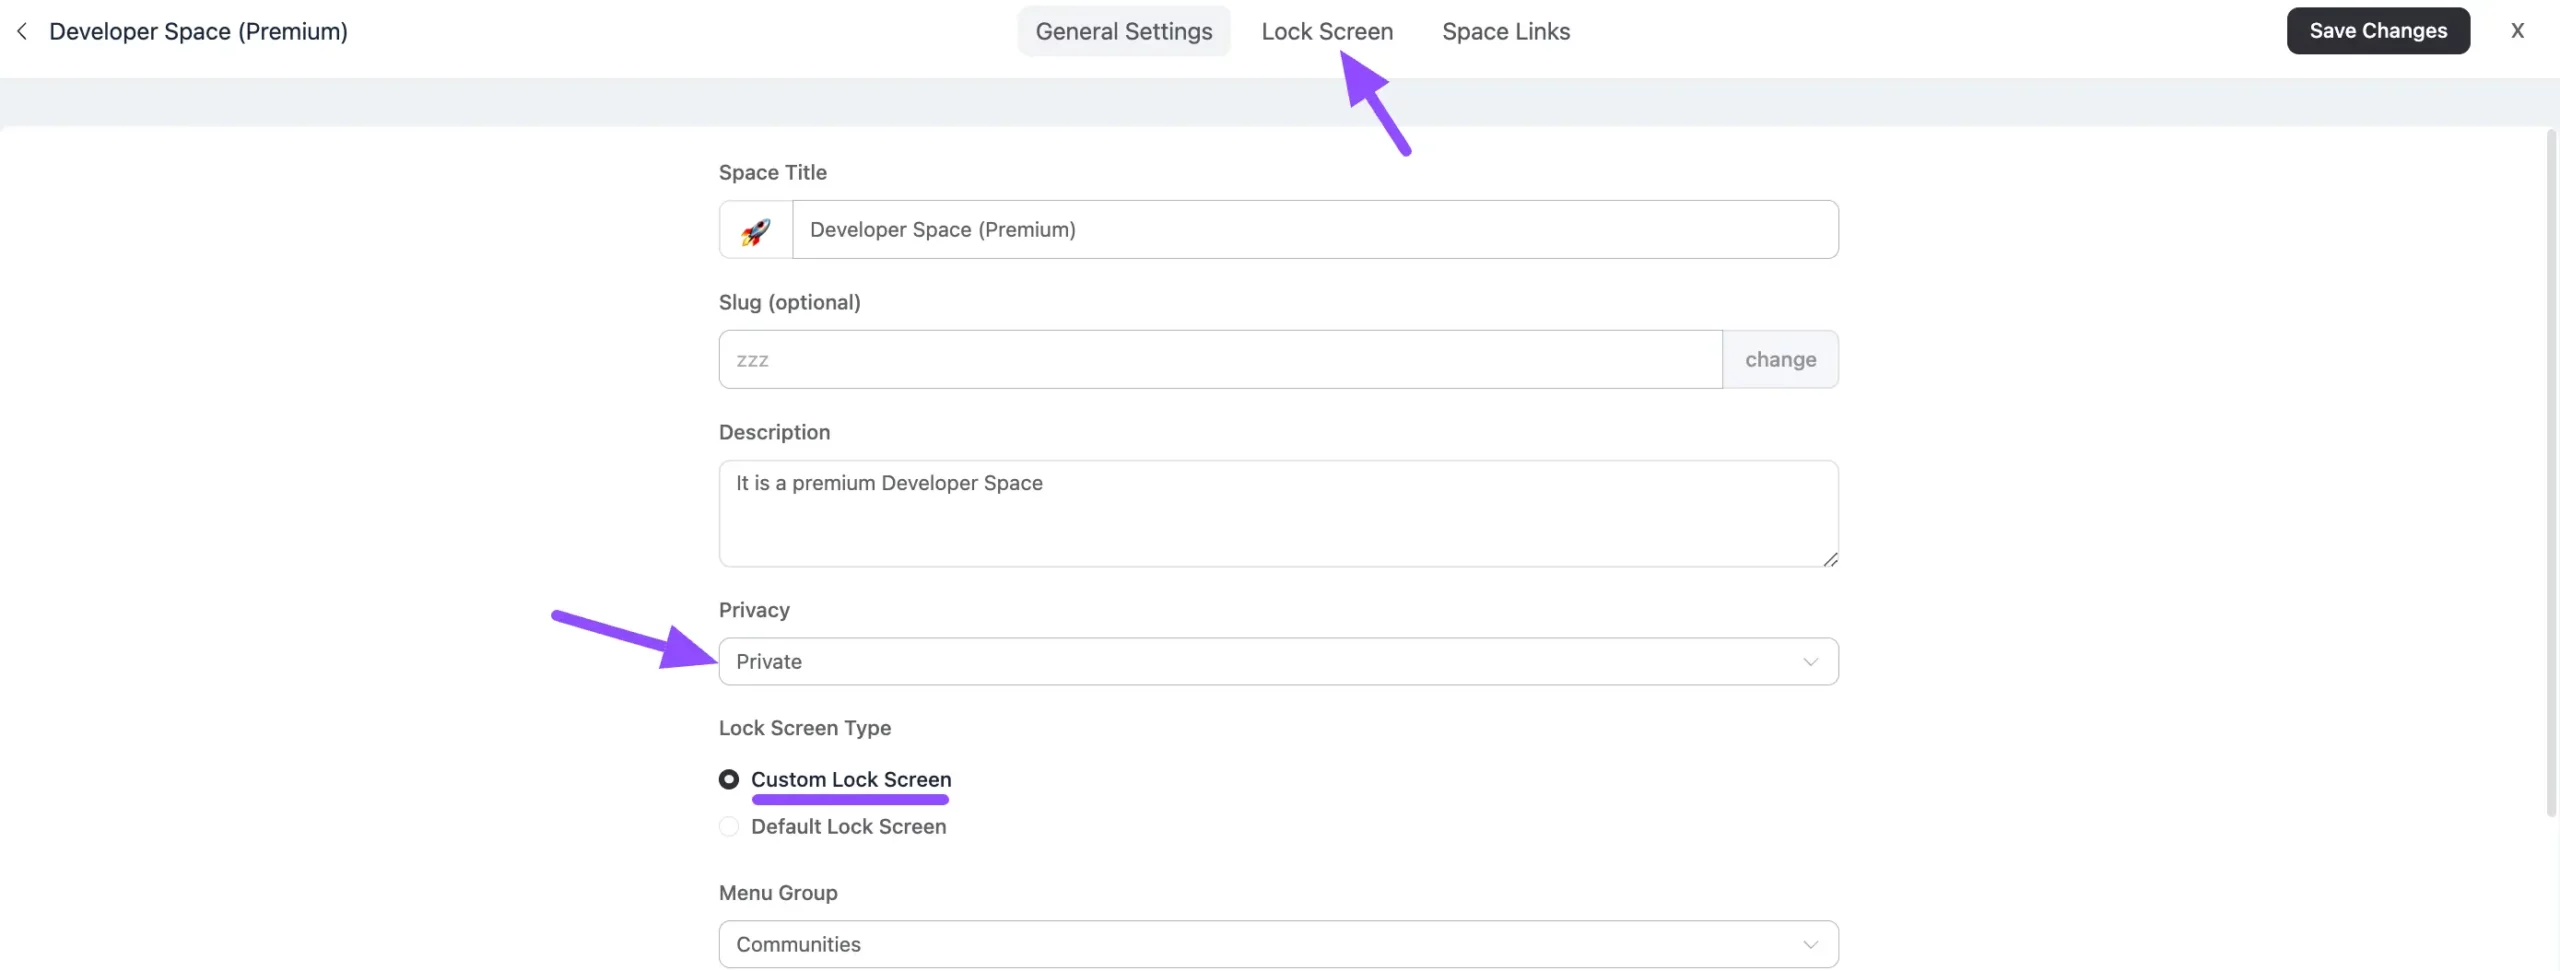
Set Privacy to Private and select Custom Lock Screen. The Custom Lock Screen option only appears once privacy is set to Private. Then click the Lock Screen option in the top menu.
Enable the Space Lock Screen
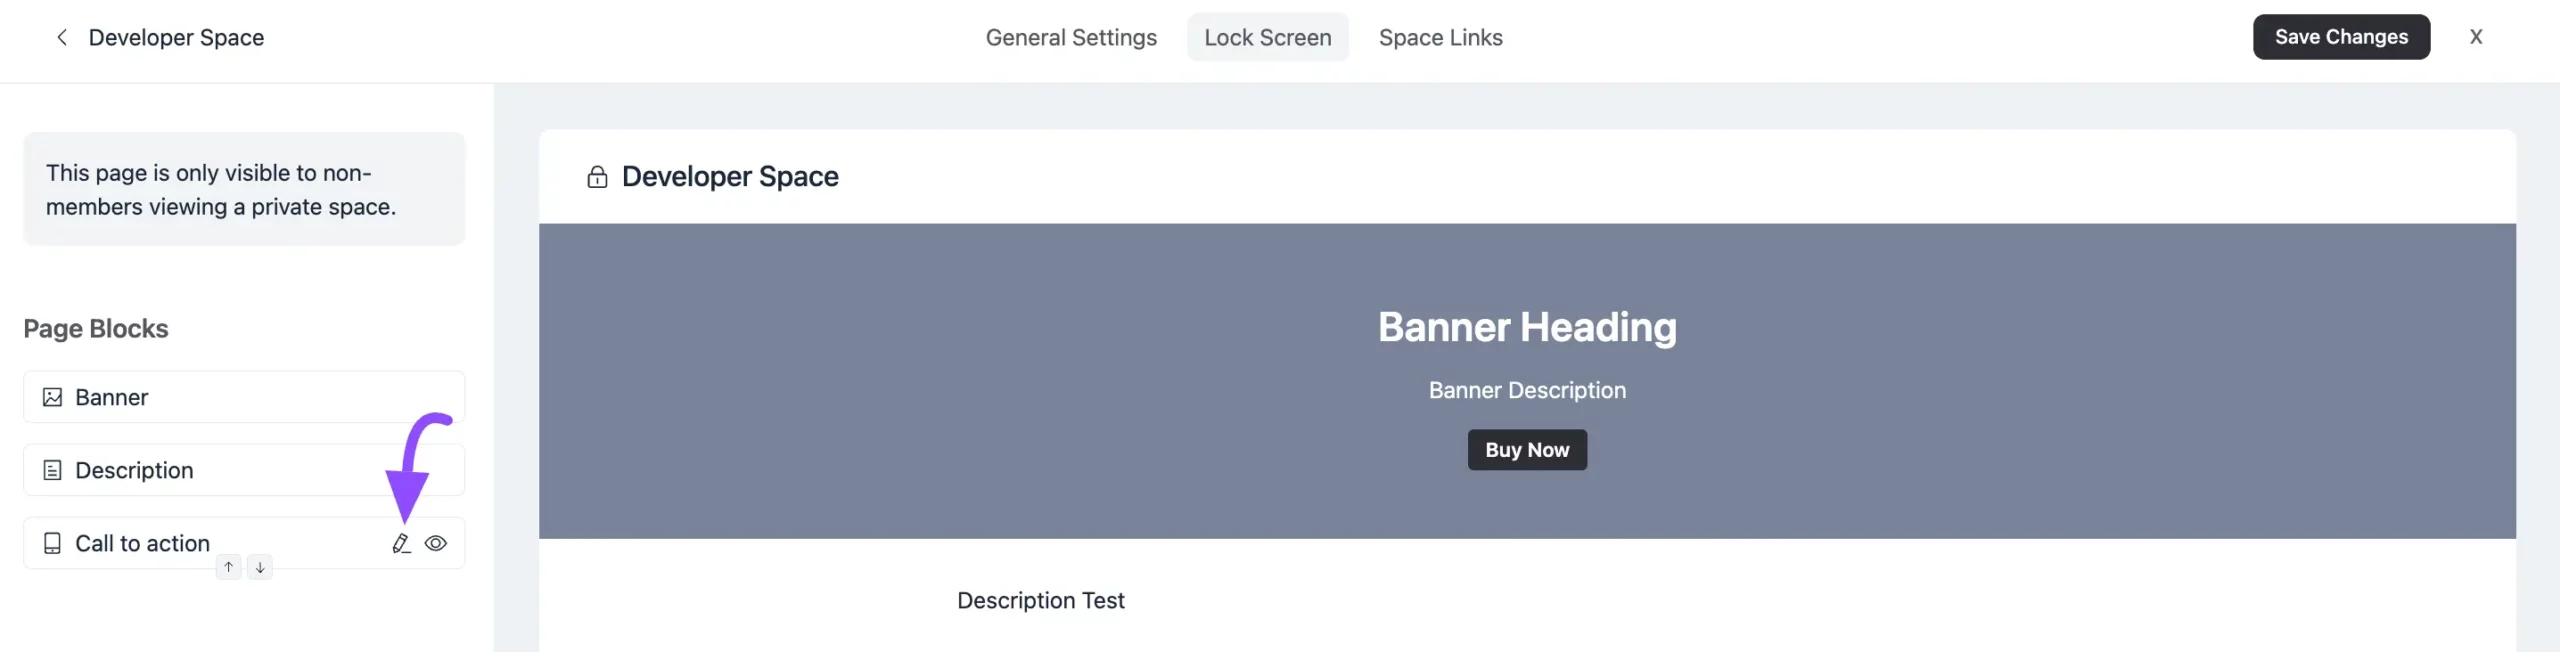
On the Lock Screen, open the Call to Action (CTA) editor by clicking the Pencil Icon in the left menu. For more on customizing the Lock Screen, see Space Settings & Privacy.
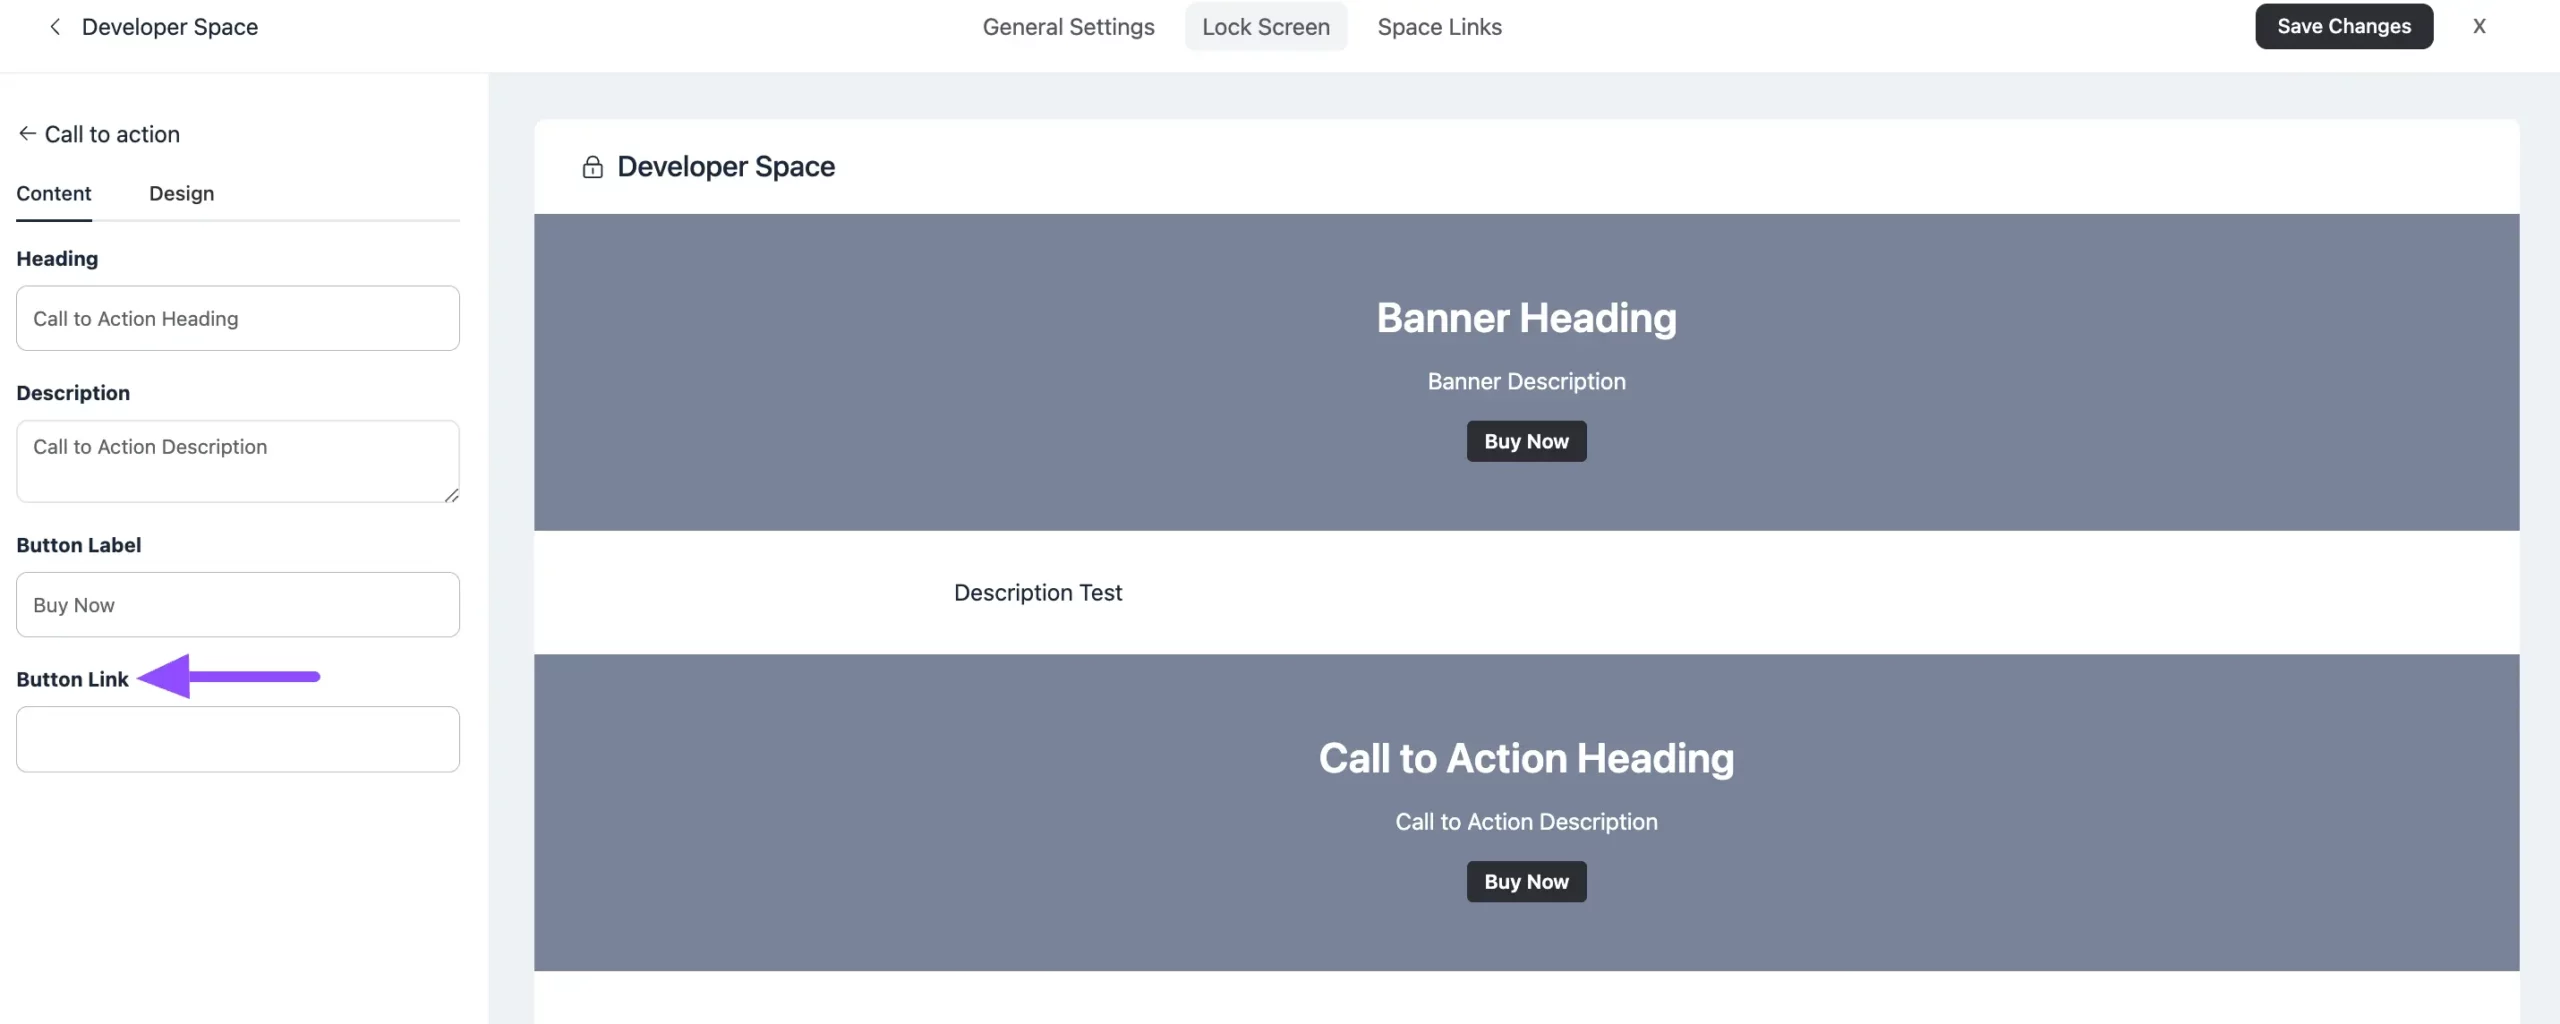
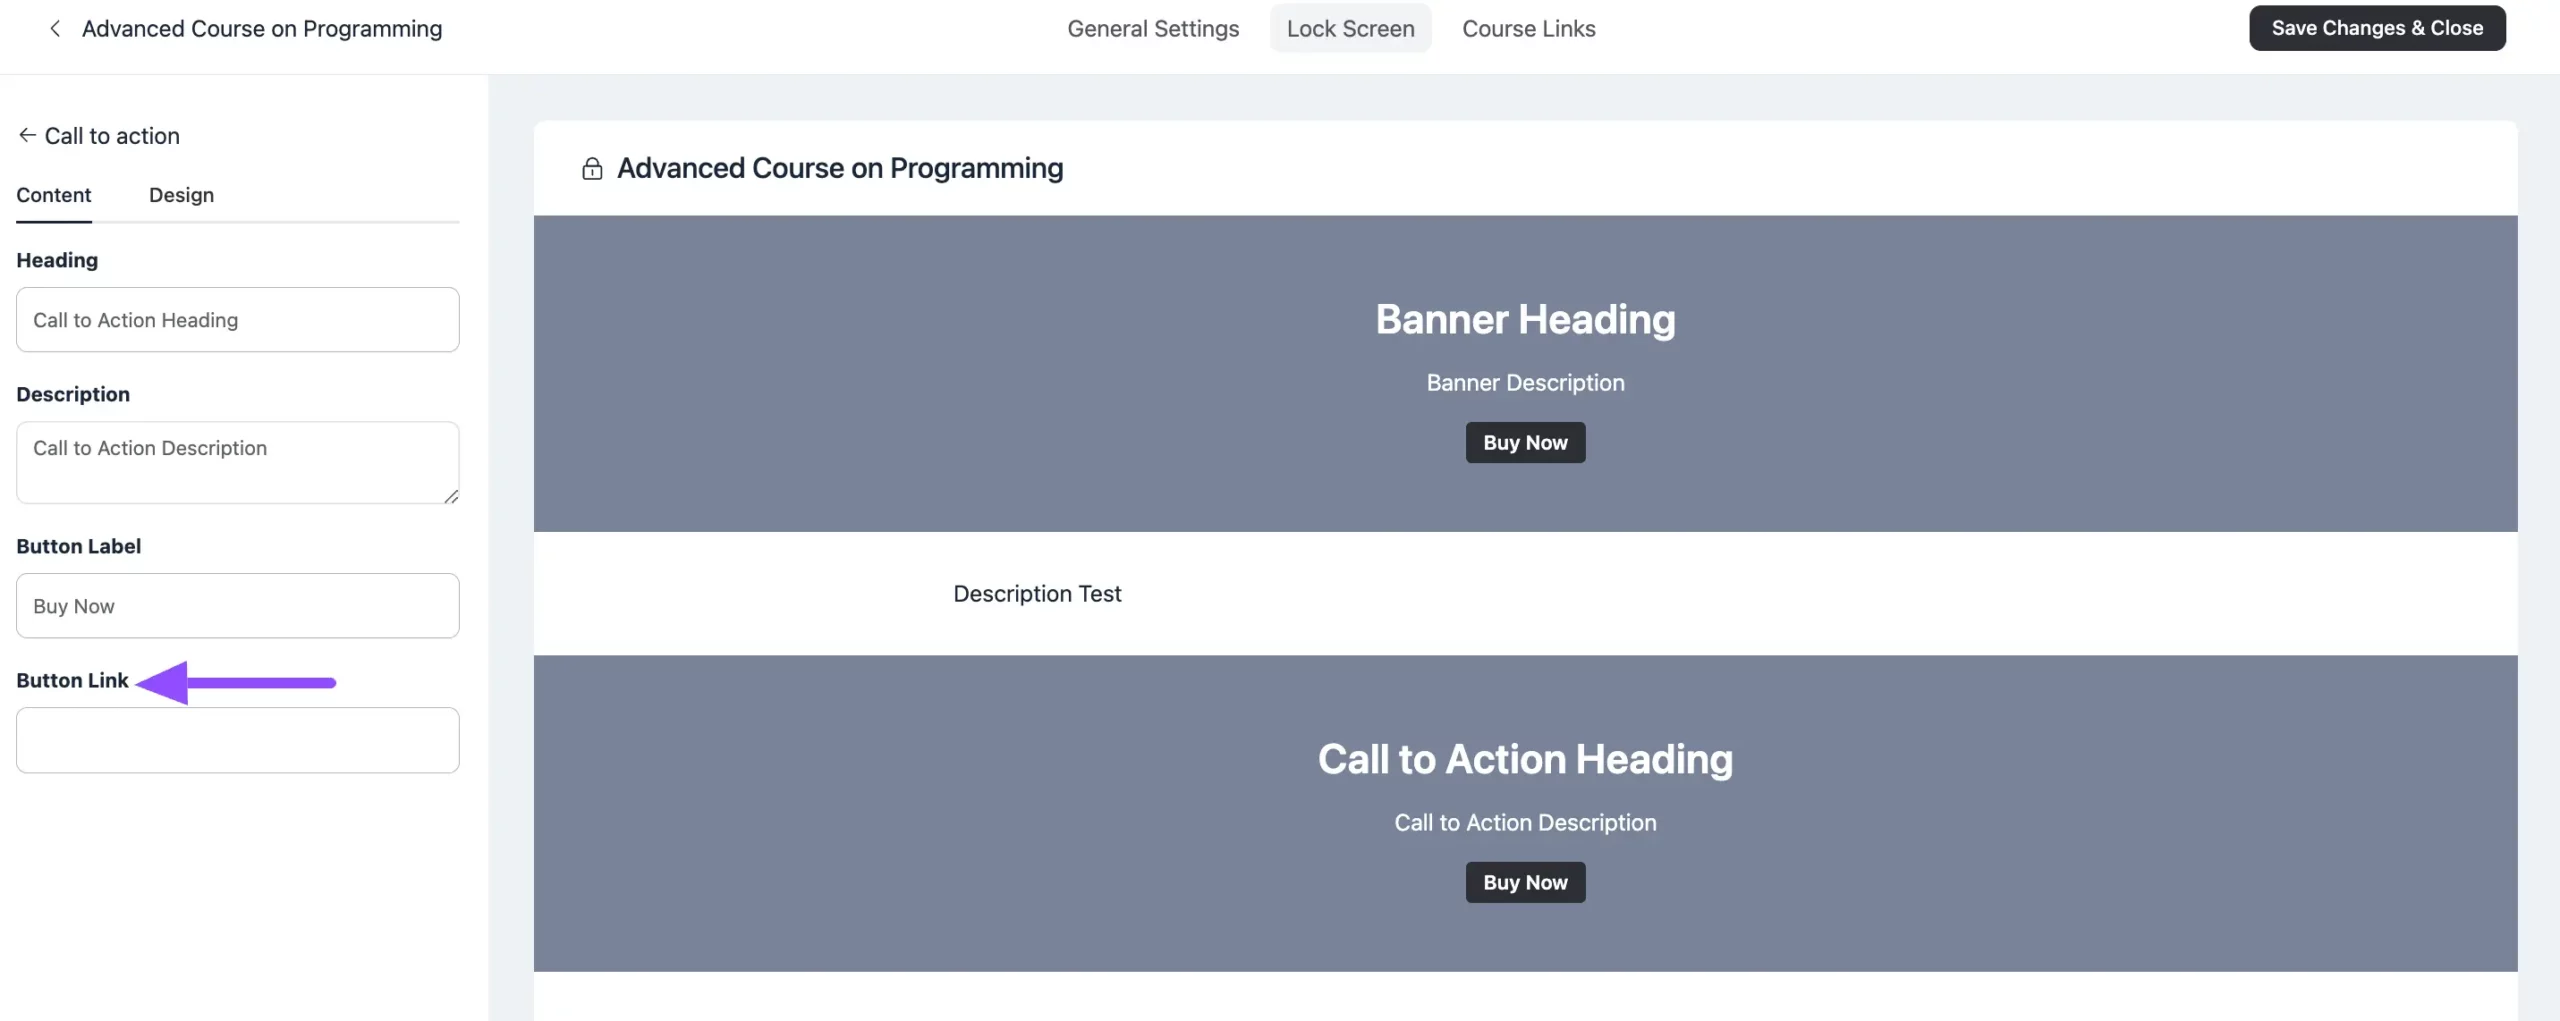
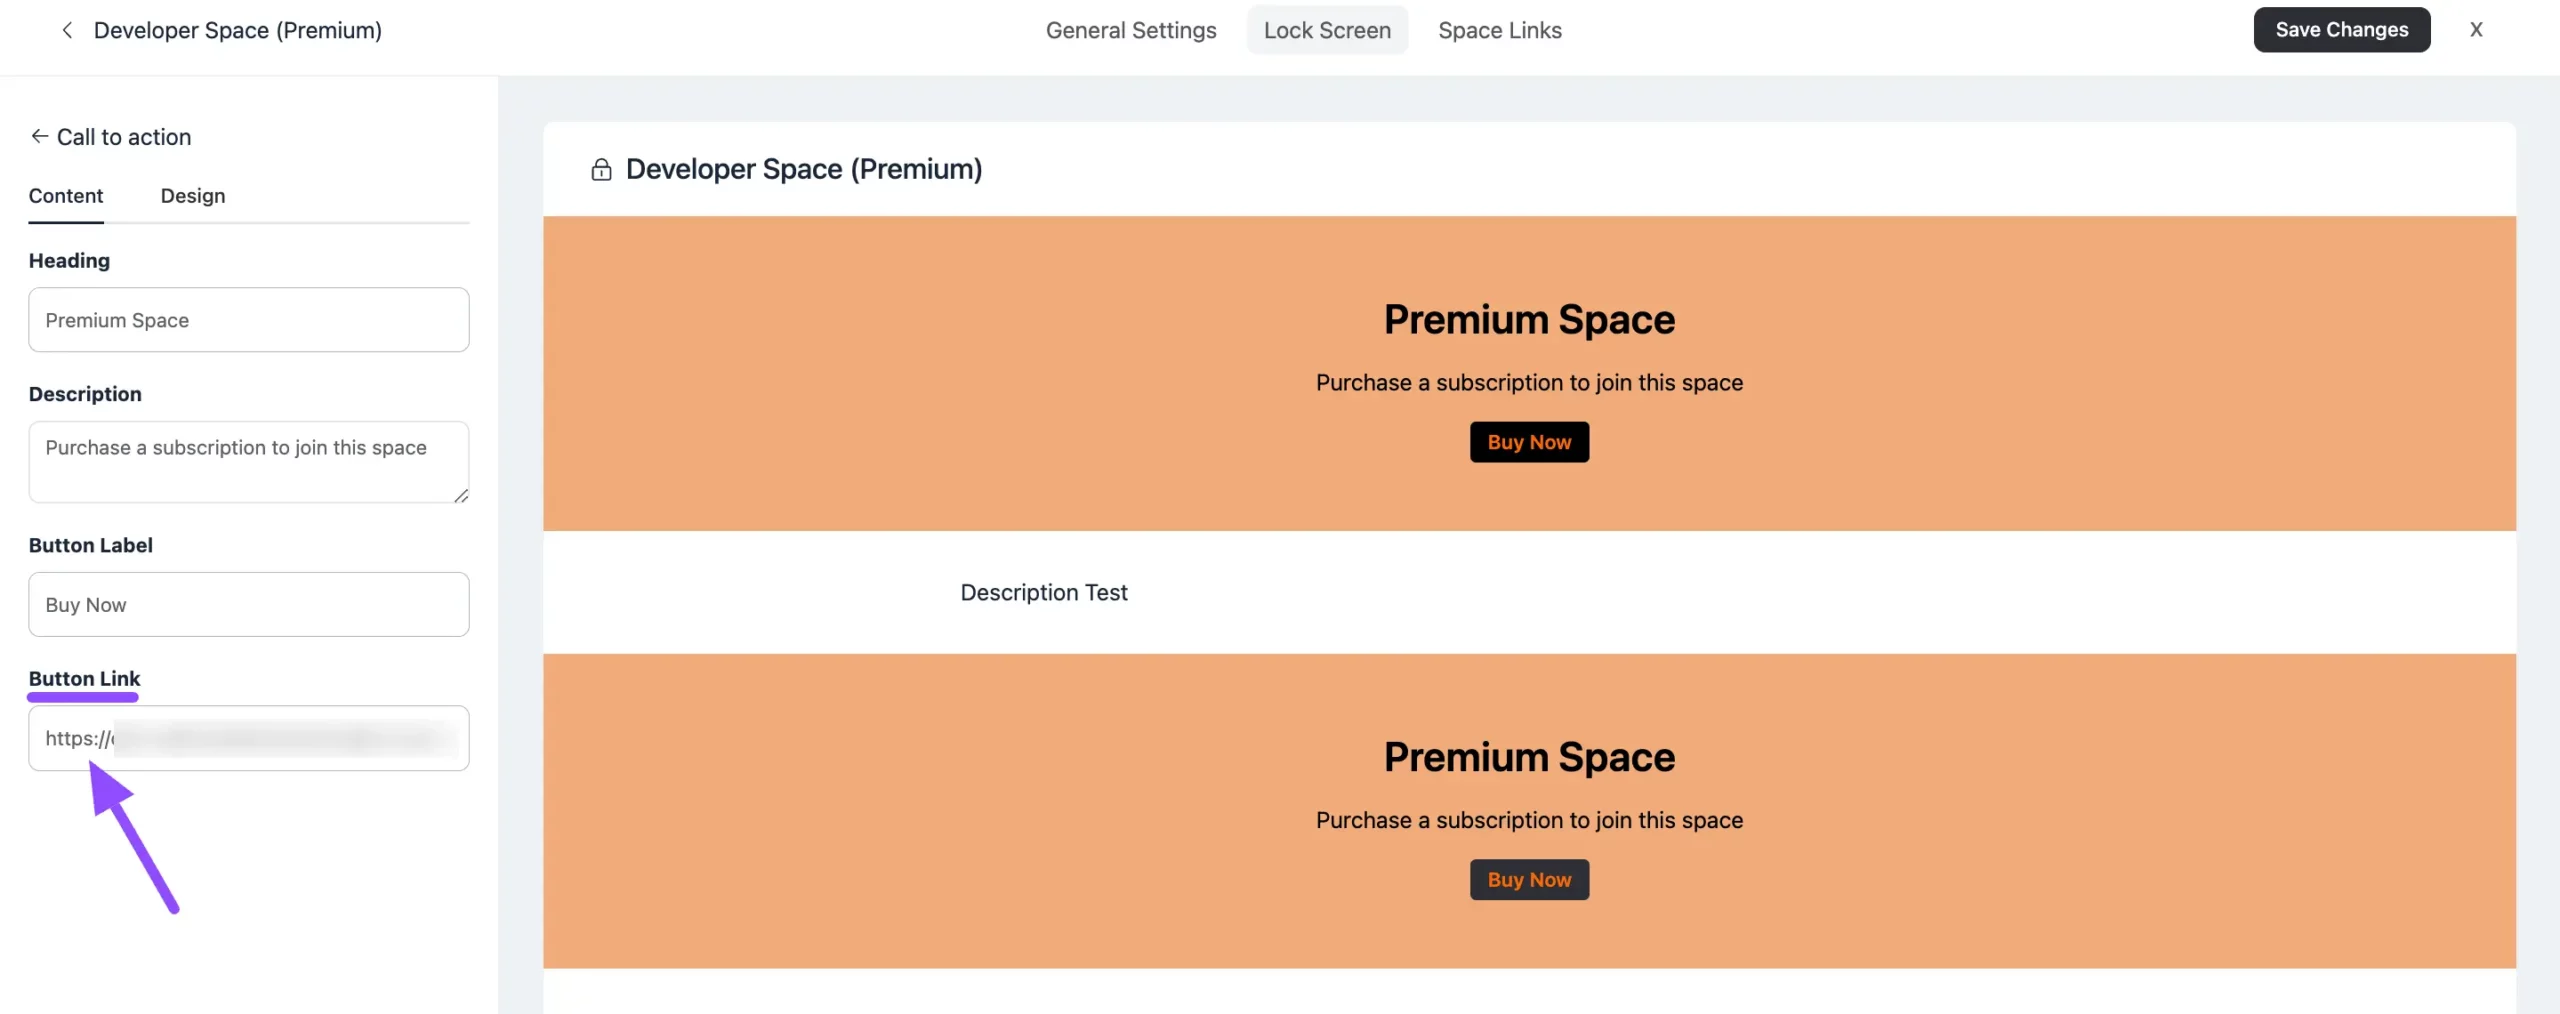
In the Button Link field, paste the Paymattic Form URL you want members to use to join this Space and pay. (You'll create and copy that URL in the section below.)
Monetize a Course with Paymattic
Create or Edit a Course
Open the course you want to monetize — a new one or an existing one. For the full walkthrough, see Creating Your First Course.
Set the Course to Private
On the course you want to monetize, open its General Settings. Set Privacy to Private and select Custom Lock Screen — this option only appears once privacy is set to Private. Then click the Lock Screen option in the top menu.
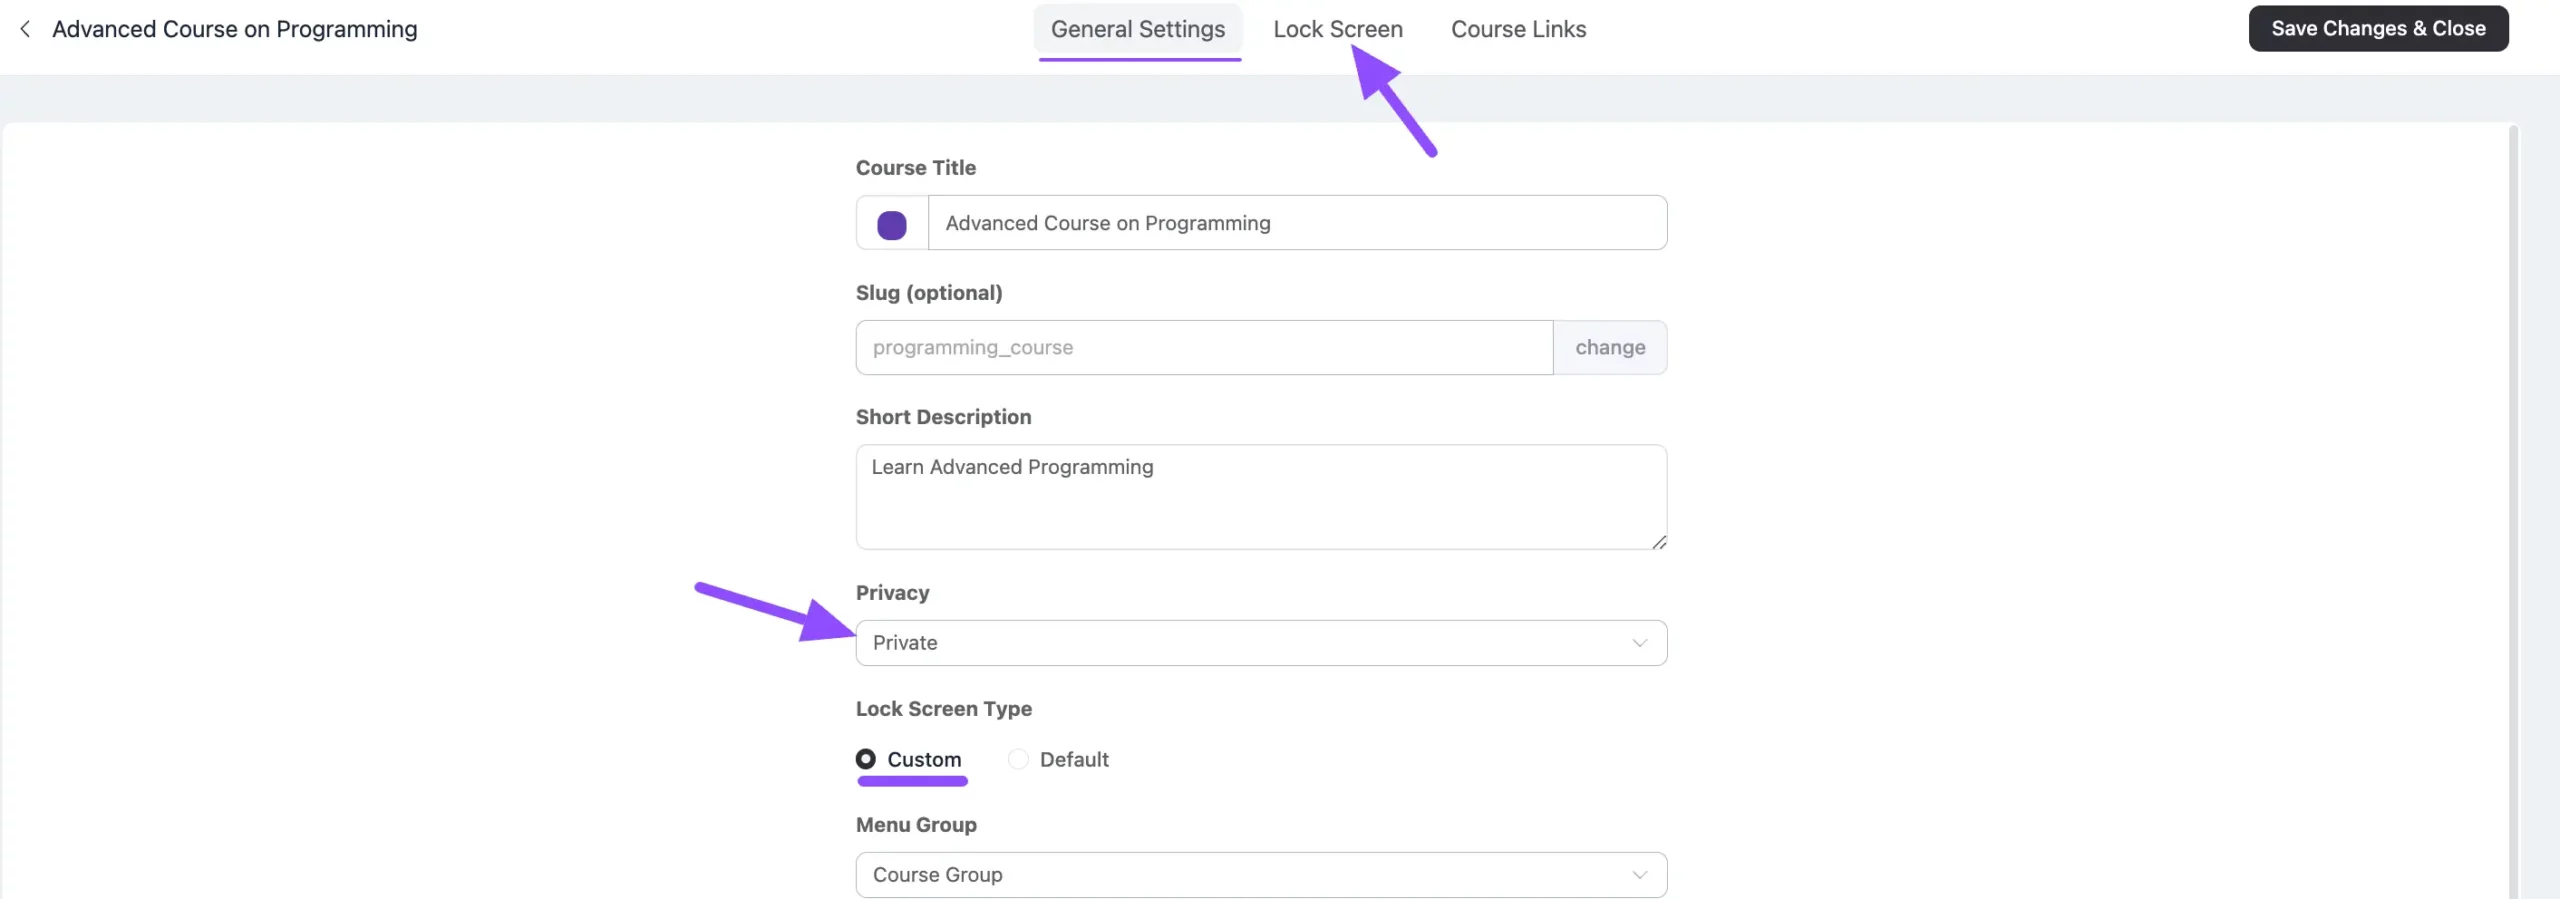
Enable the Course Lock Screen
On the Lock Screen, open the Call to Action (CTA) editor by clicking the Pencil Icon in the left menu. For more on customizing the Lock Screen, see Course Privacy.
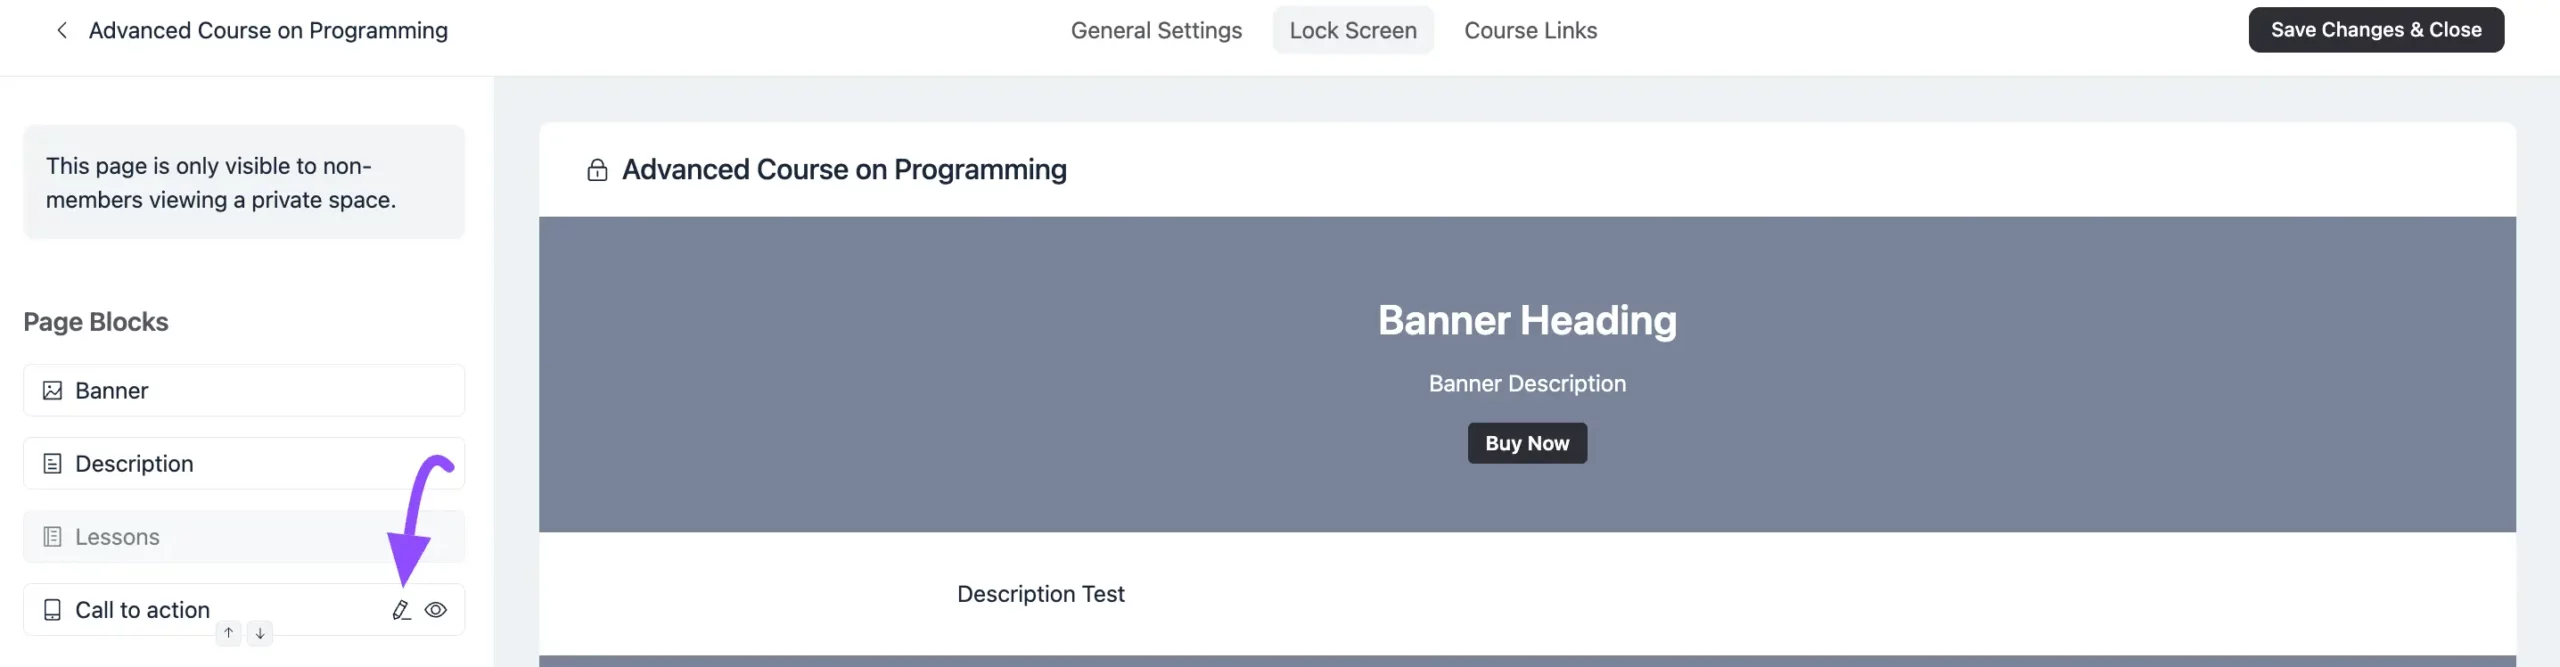
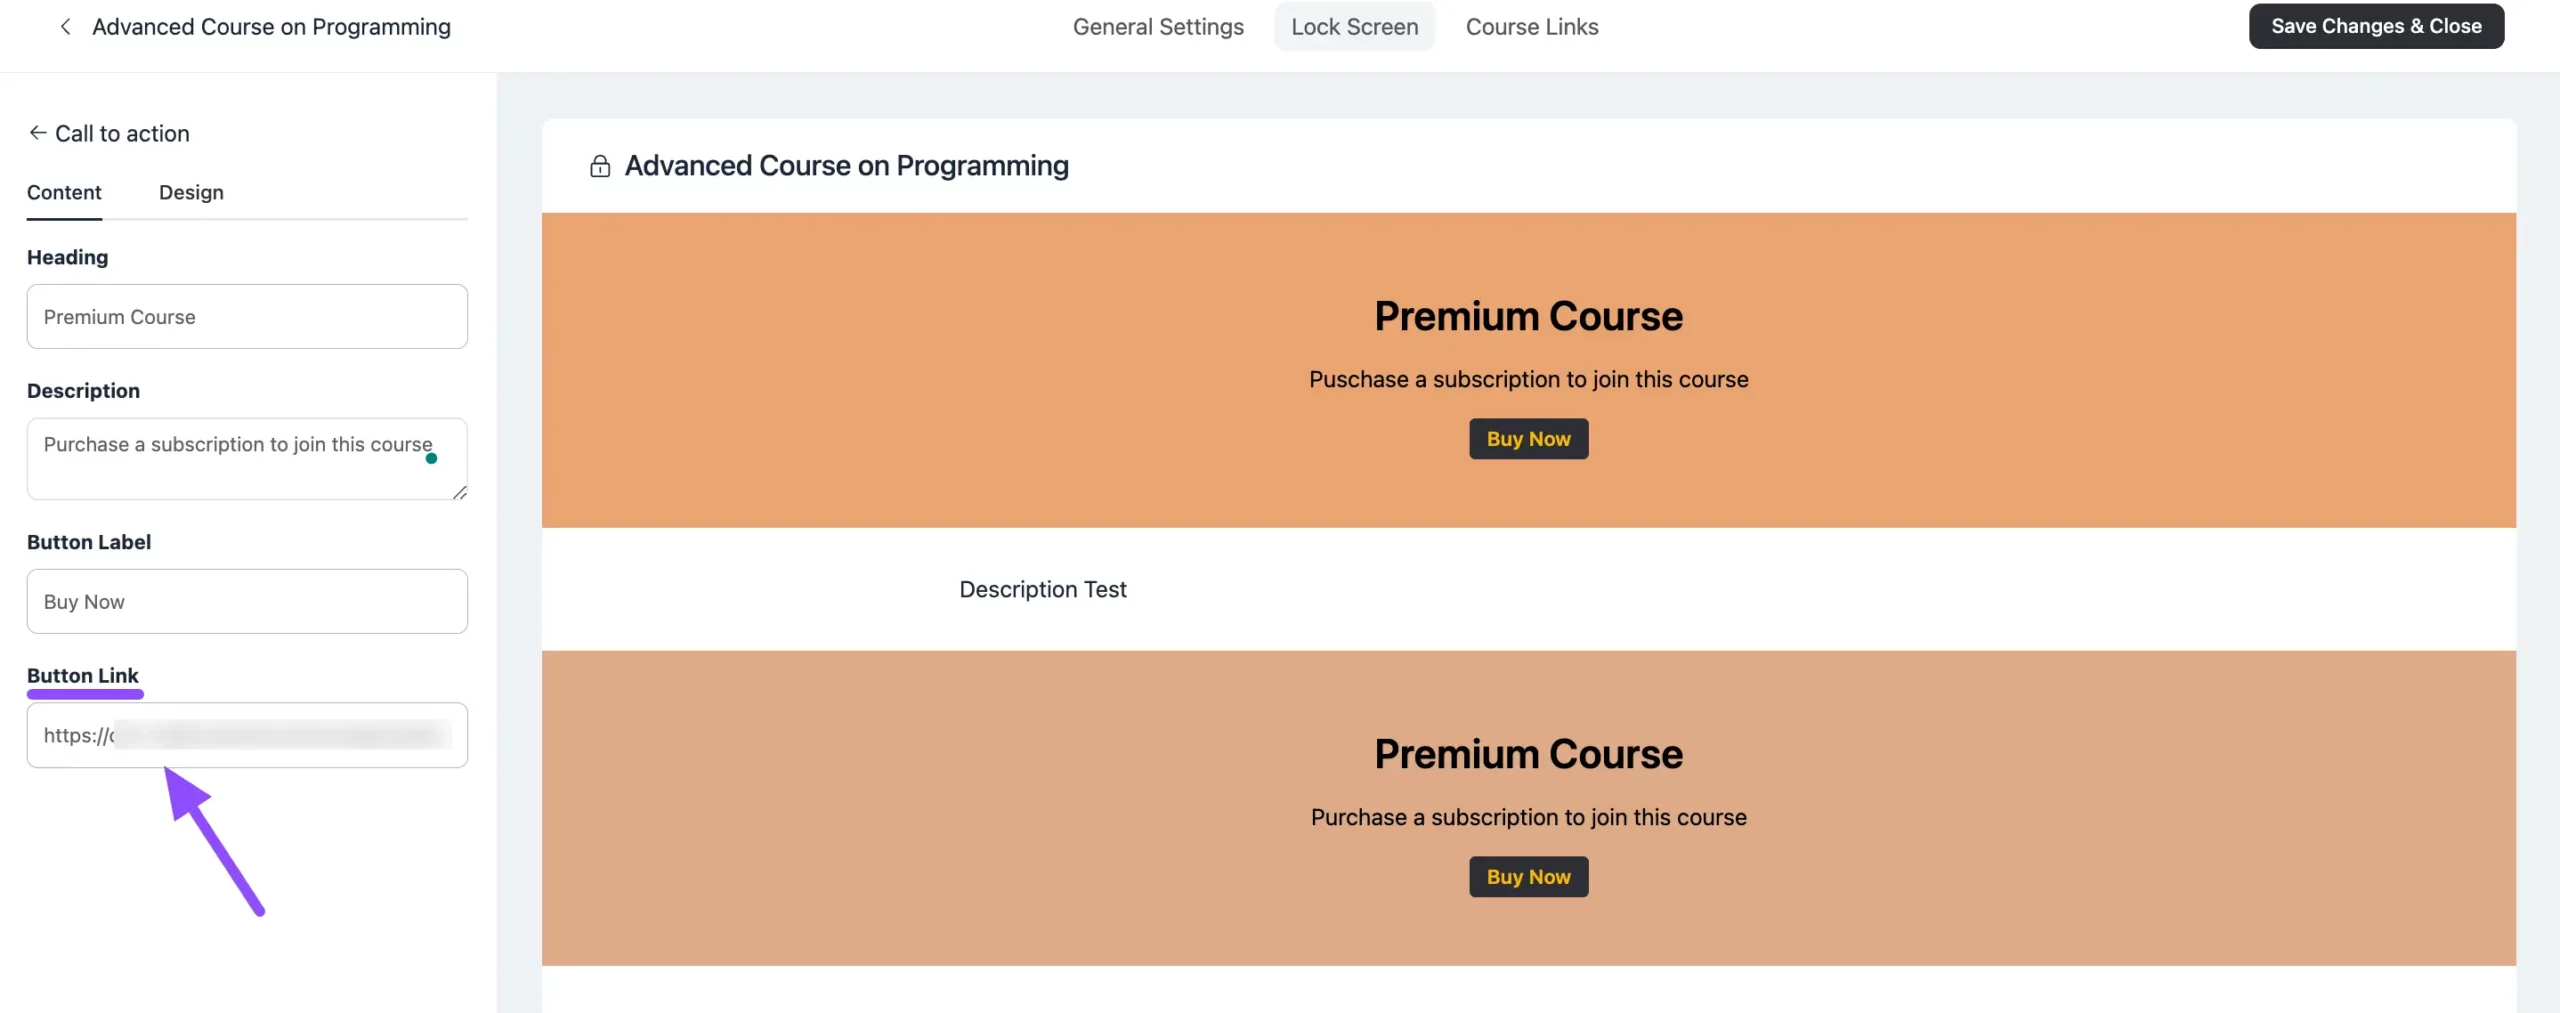
In the Button Link field, paste the Paymattic Form URL you want students to use to enroll in this course and pay.
Collect Your Paymattic Form URL
To generate the form URL, you build a Paymattic payment form, add your Space or course to its FluentCommunity integration, and publish it.
Integrate Paymattic with FluentCommunity
First, connect Paymattic to FluentCommunity. This integration lets you collect payments and add members to your premium Spaces and Courses directly through Paymattic forms. For the full setup, see Connecting with Paymattic.
Add Your Space or Course to a Paymattic Form
Add the Space or course you want to sell to a Paymattic payment form — payment forms are what collect the money.
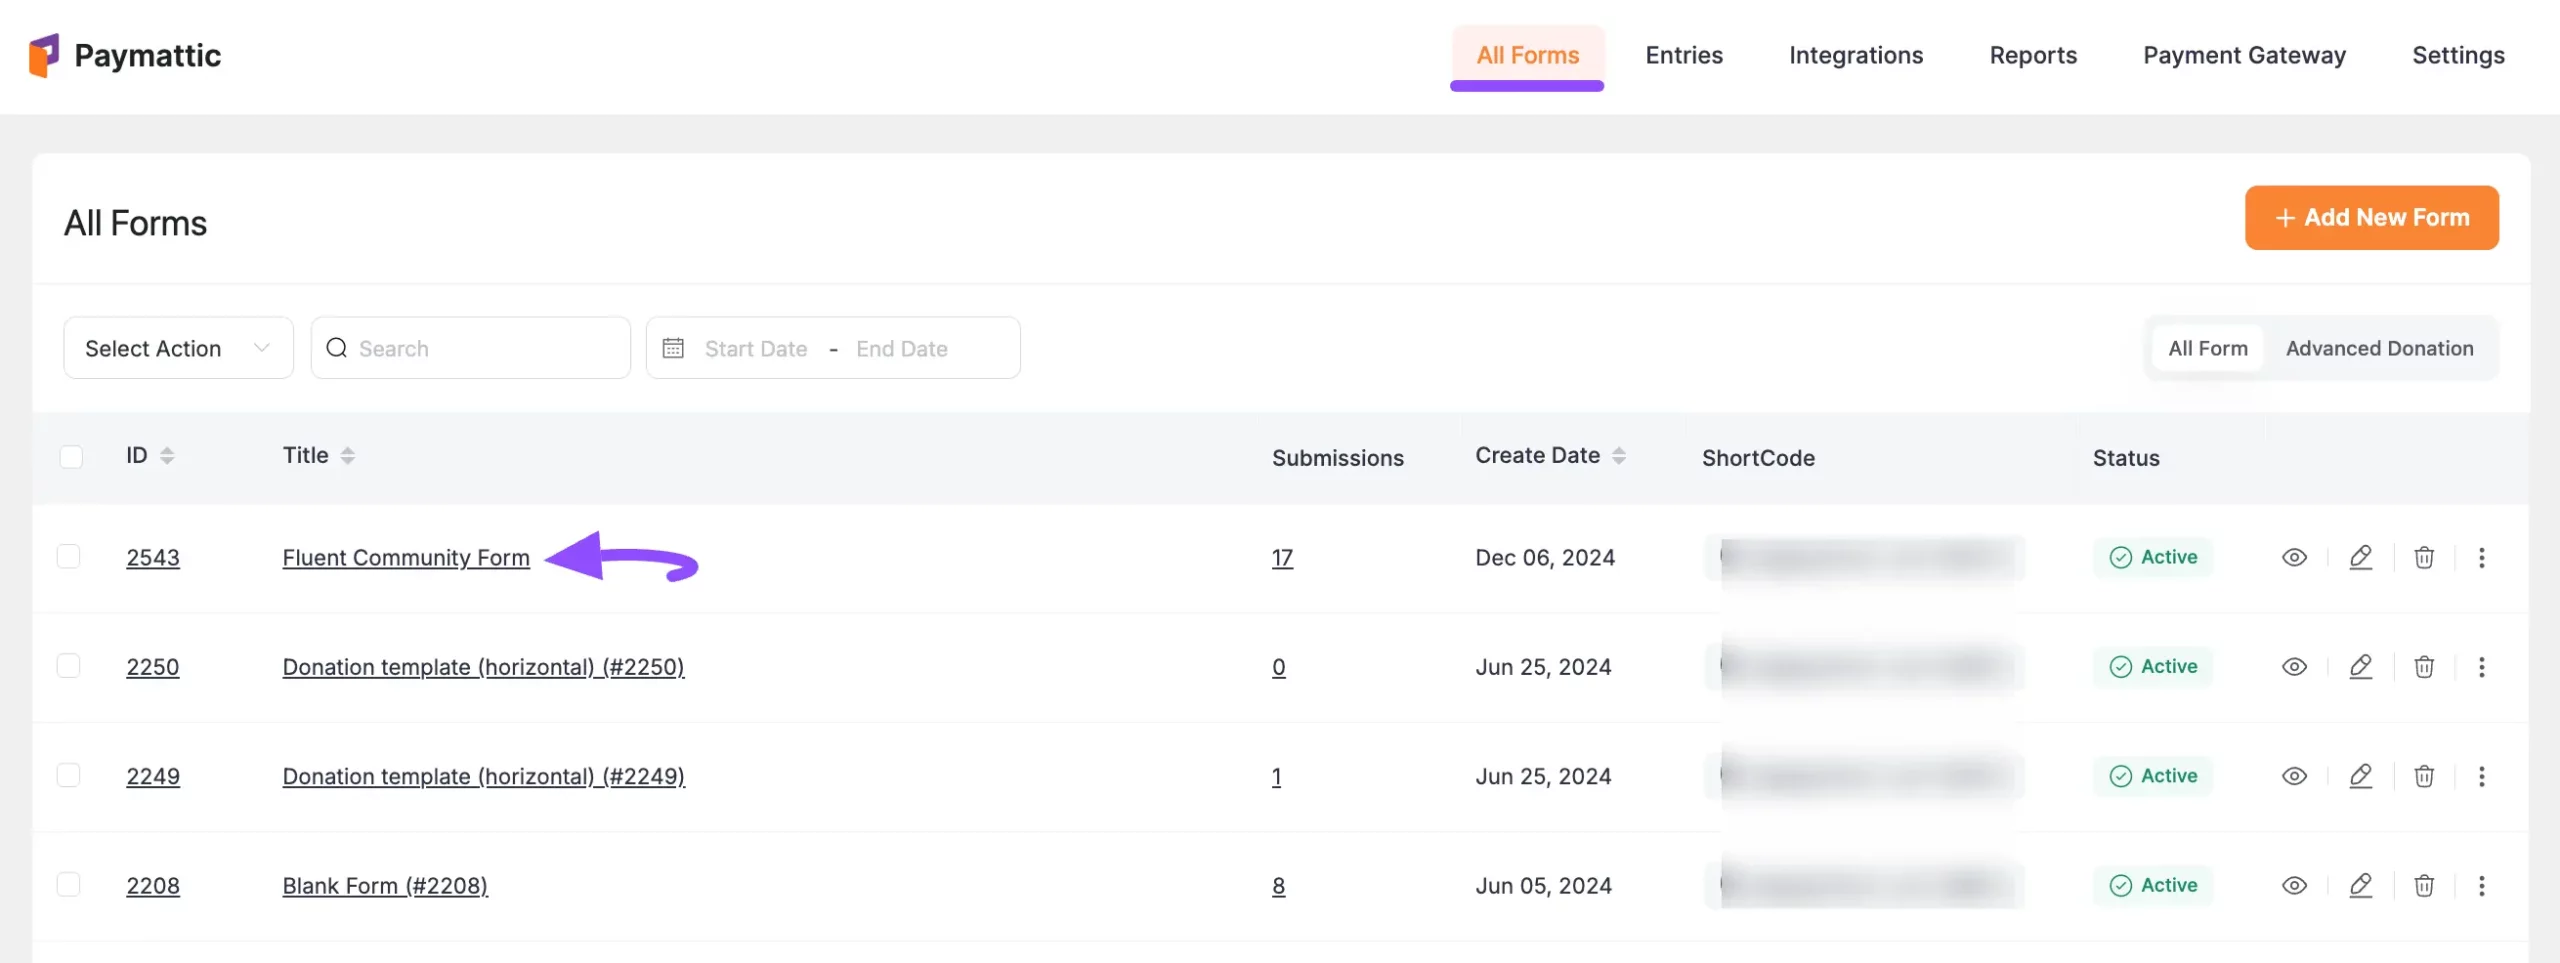
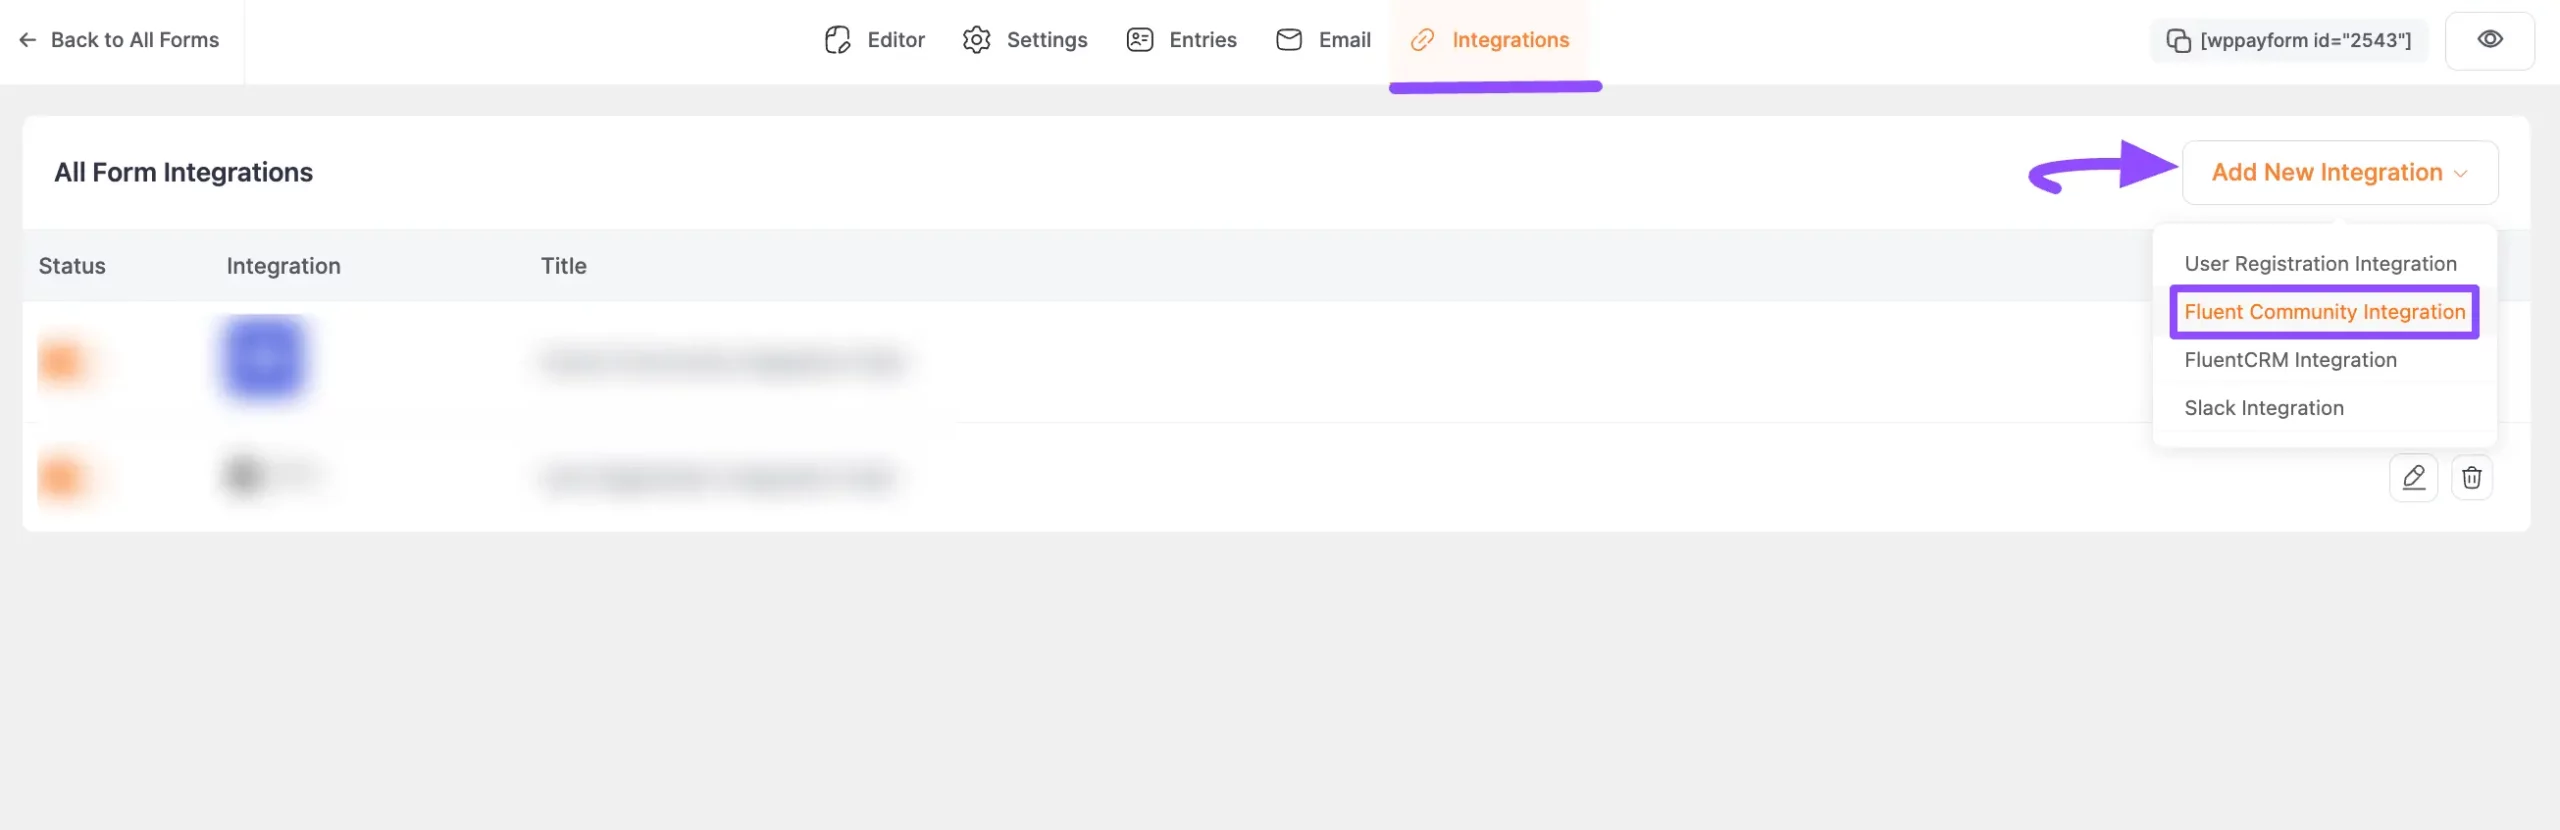
On the form's Editor page, open the Integrations tab, expand the Add New Integration dropdown, and choose FluentCommunity Integration.
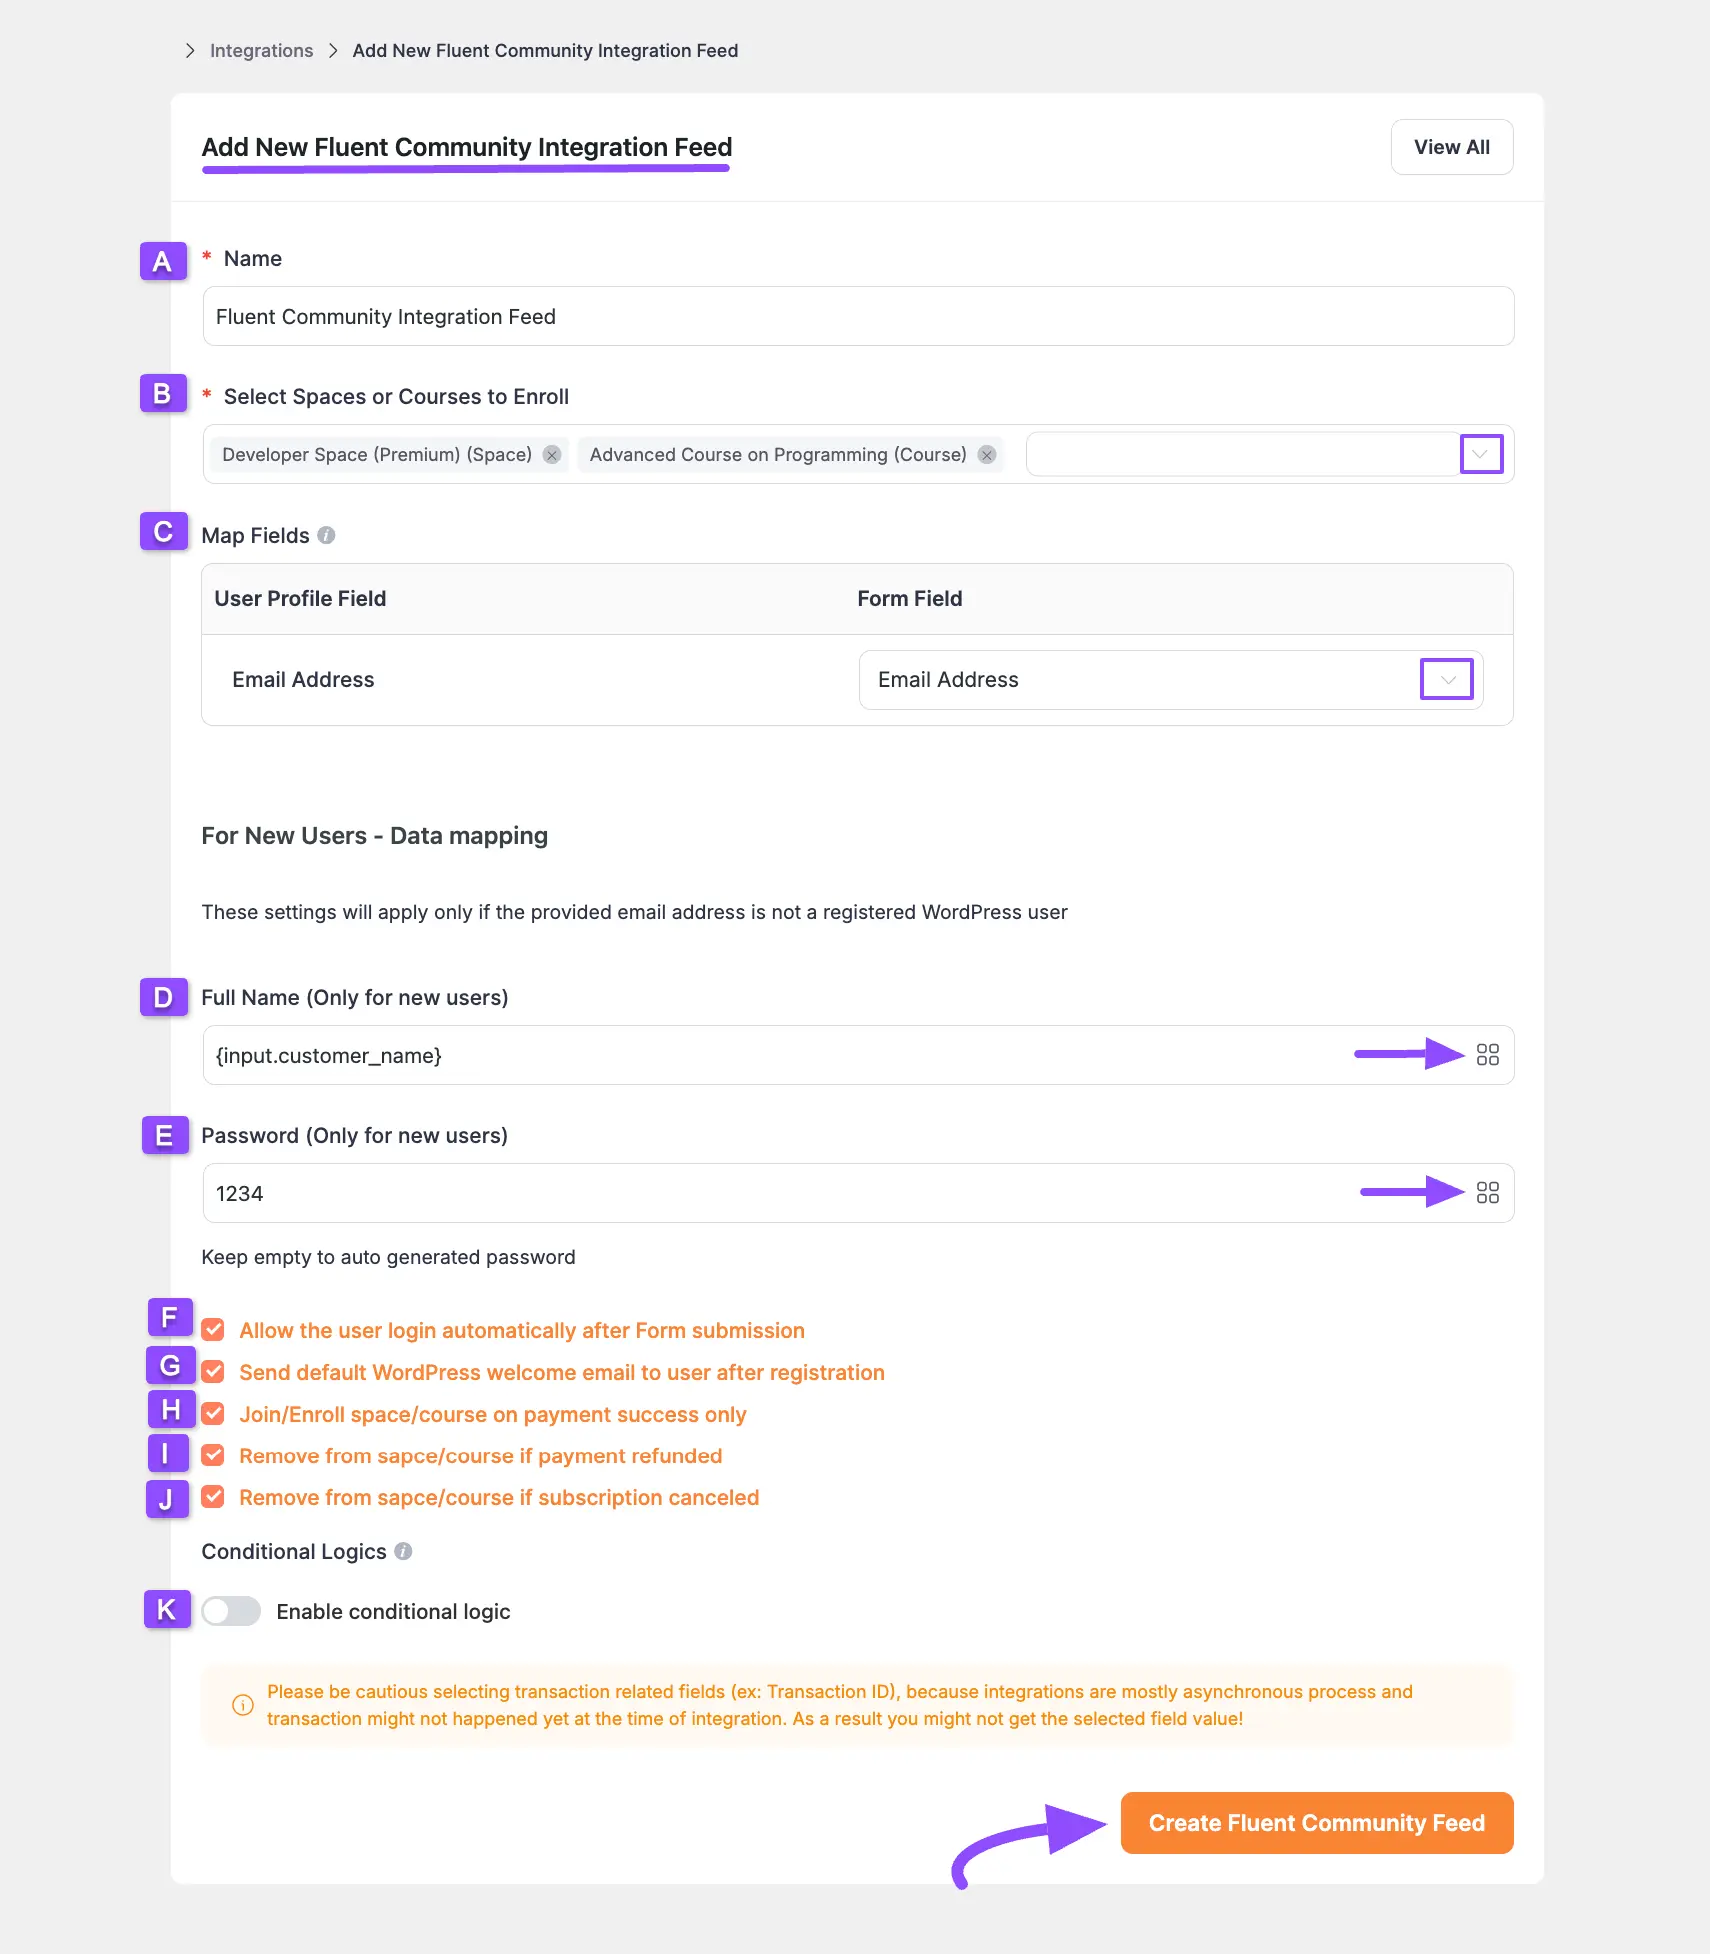
A settings popup appears for configuring FluentCommunity. Here's what each option does:
- Name: A label for the feed.
- Select Spaces or Courses to Enroll: Choose one, several, or all Spaces and courses that buyers should be added to immediately after form submission.
- Email Address: Select the field to use as the user's email address.
- Full Name (Only for new users): Use the
{input.customer_name}shortcode via the ShortCode Icon. - Password (Only for new users): Set a fixed password for every new user, or leave it empty to auto-generate one per user.
- Allow the user login automatically after Form submission: Logs the user into their Paymattic User Dashboard right after submitting.
- Send default WordPress welcome email to a user after registration: Sends a welcome email with login details and a password-reset option.
- Join/Enroll space/course on payment success only: Enrolls users only after payment succeeds. Leave it unchecked and users get access without a successful payment.
- Remove from space/course if payment refunded: Automatically removes users when a payment is refunded.
- Remove from space/course if subscription canceled: Automatically removes users when they cancel a subscription.
- Enable conditional logic: Set conditions on form submission. See the Paymattic conditional logic guide; this feature requires the Paymattic Pro plugin.
Once configured, click Create FluentCommunity Feed to add the feed.
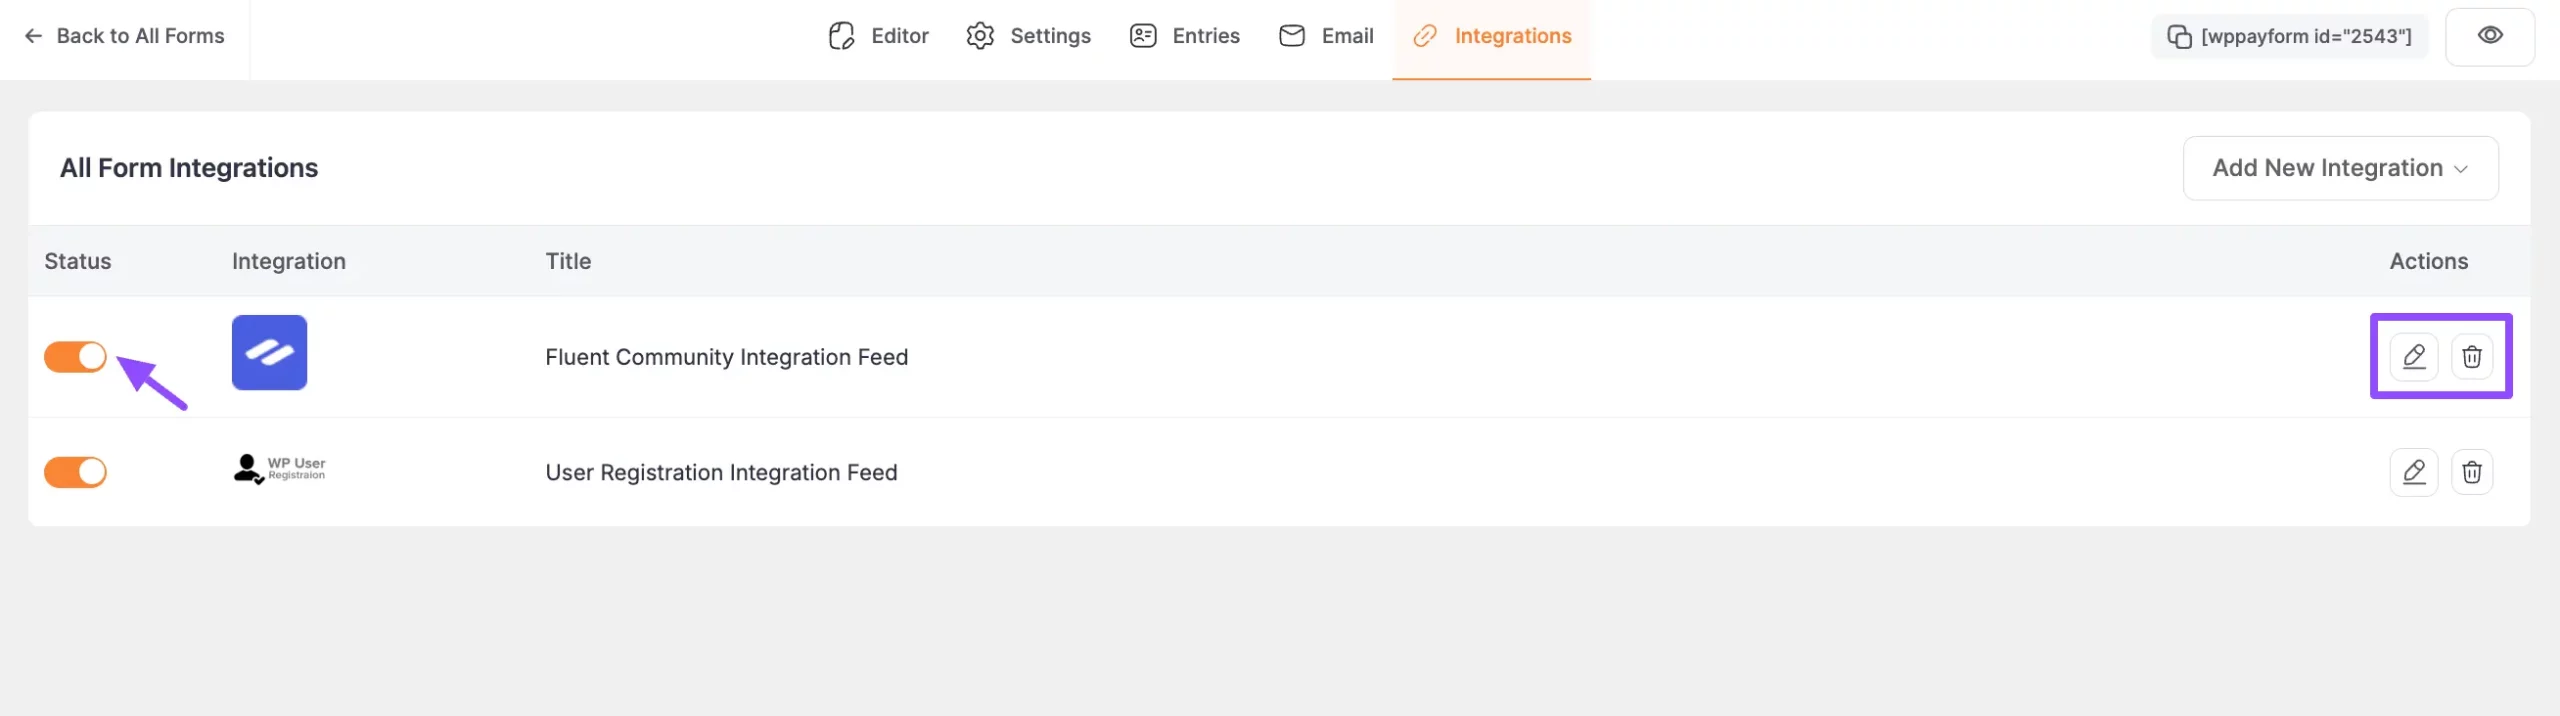
Your FluentCommunity Integration Feed now appears in the list. You can edit it anytime with the Pencil Icon, delete it with the Trash Icon, or enable/disable it with the Toggle button.
✨ Note: To register users in WordPress from Paymattic form entries as well, add a User Registration integration feed alongside this one.
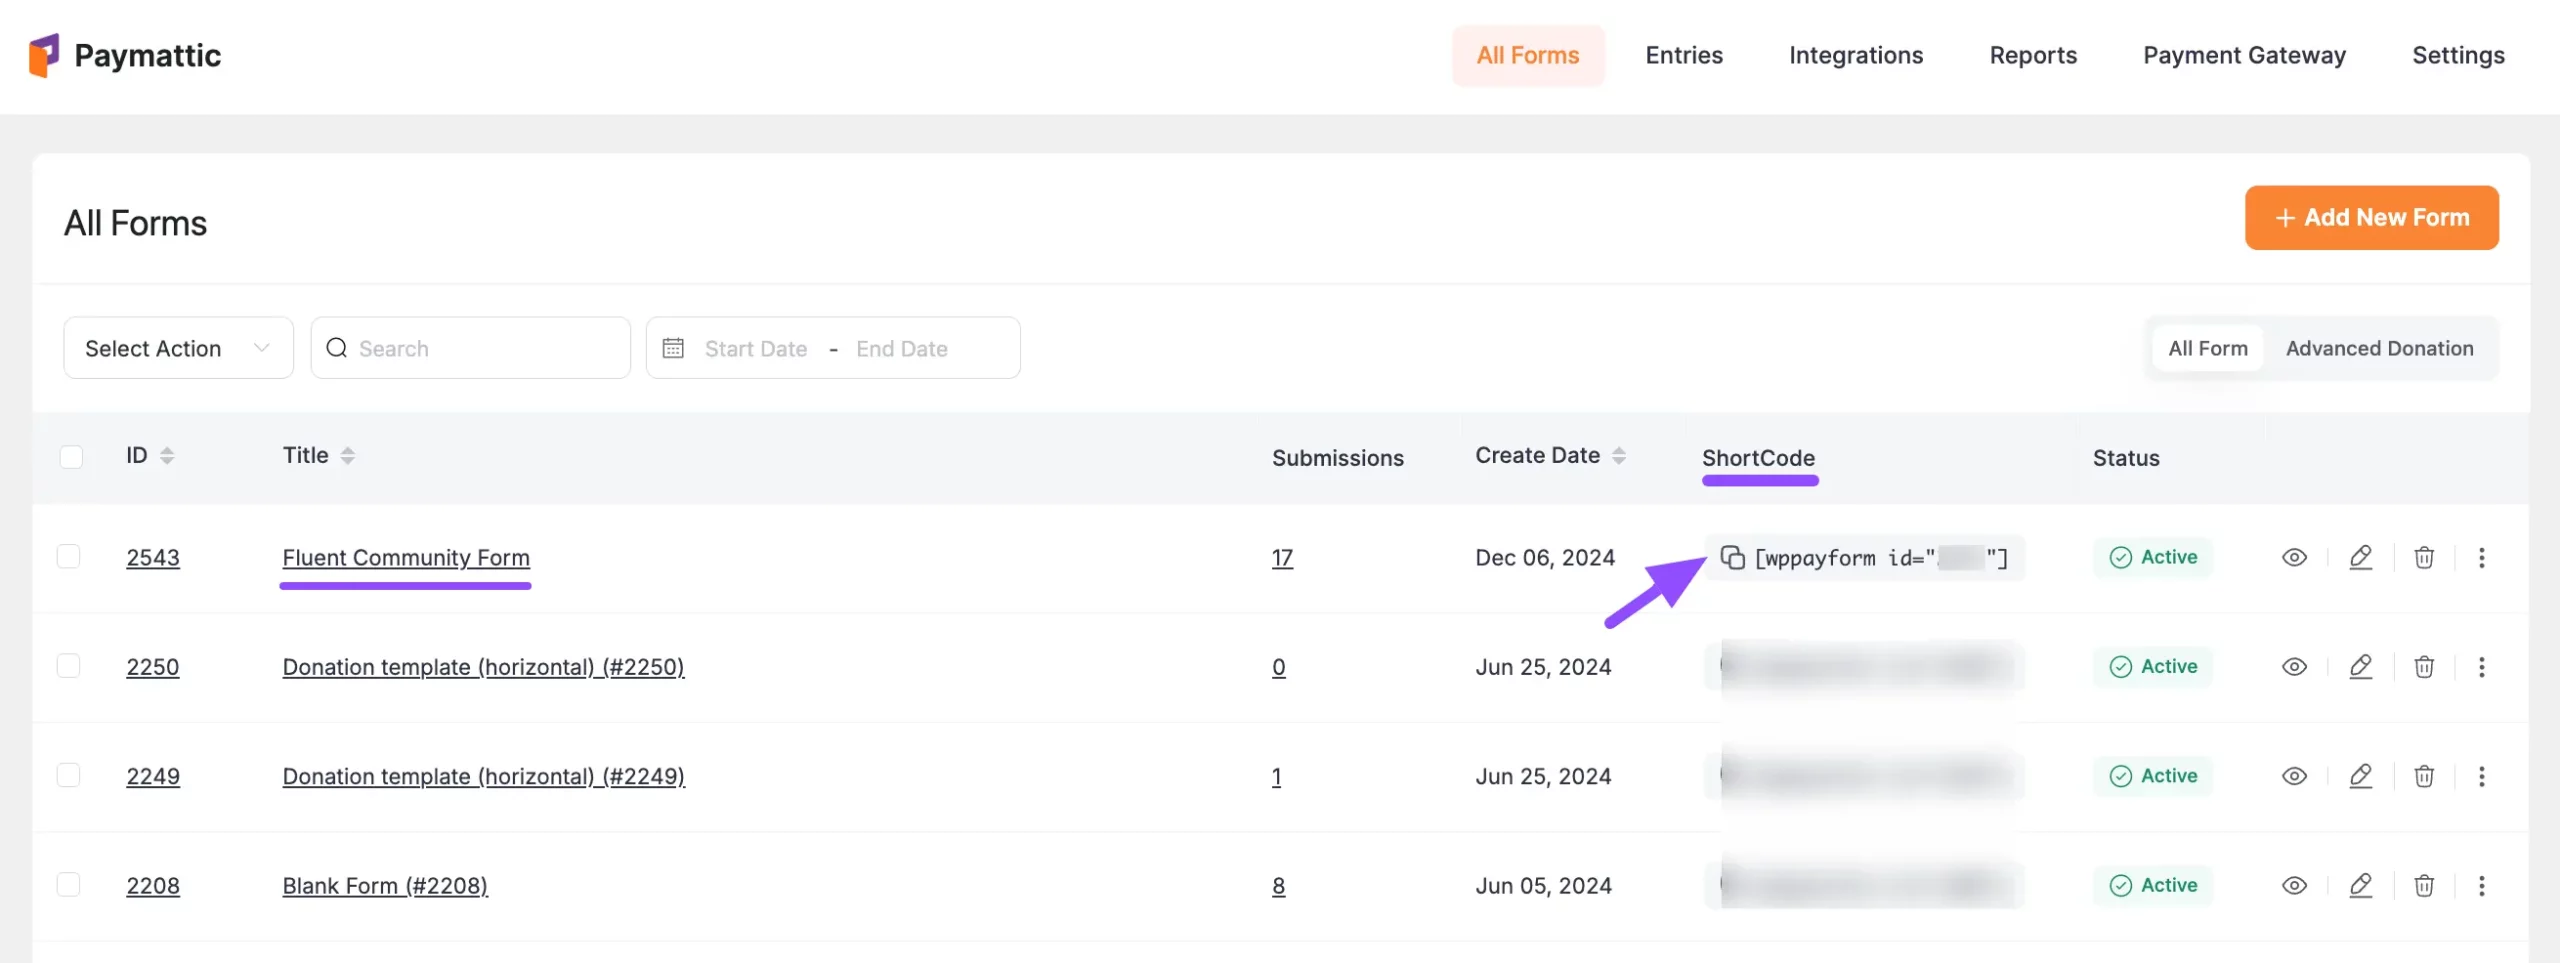
Publish Your Paymattic Form
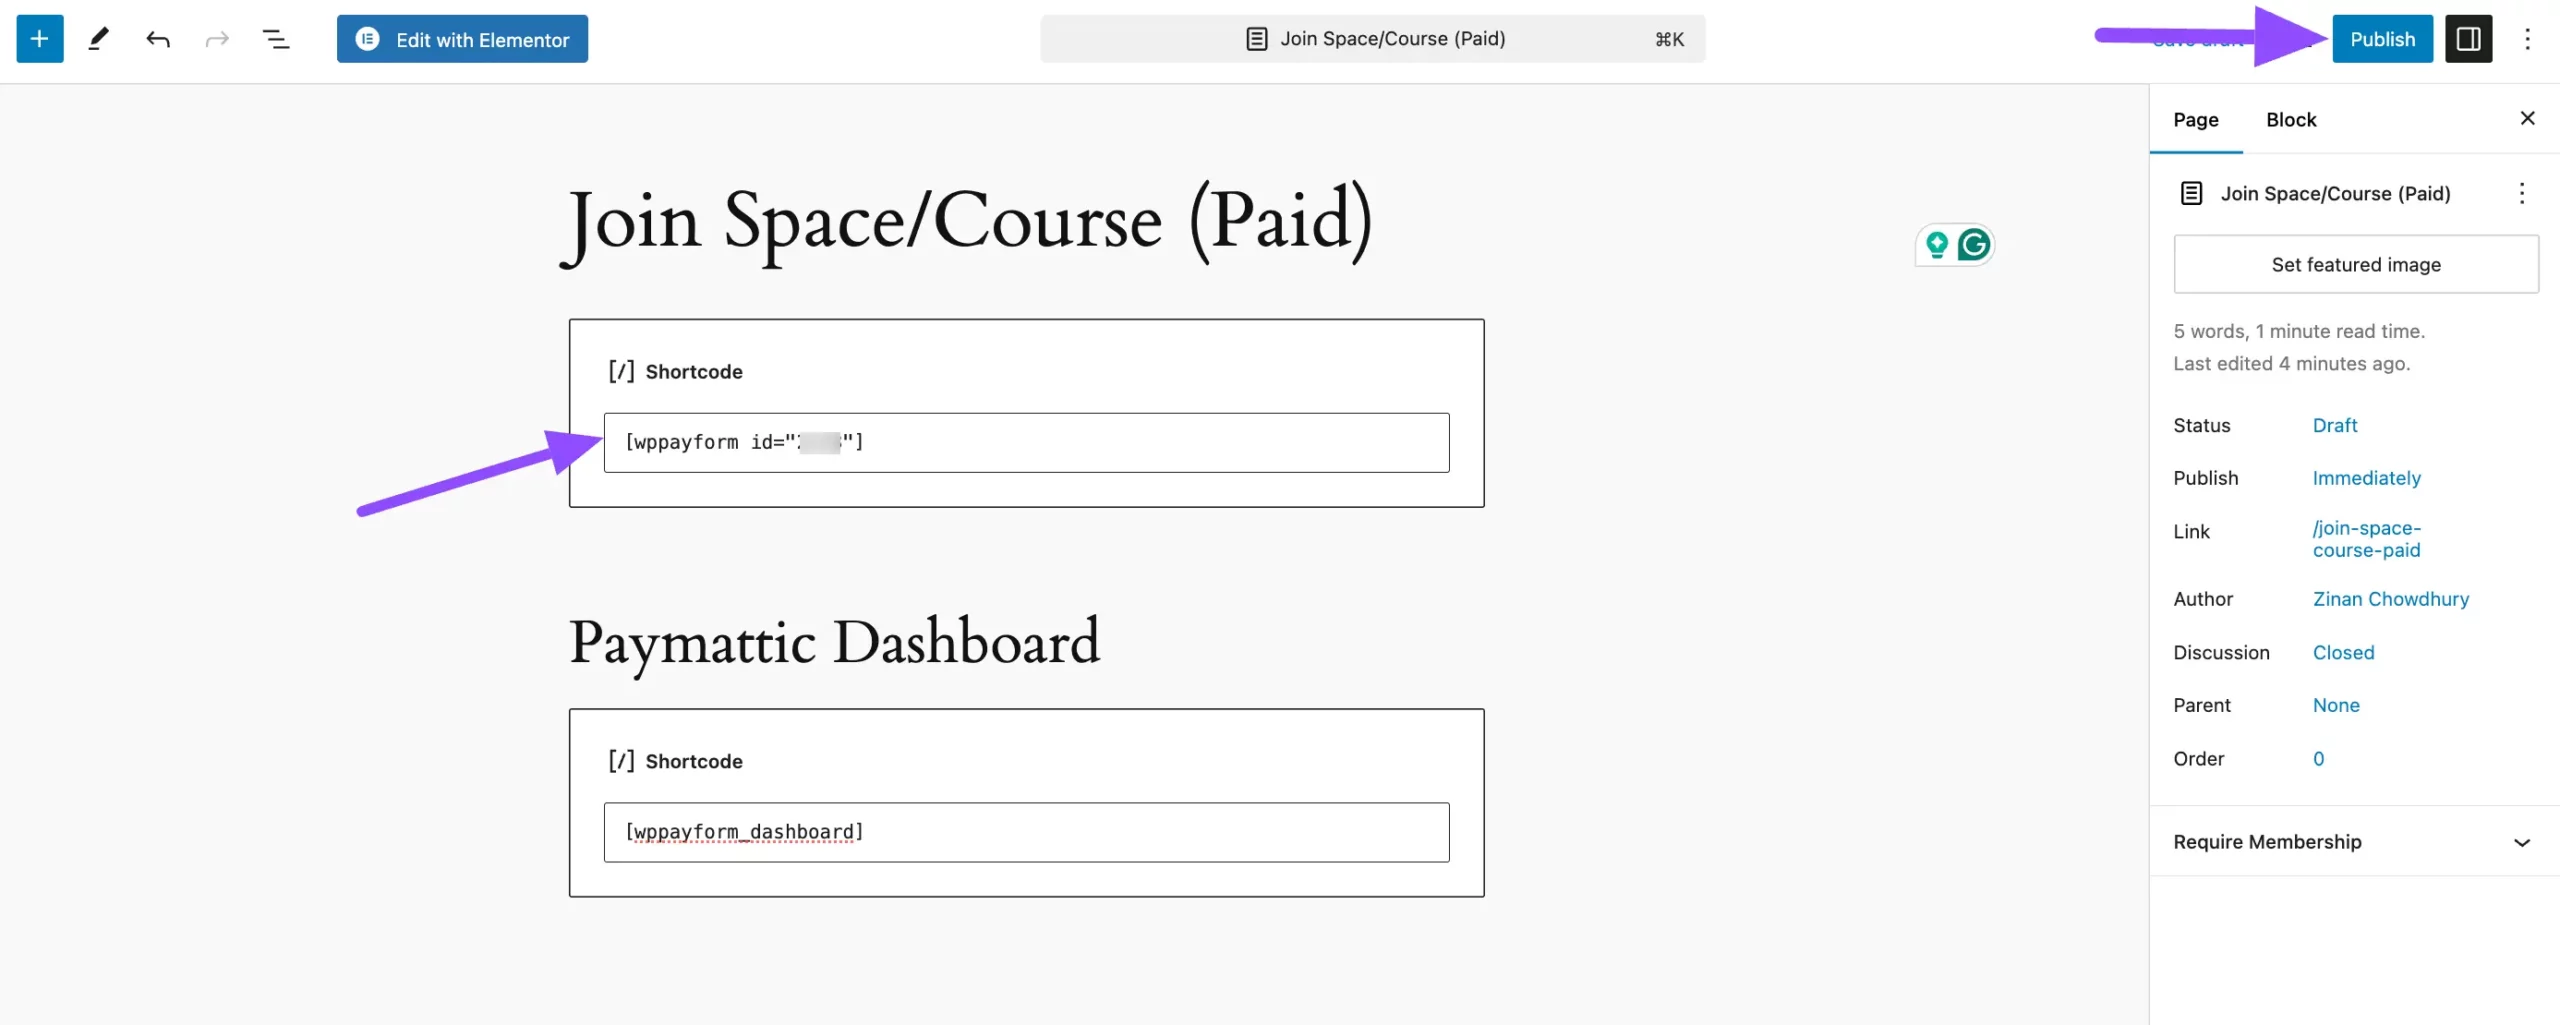
Display the form on the front end using its shortcode. Copy the form's Shortcode.
Paste the shortcode into the Page or Post where you want the form to appear. You can also add the [wppayform_dashboard] shortcode to show the Paymattic User Dashboard — buyers who access your Spaces and courses through Paymattic will then see a dedicated Spaces & Courses section in their dashboard.
When you're ready, click Publish (or Save to update an existing page or post).
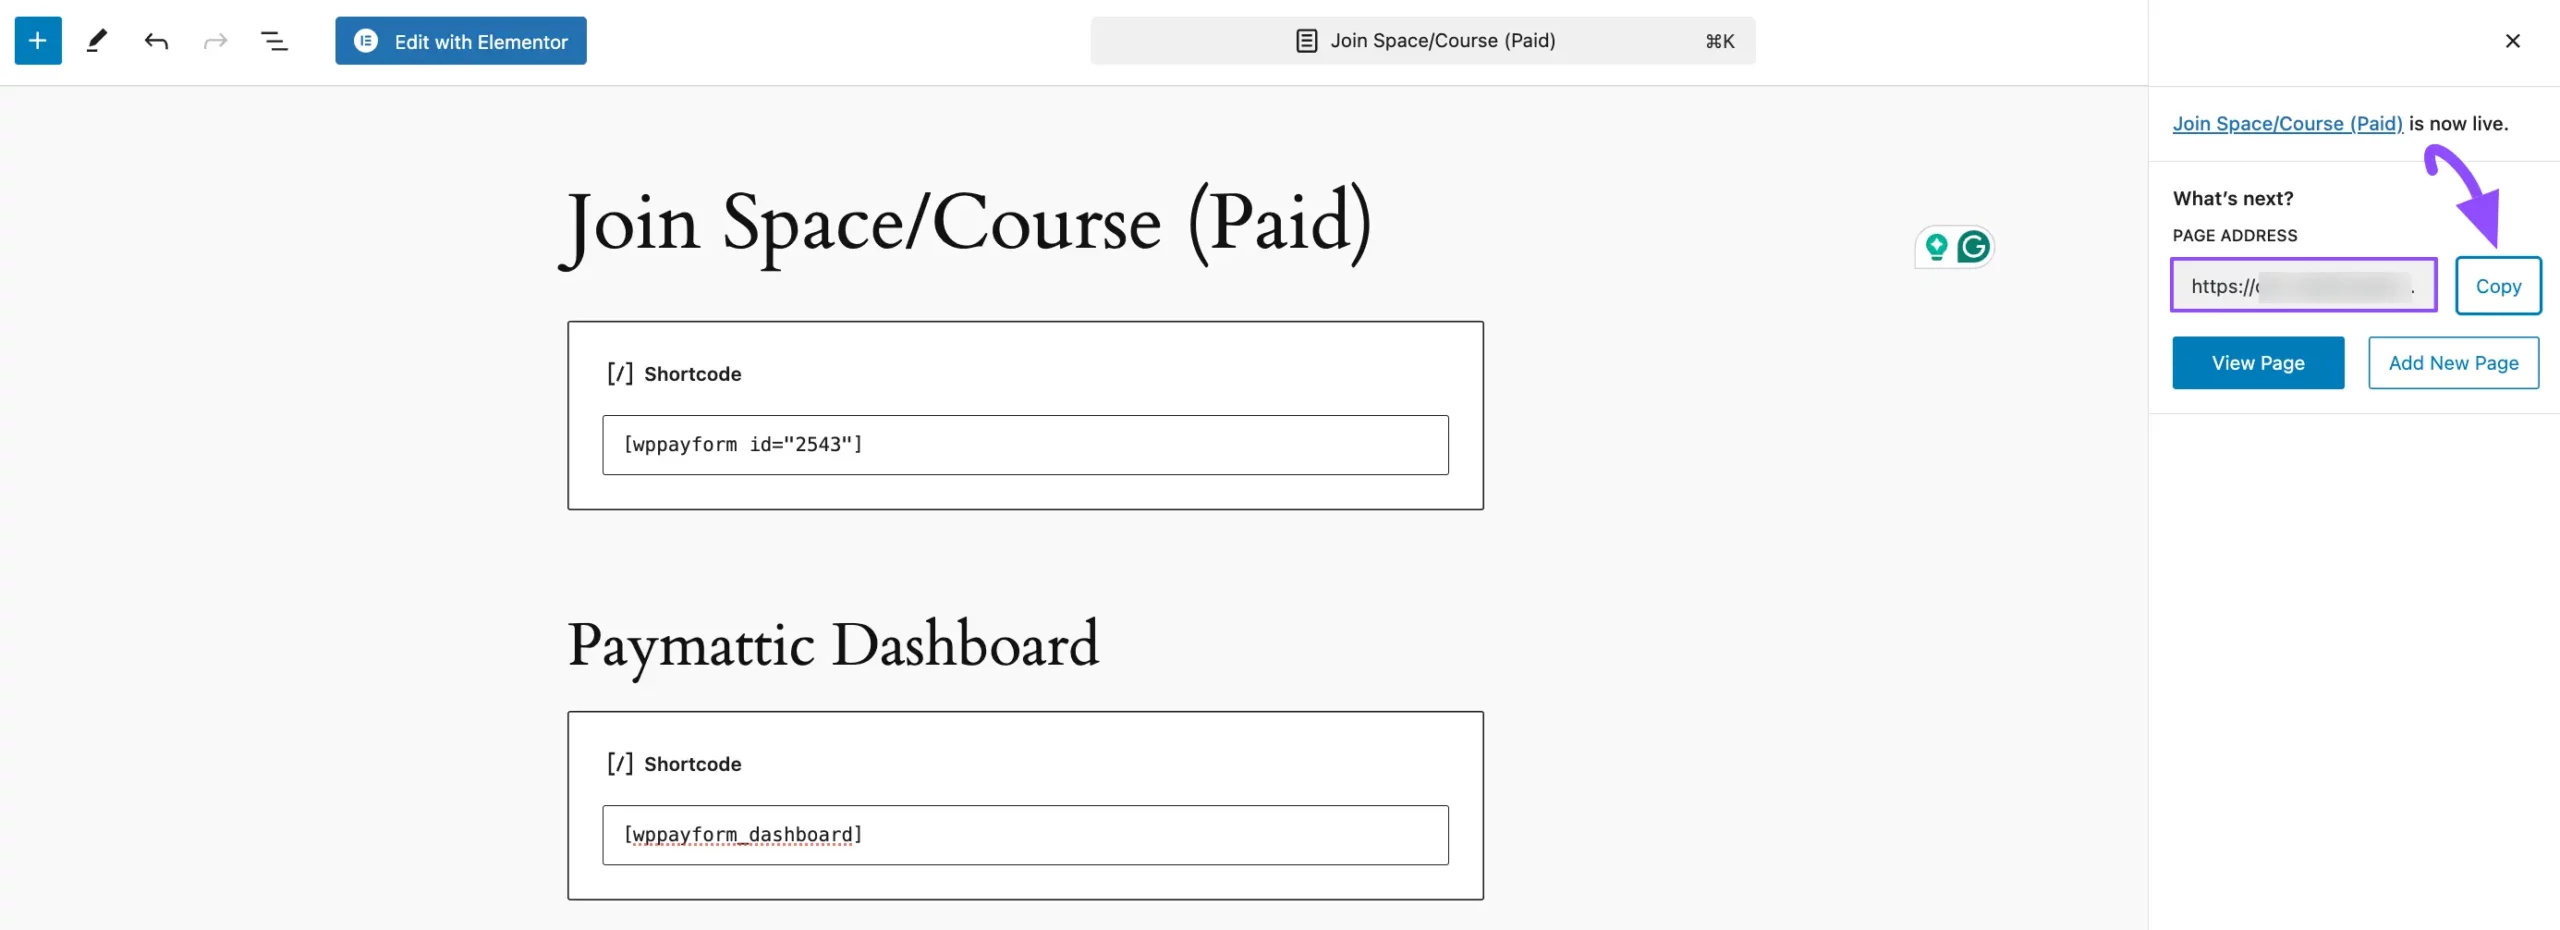
Your Paymattic Form URL is now live. Copy it.
Link the Form URL to the Lock Screen
Go back to the CTA button on your Space or course Lock Screen and paste the form URL into the Button Link field.
Preview the Form and User Dashboard
Here's a preview of the form with your FluentCommunity Space and course integrated.
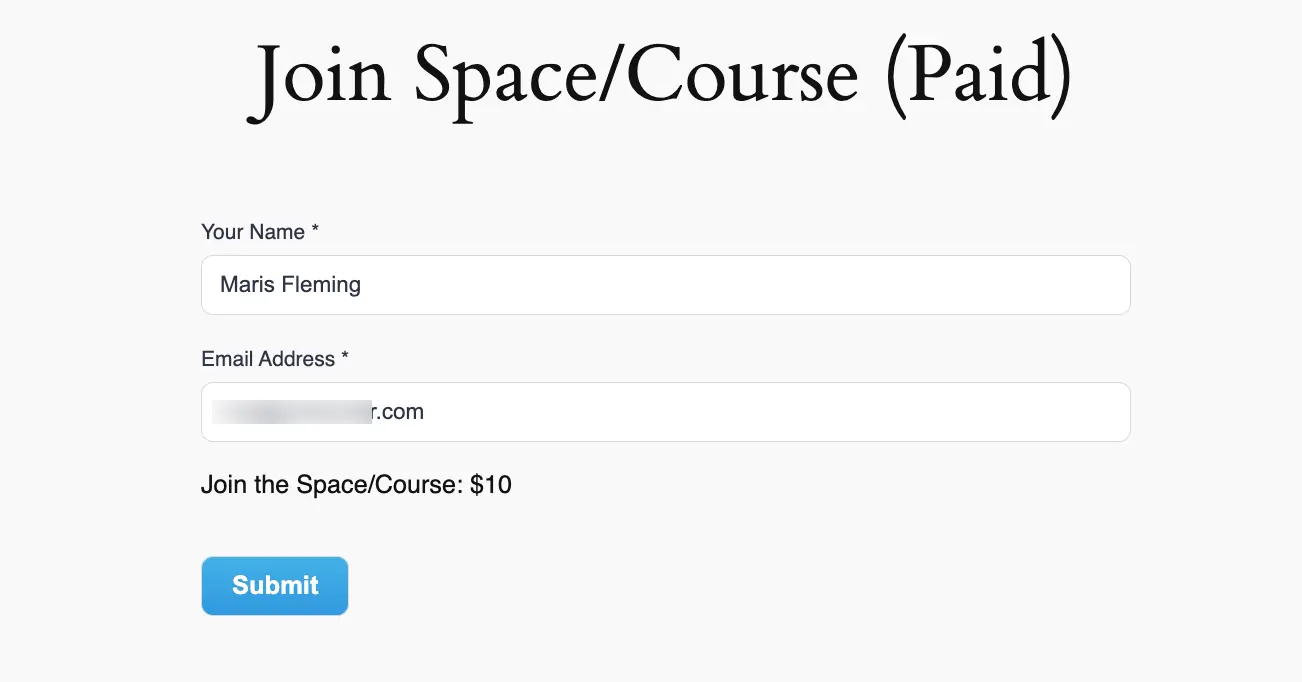
After a user fills out the form and clicks submit, they land on the Paymattic User Dashboard with a dedicated Spaces & Courses section — an overview of the Spaces they've joined and the courses they're enrolled in.
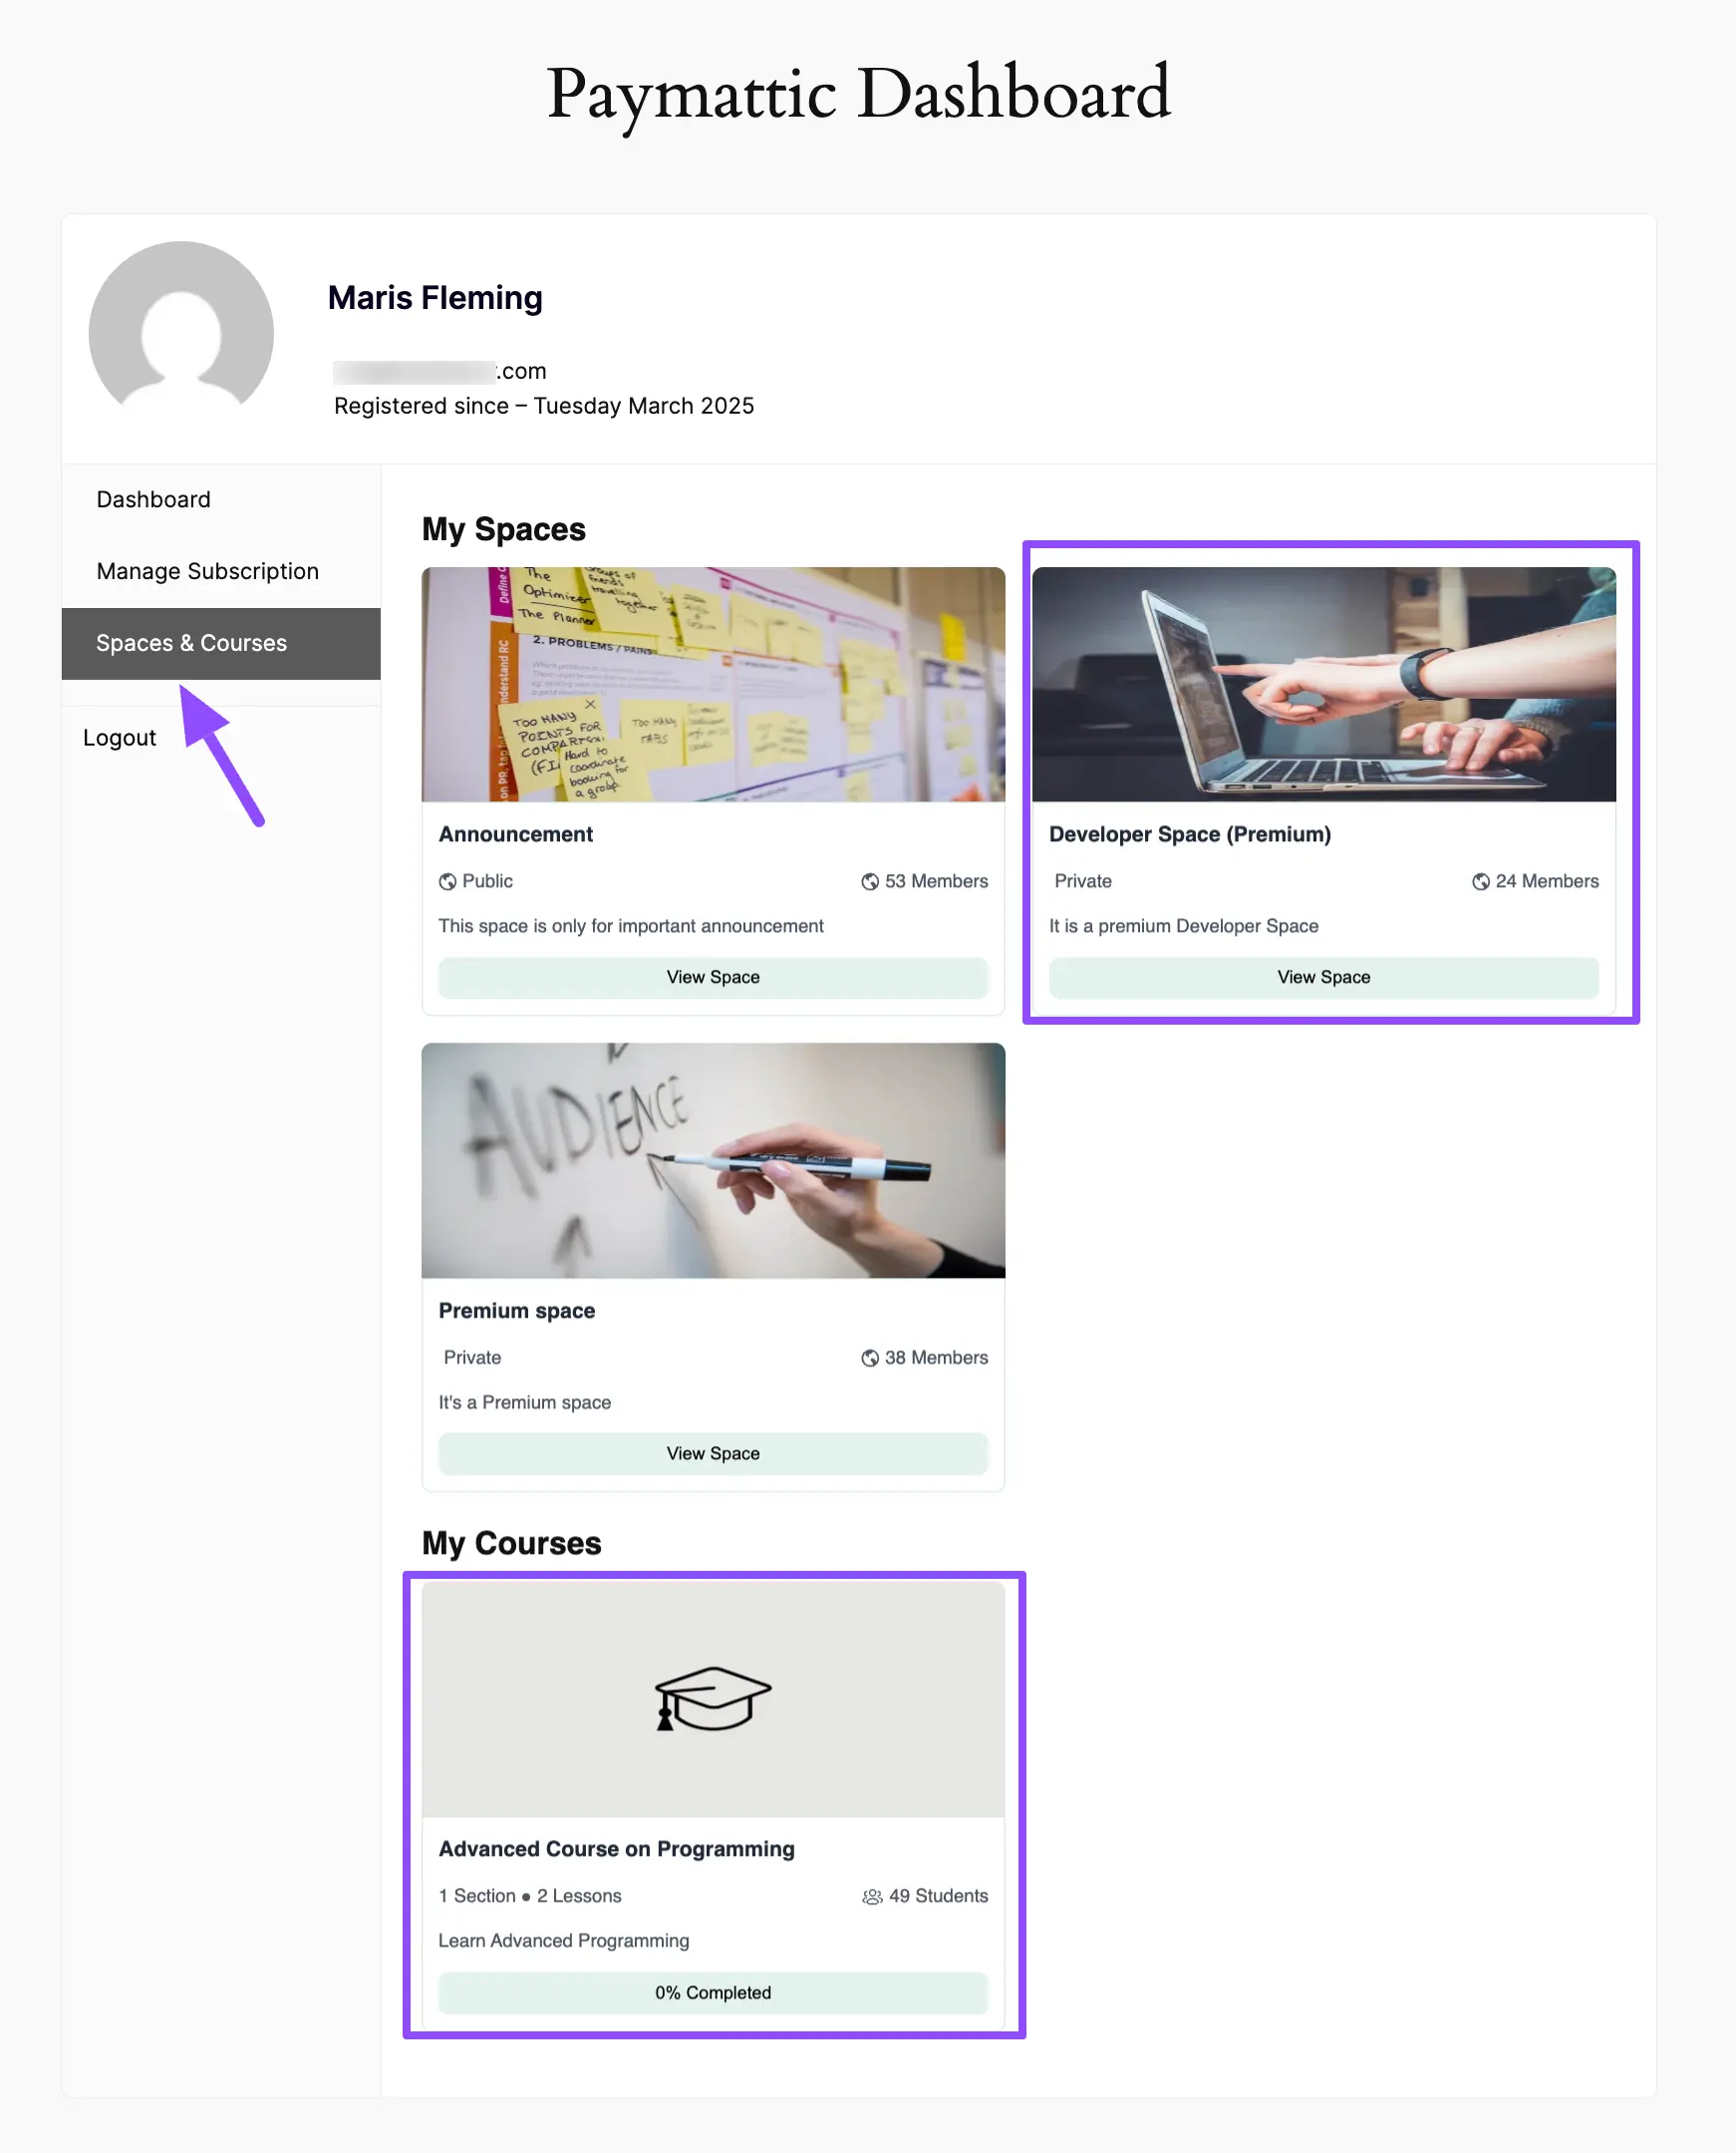
Start Selling Your Space or Course
Your Space or course is ready to sell. When visitors reach it, they'll see the Lock Screen with your CTA button pointing to the Paymattic form. Once they complete payment, the integration enrolls them automatically.