

Appearance
Course Welcome Banners
Course Welcome Banners let you show two different messages in the same course. You can show one message to students who have already joined, and a completely different message to visitors who have not signed up yet.
TIP
Courses require the FluentCommunity Pro version installed and activated.
Access the Banner Panel
To start setting up your messages:
- Open the course you want to edit.
- Look at the top menu and click the Welcome Banner tab.
Access Control & Default Lock Screens
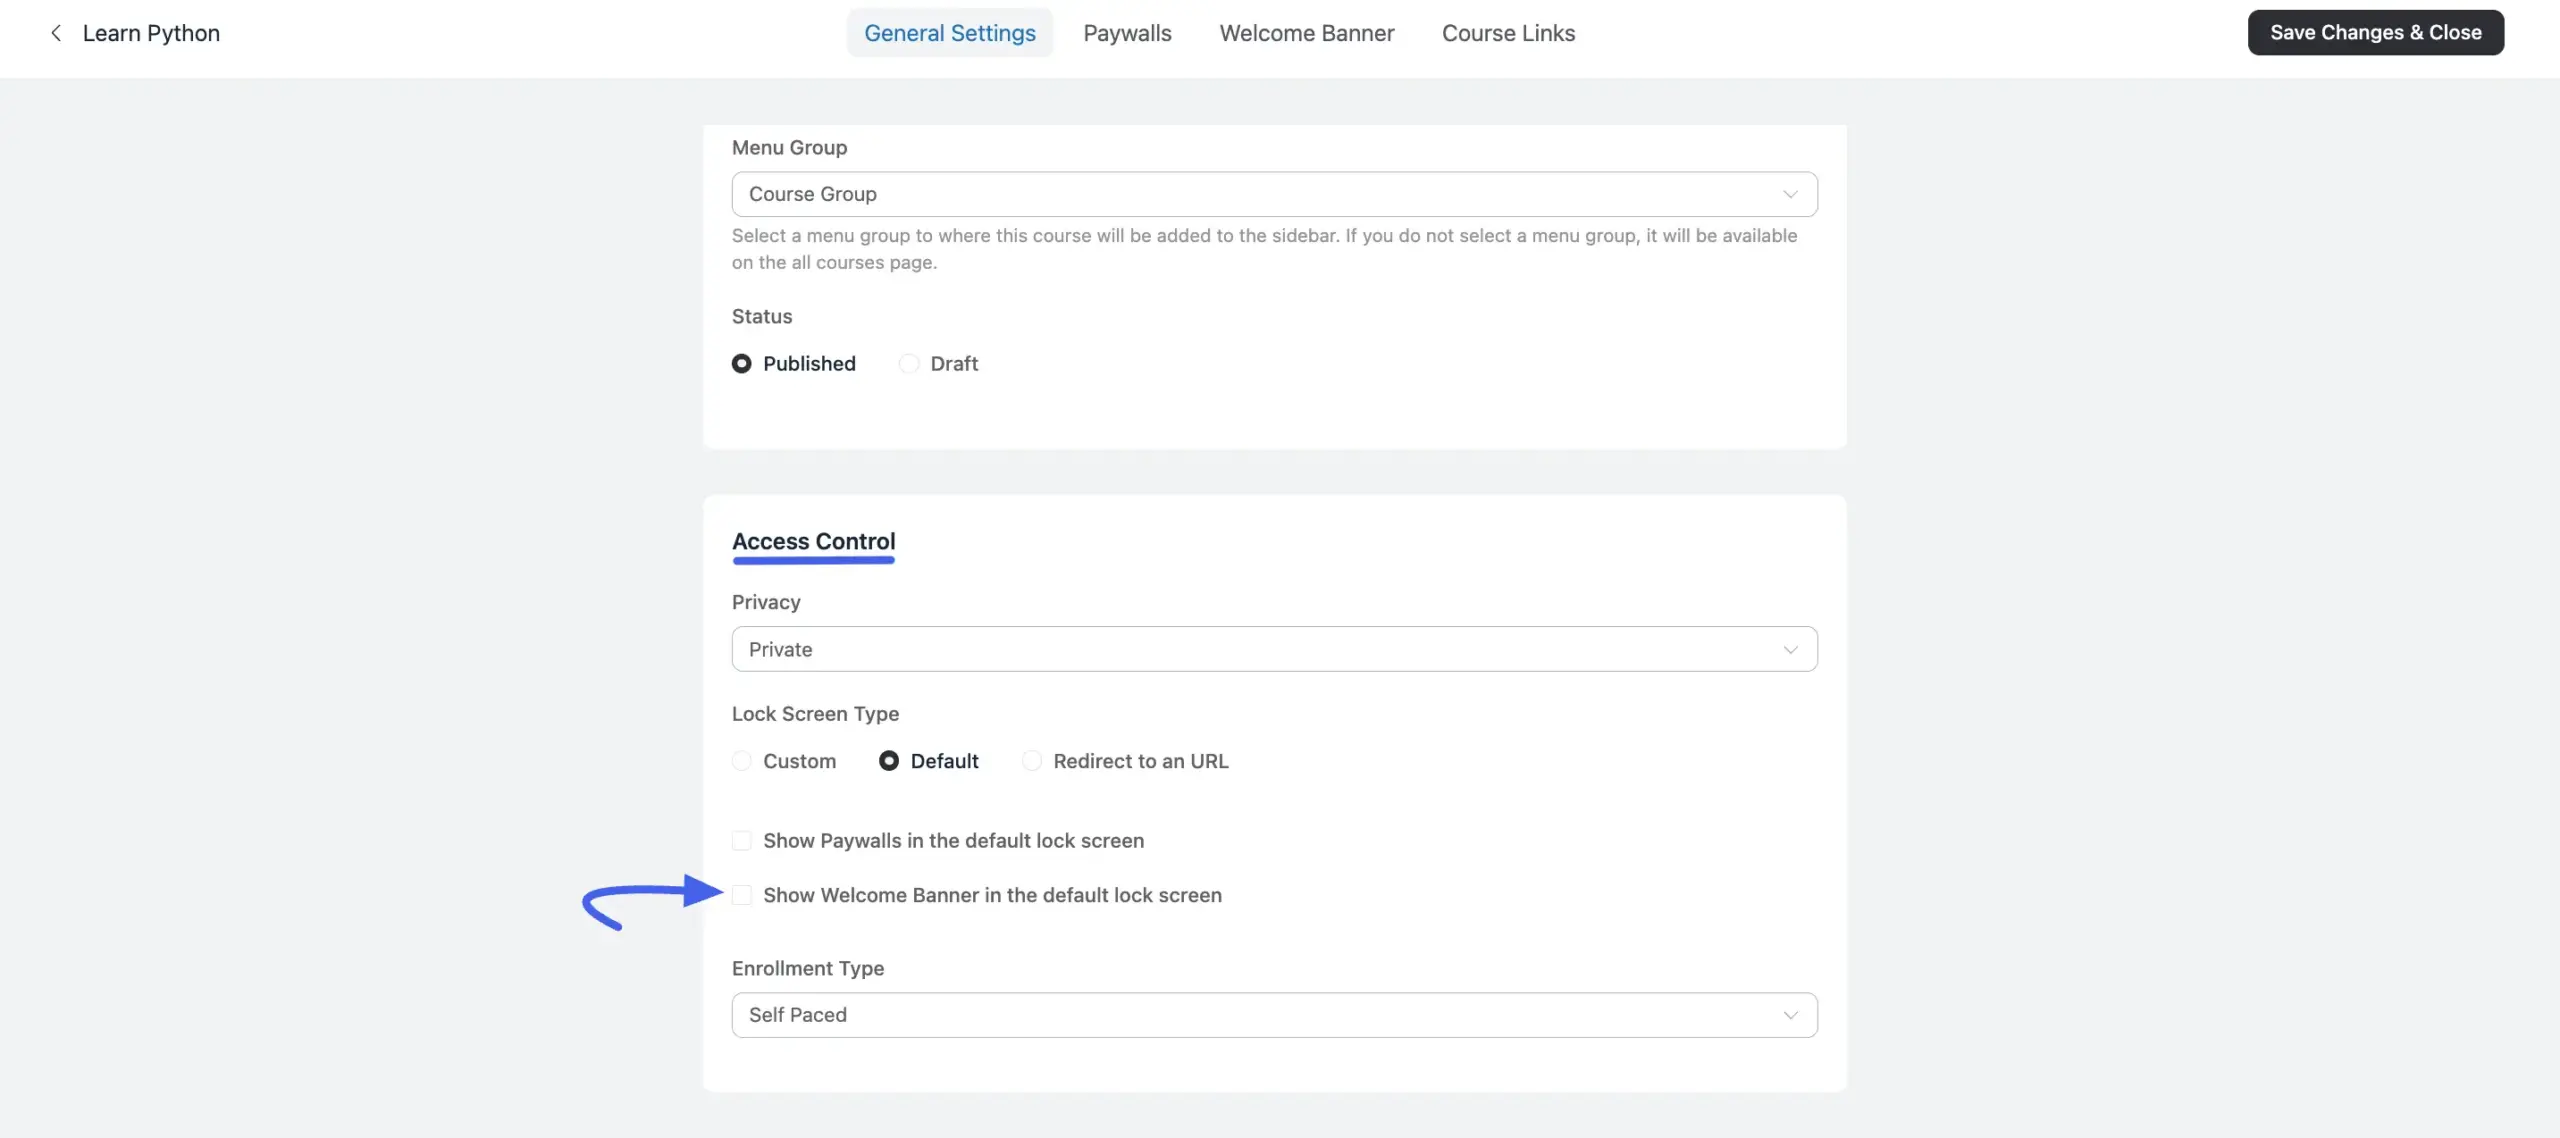
How visitors see your Welcome Banner depends on your course privacy settings, which you'll find in the General Settings tab.
- Private Courses: If your course privacy is set to Private and you use the default lock screen, you must check the box that says Show Welcome Banner in the default lock screen. If you don't check this box, the Welcome Banner will not show up.
- Public and Secret Courses: If your course privacy is set to Public or Secret, the Welcome Banner shows on the navbar automatically. You don't need to check any extra boxes.
Set Up the "Enrolled" View
This view shows up as soon as a student opens the course. It's a great place to put a welcome screen, give directions, or share rules.
- Click the Enrolled tab at the top of the screen.
- Turn on the switch that says Enable for enrolled members.
- Choose what kind of media you want to show at the top of the banner.
How to add an image:
- Click the circle next to Image.
- Click the Upload Image button to pick a picture from your computer. The best size is 1680 × 600 pixels.
How to add a video:
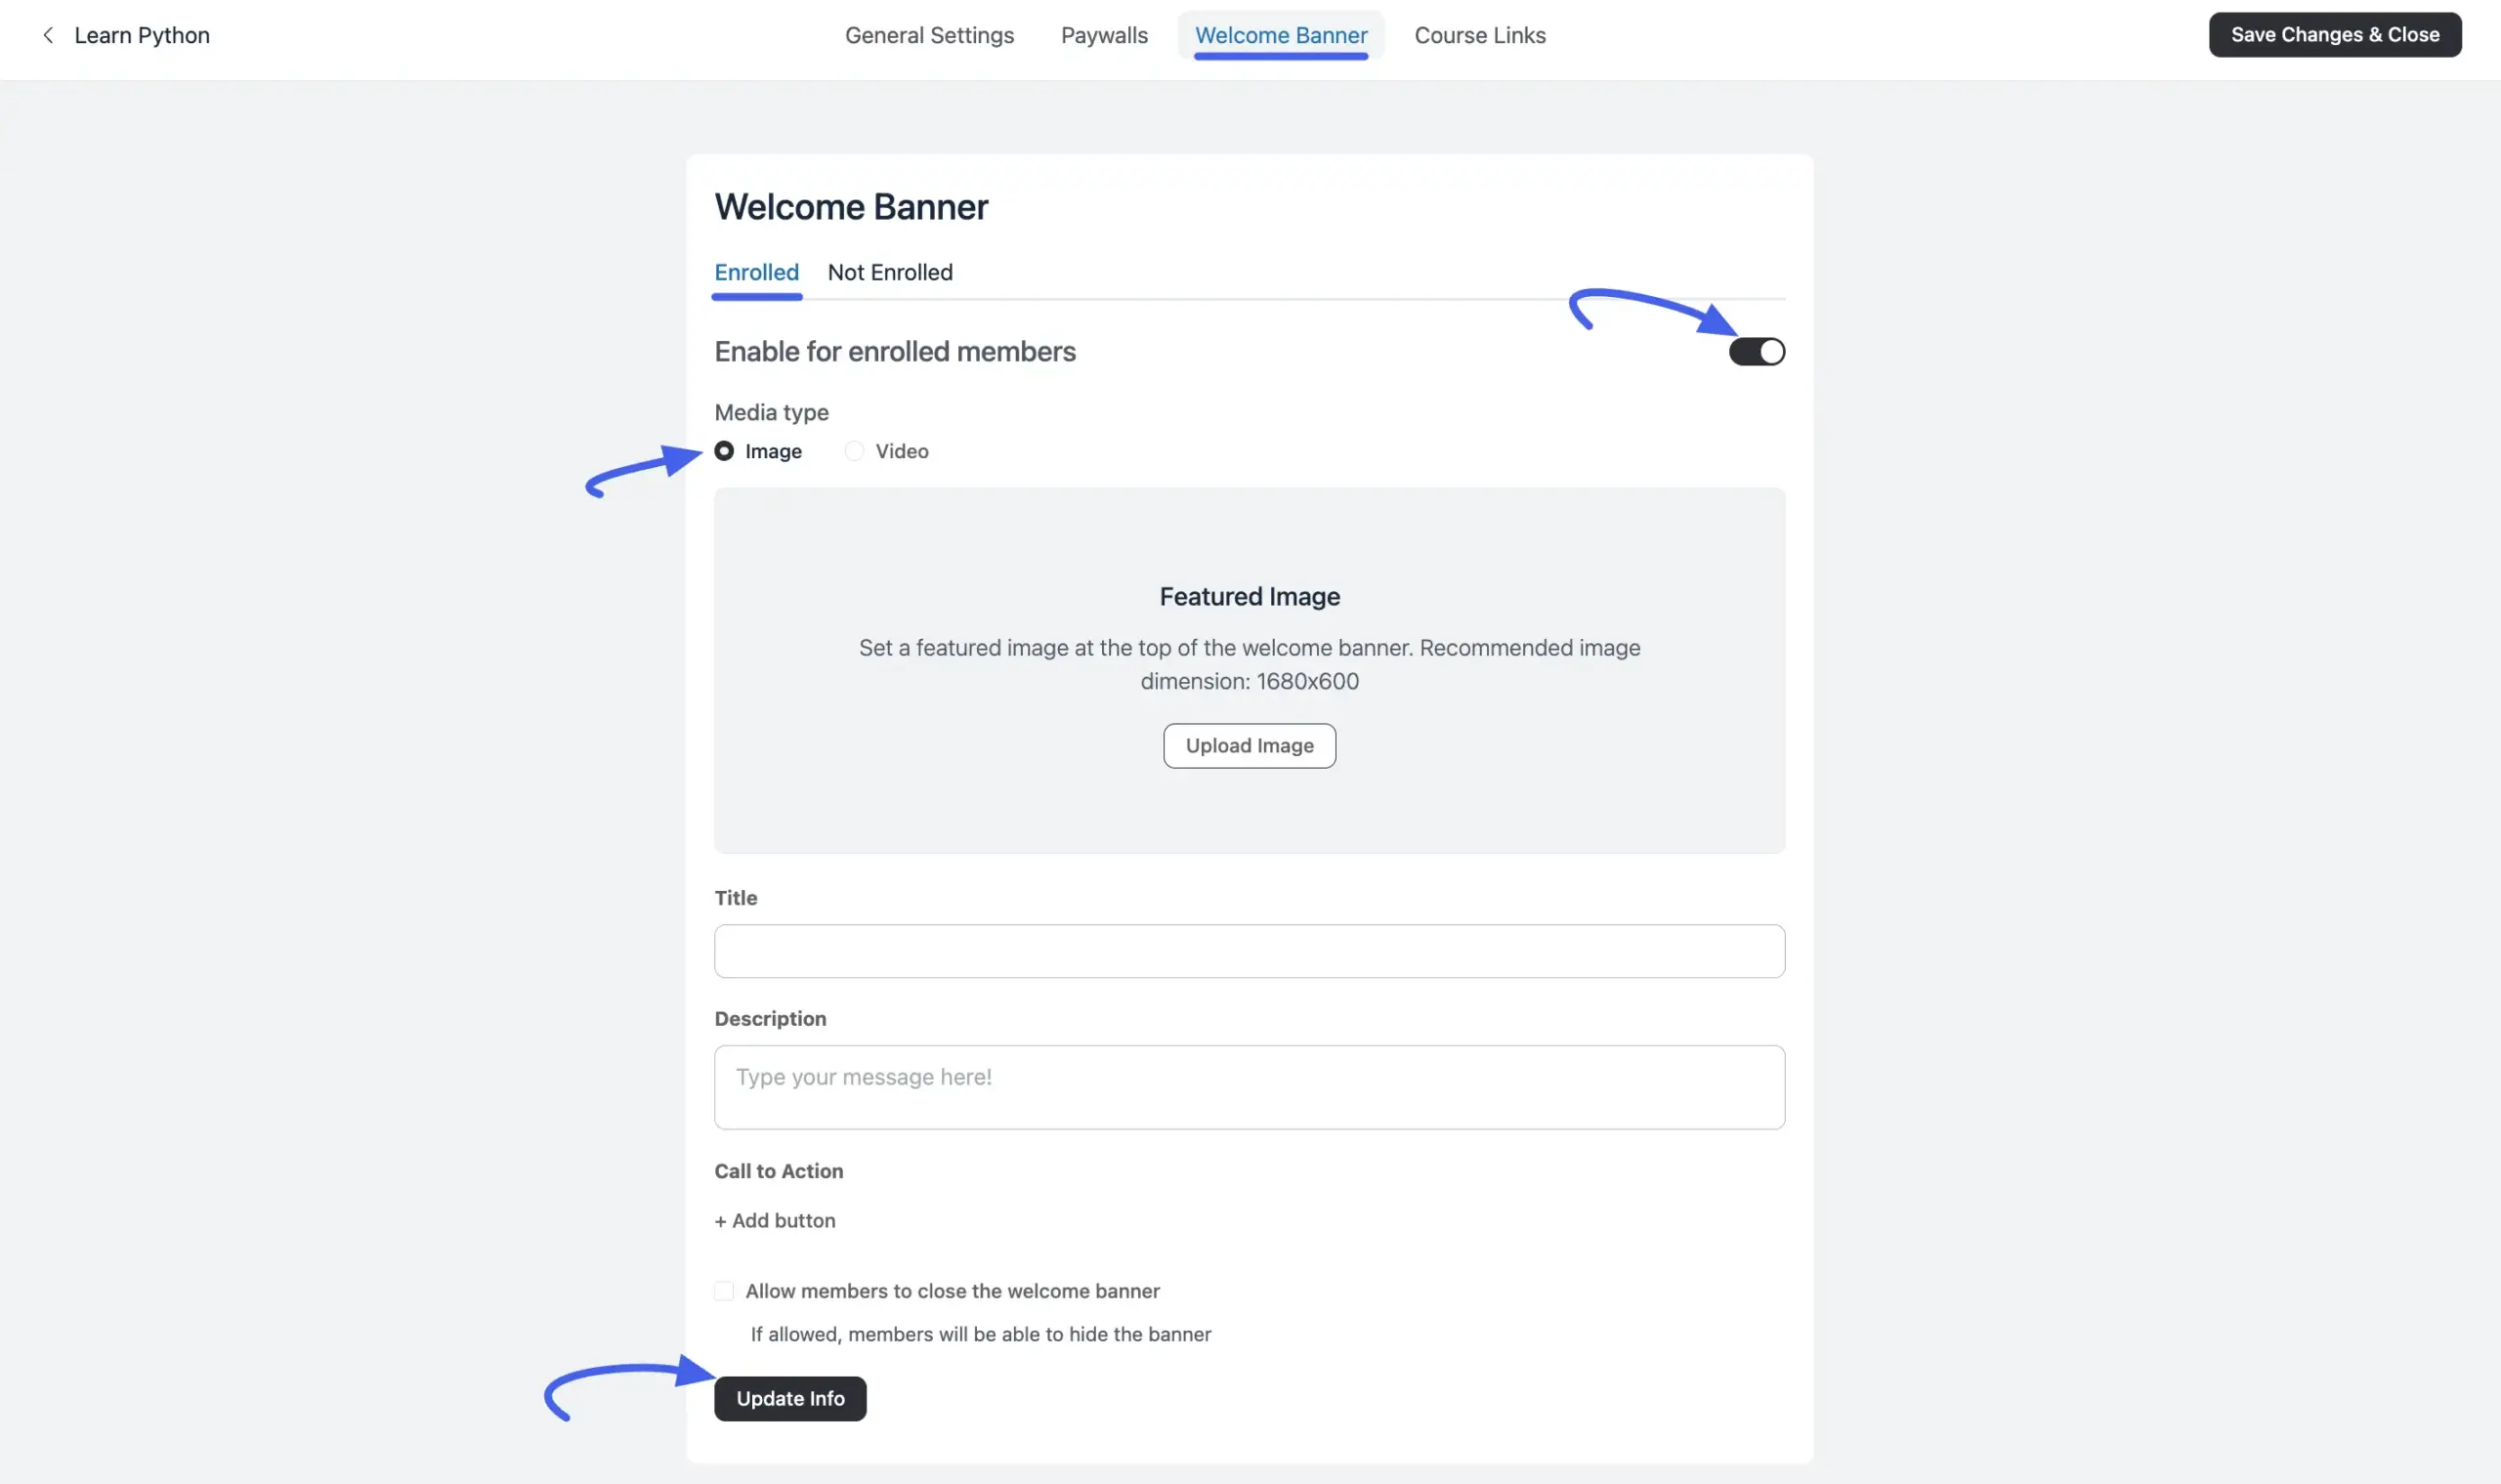
- Click the circle next to Video.
- Choose Oembed to paste a regular video link — from YouTube or Vimeo, for example — into the box.
- Or choose HTML Code to paste the raw embed code.
- Click the Embed button to load your video.
Then finish the rest of the banner:
- Type a clear Title and Description to welcome your students and tell them what to do next.
- Under Call to Action, click the + Add button to create clickable buttons. For each button you can type the text (Button Label), paste the link (Button Link), pick the style (Button Type), and choose whether it should open in a new tab.
- Check the box that says Allow members to close the welcome banner if you want to let students hide the message.
- Click the dark Update Info button at the bottom to save this section.
Set Up the "Not Enrolled" View
This view acts as a landing page. It helps you show the value of your course to people who haven't joined yet.
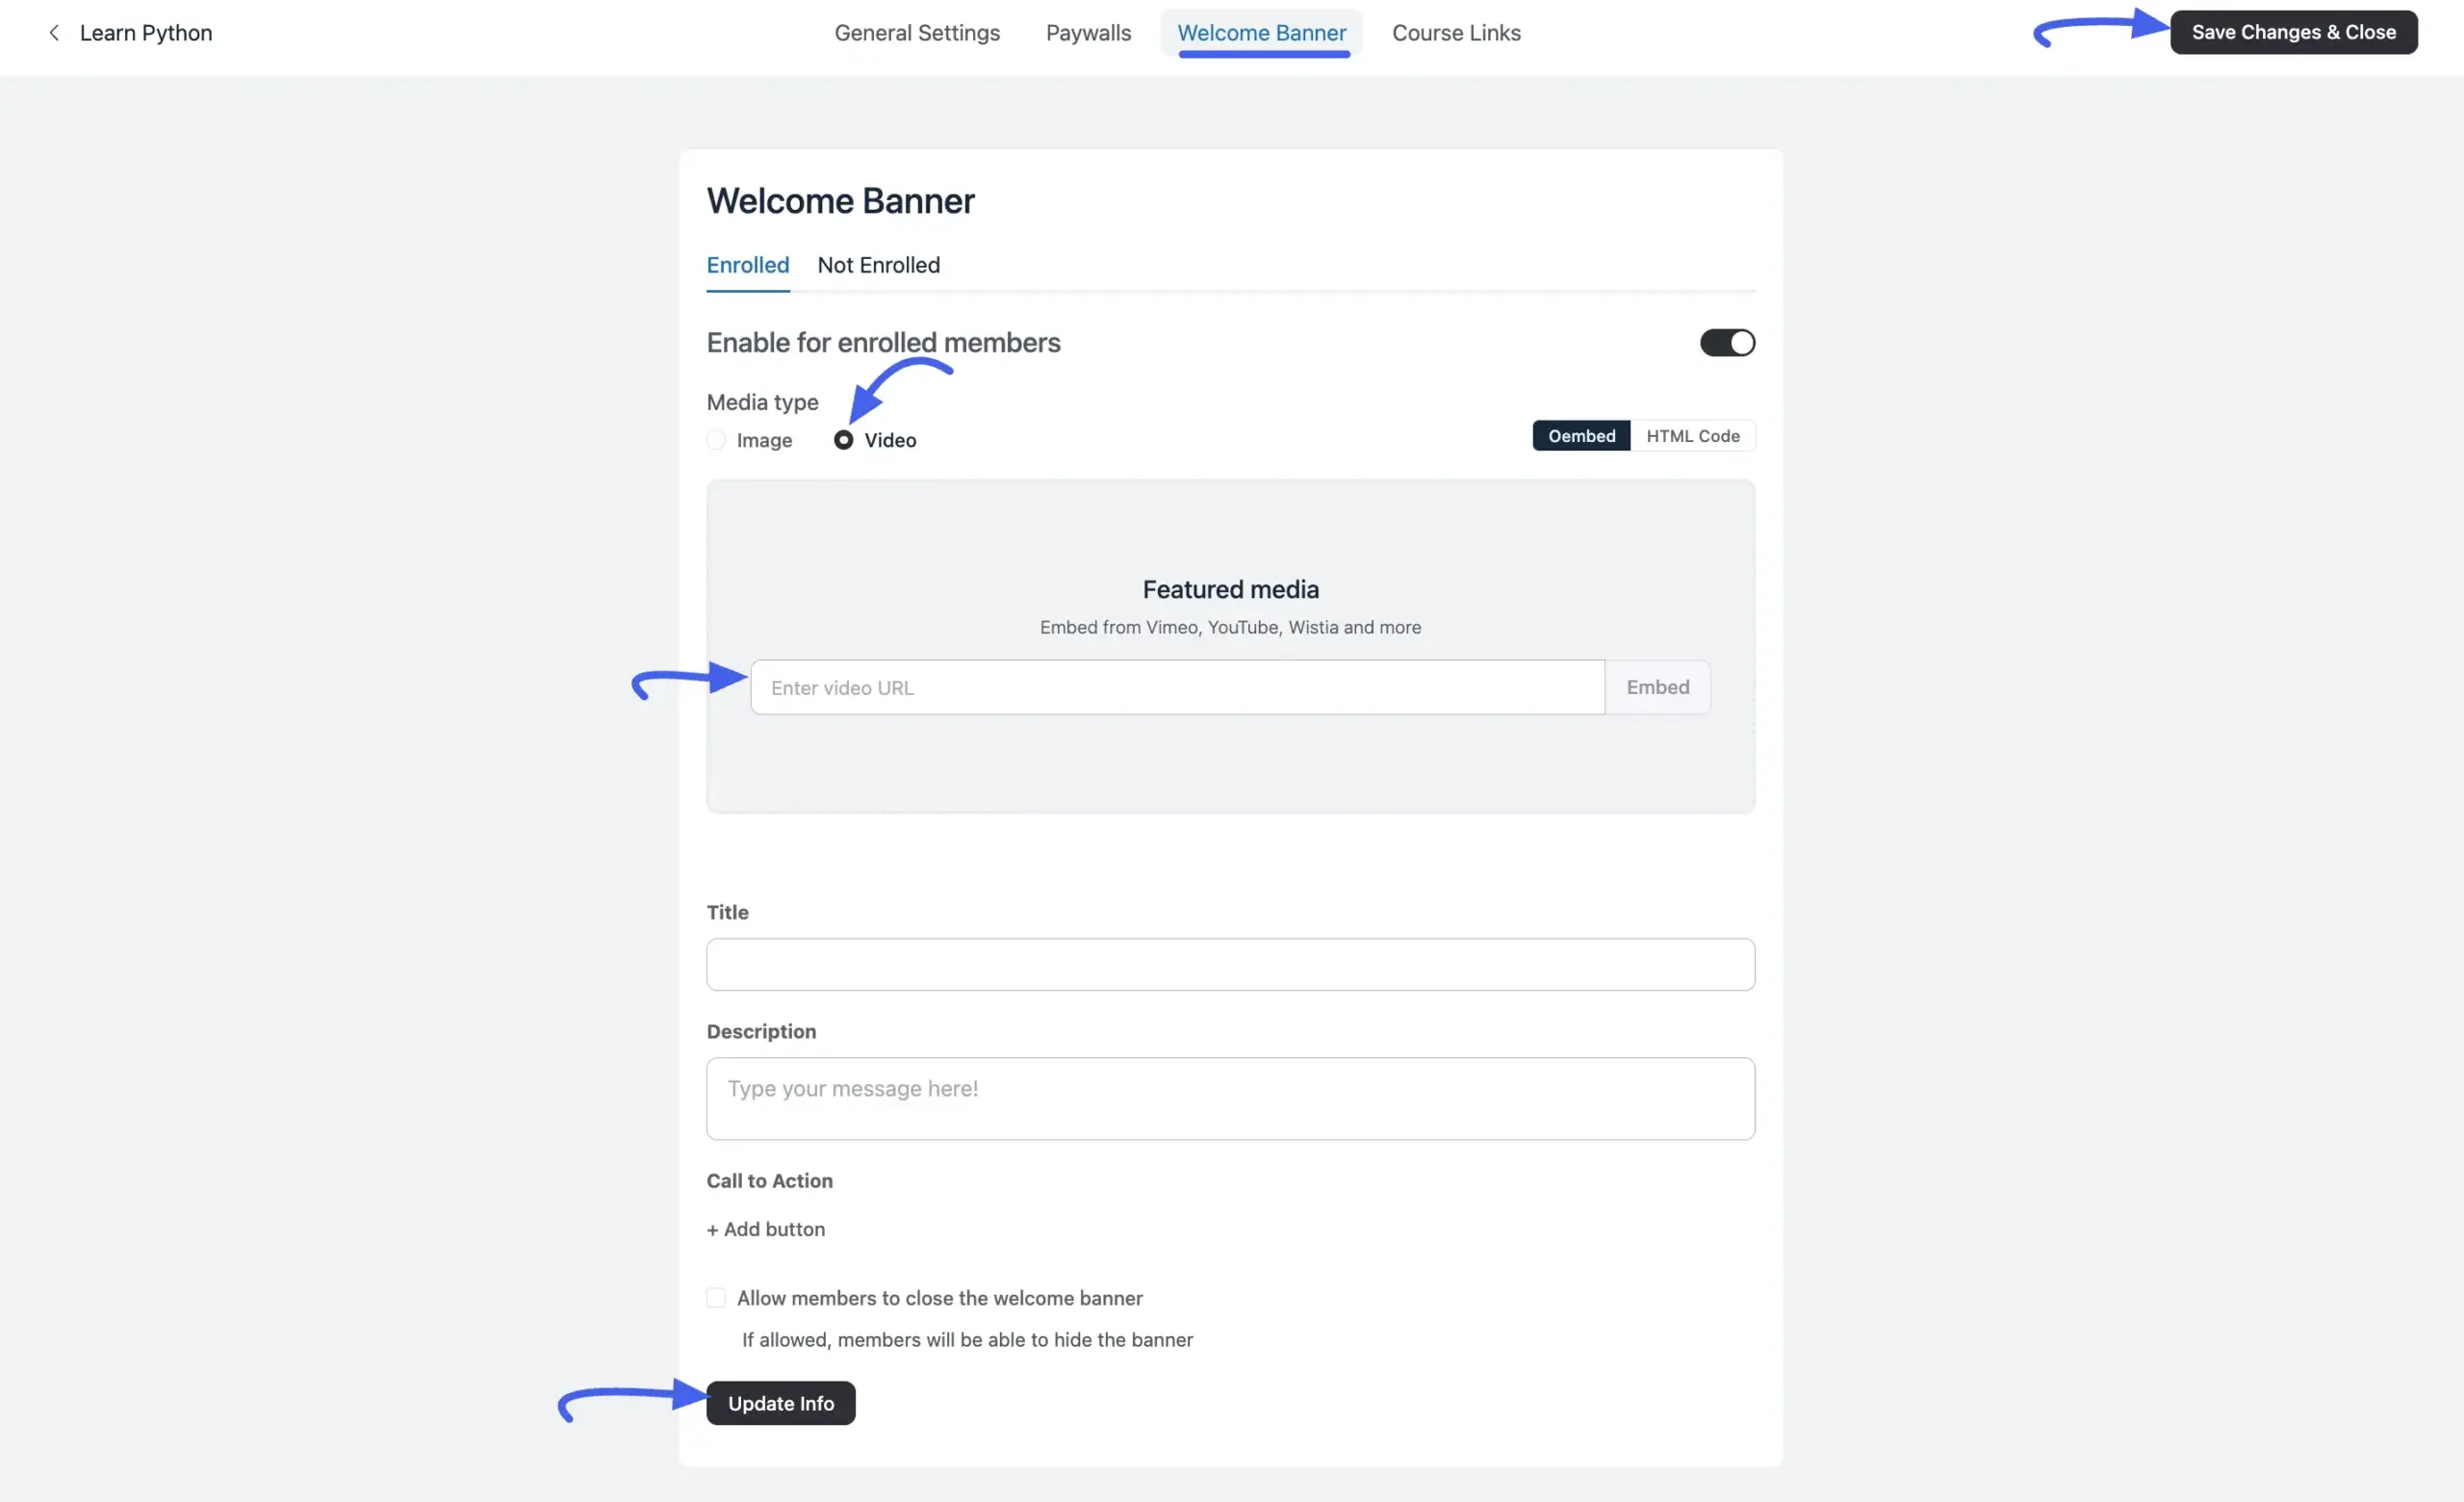
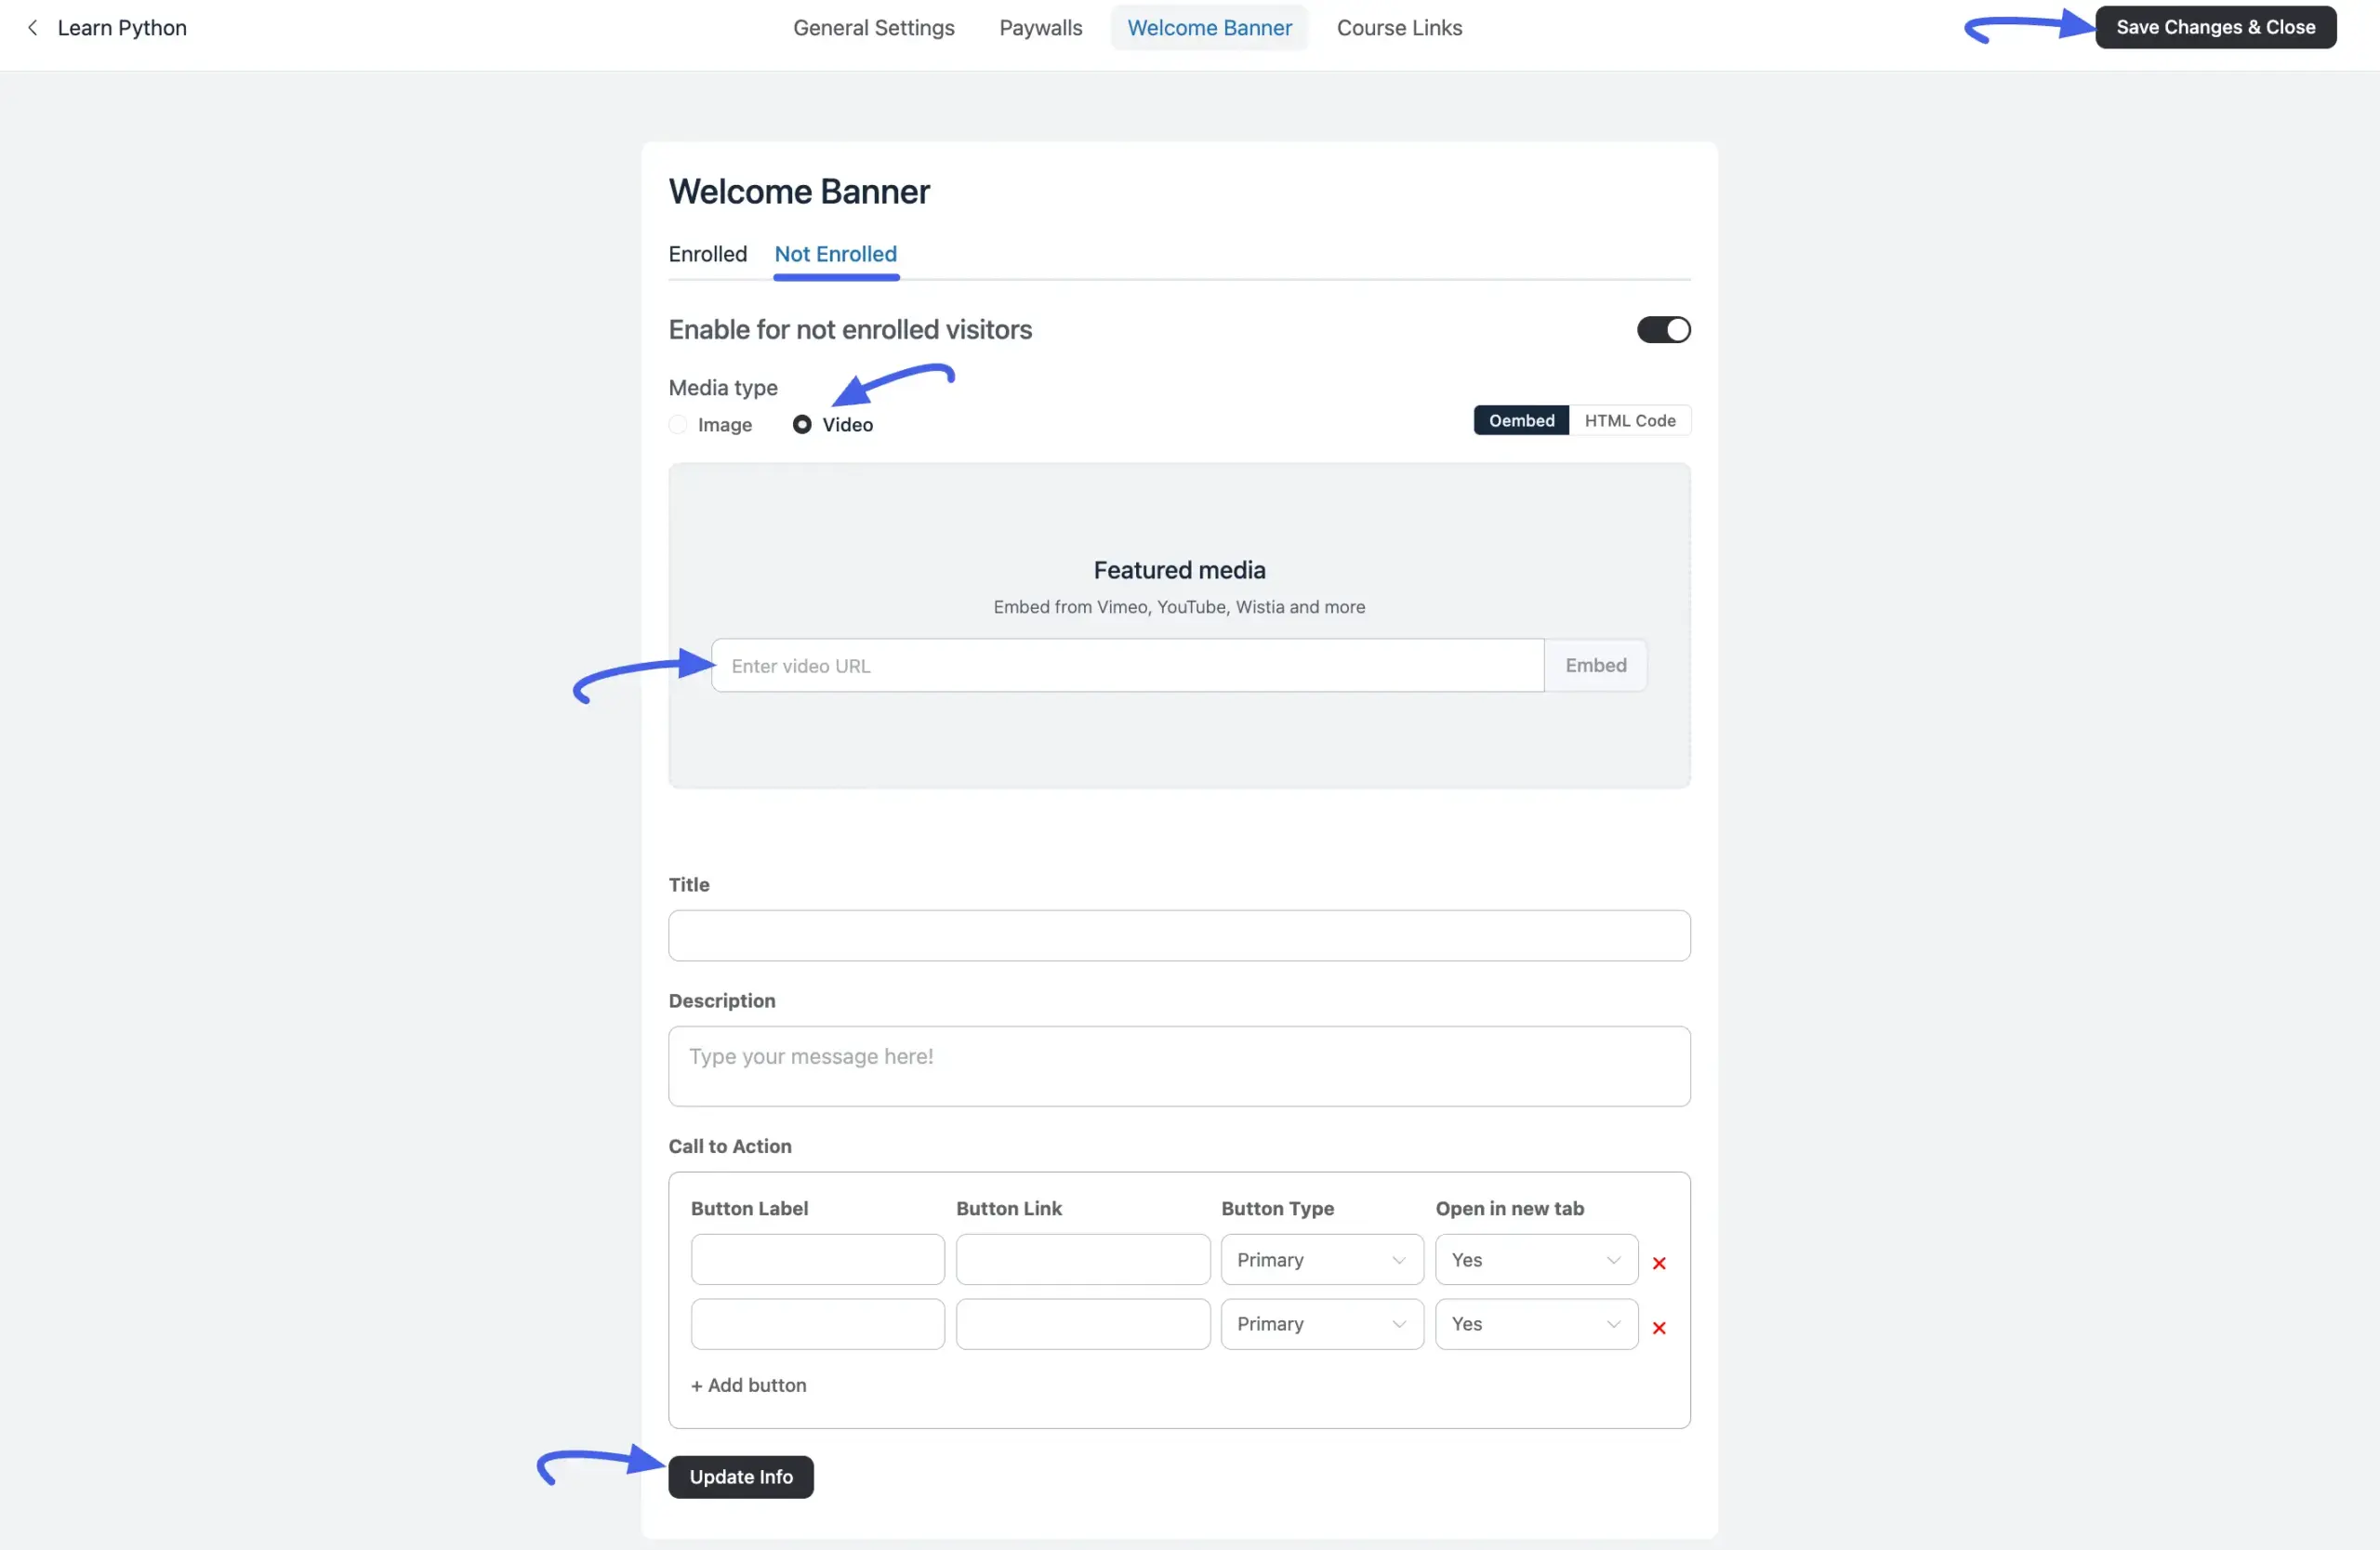
- Click the Not Enrolled tab at the top of the screen.
- Turn on the switch that says Enable for not enrolled visitors.
- Choose the media you want to use to grab their attention.
How to add an image:
- Click the circle next to Image.
- Click the Upload Image button to add an eye-catching picture.
How to add a video:
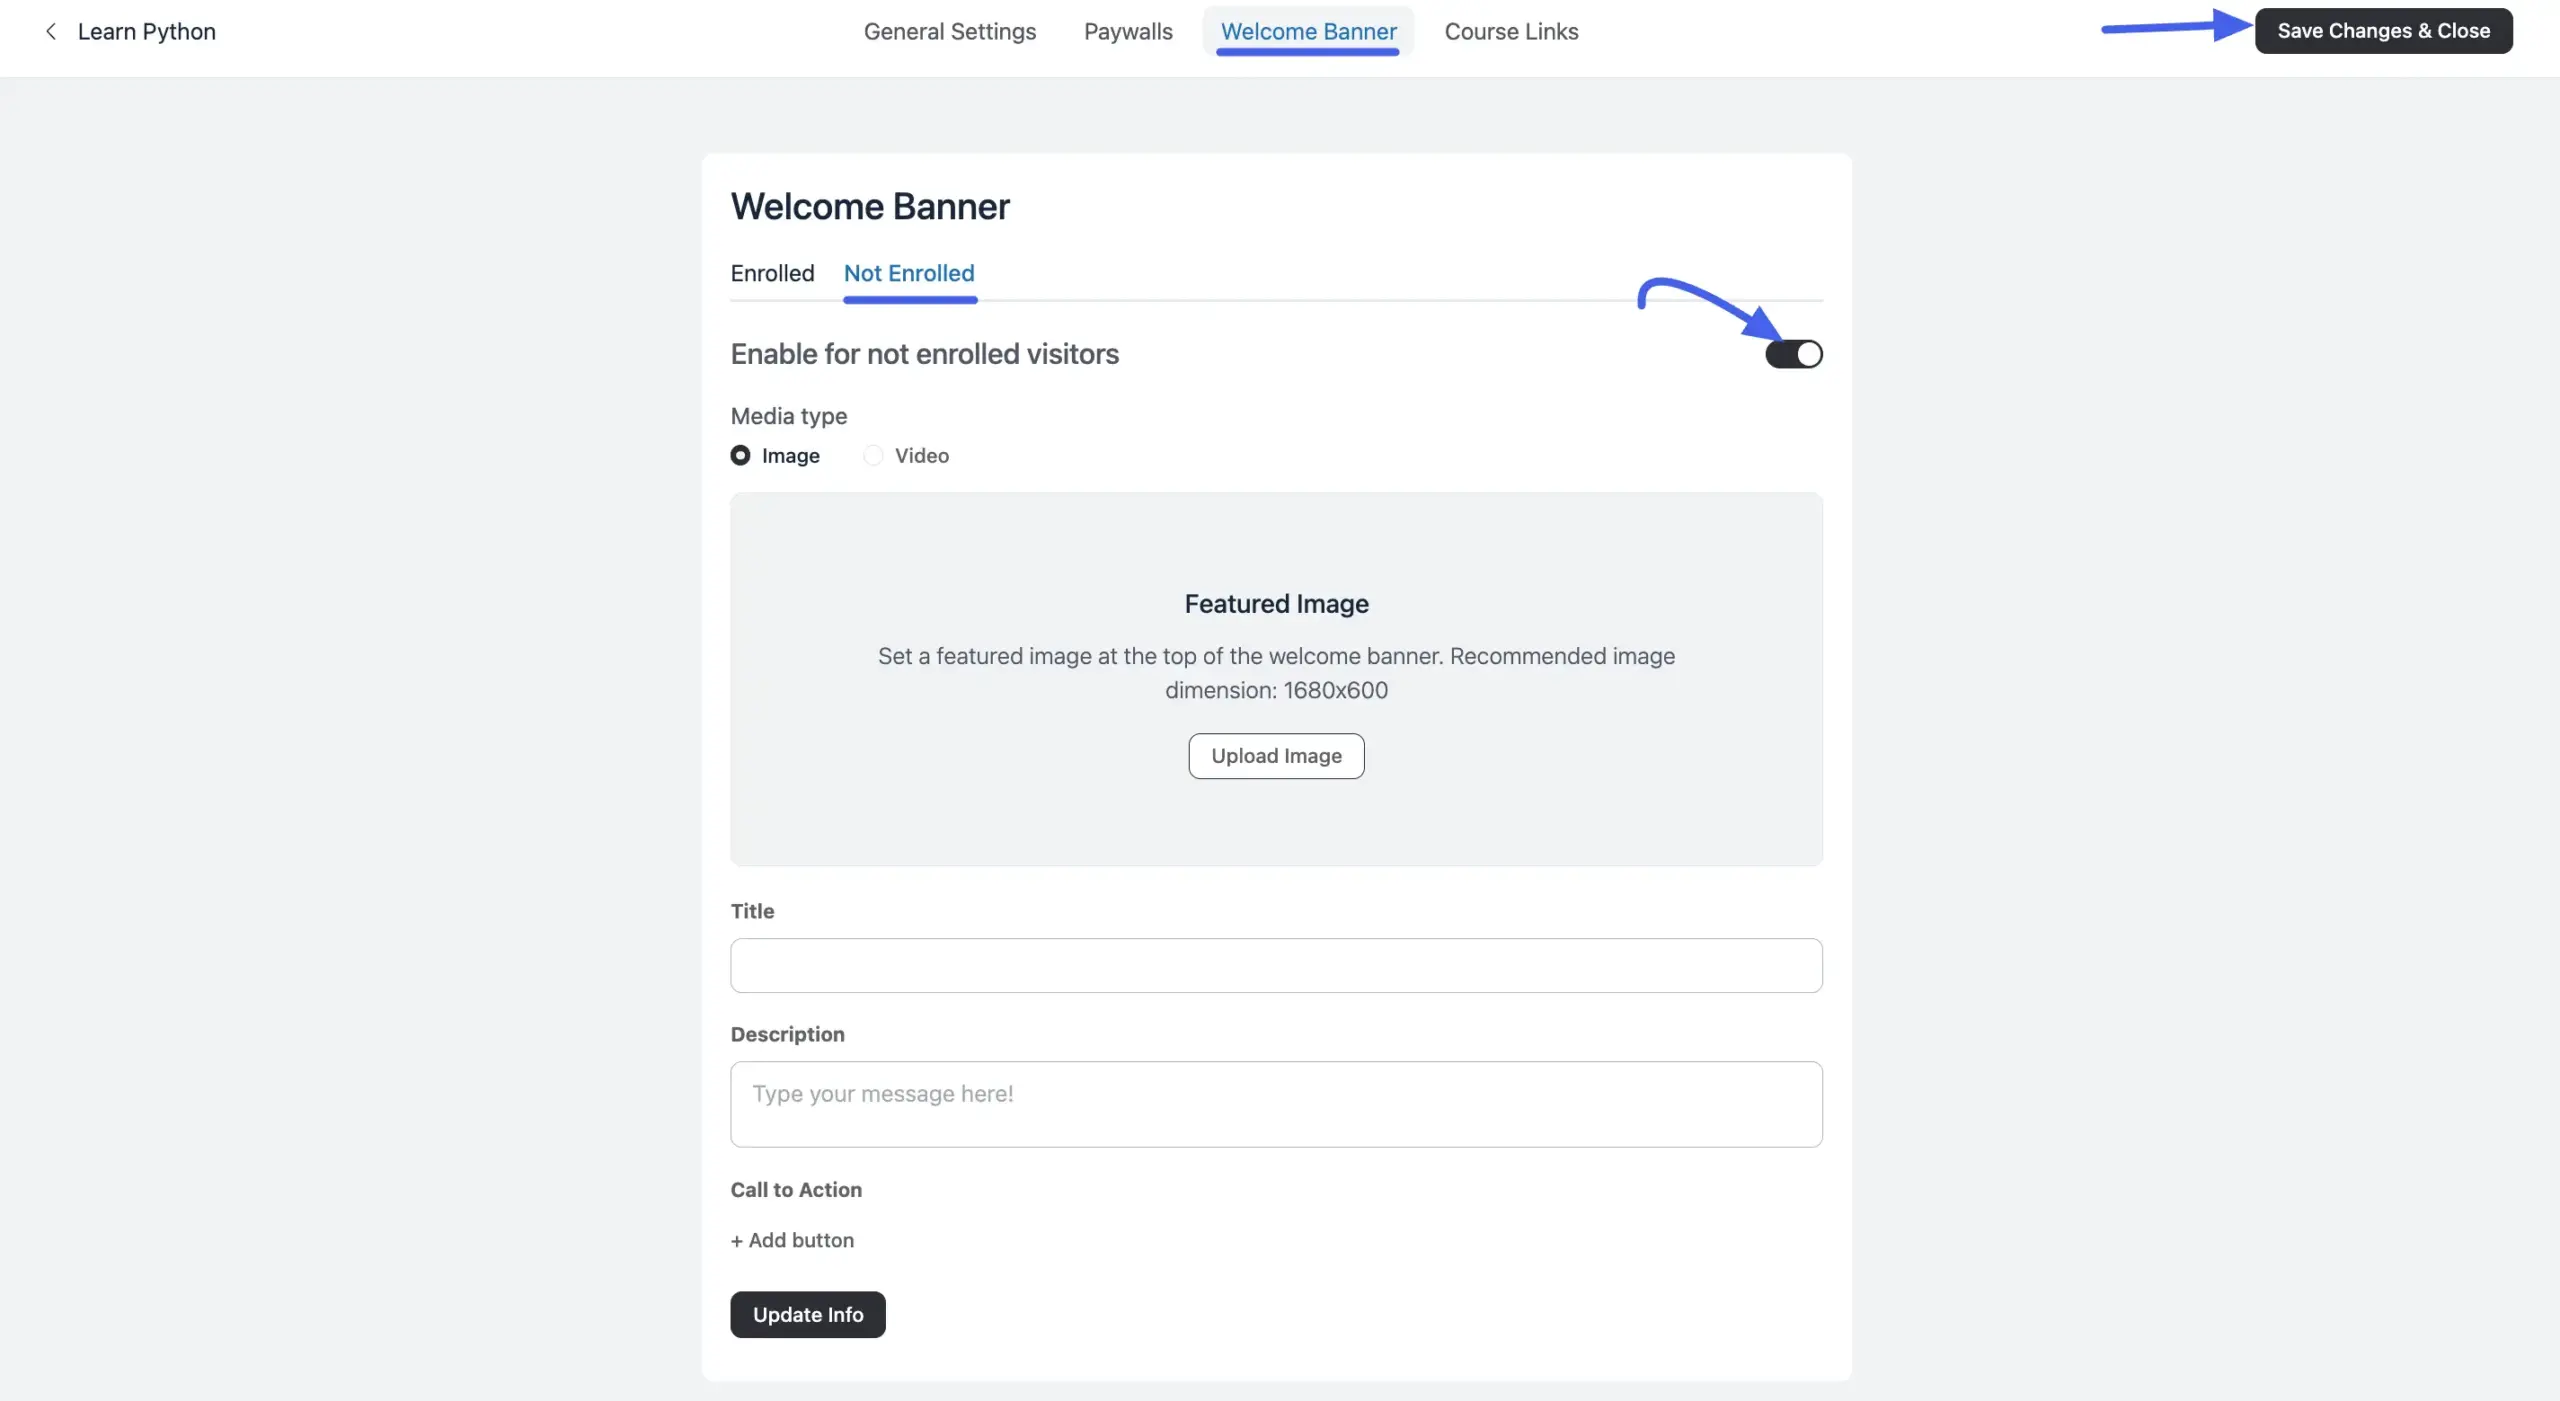
- Click the circle next to Video.
- Choose Oembed to paste a link, or HTML Code to paste an embed script.
- Click the Embed button to add your sales or intro video.
Then finish the rest of the banner:
- Type a Title and Description that explain exactly what the course is about and why someone should join.
- Click the + Add button under Call to Action to make buttons like "Enroll Now" or "Free Preview." Fill out the button label, link, style, and tab settings.
- Click the dark Update Info button at the bottom to save this section.
Saving Your Work
After you update both tabs, always click the dark Save Changes & Close button in the top-right corner of the screen to save everything to your course.
Previewing Your Welcome Banner
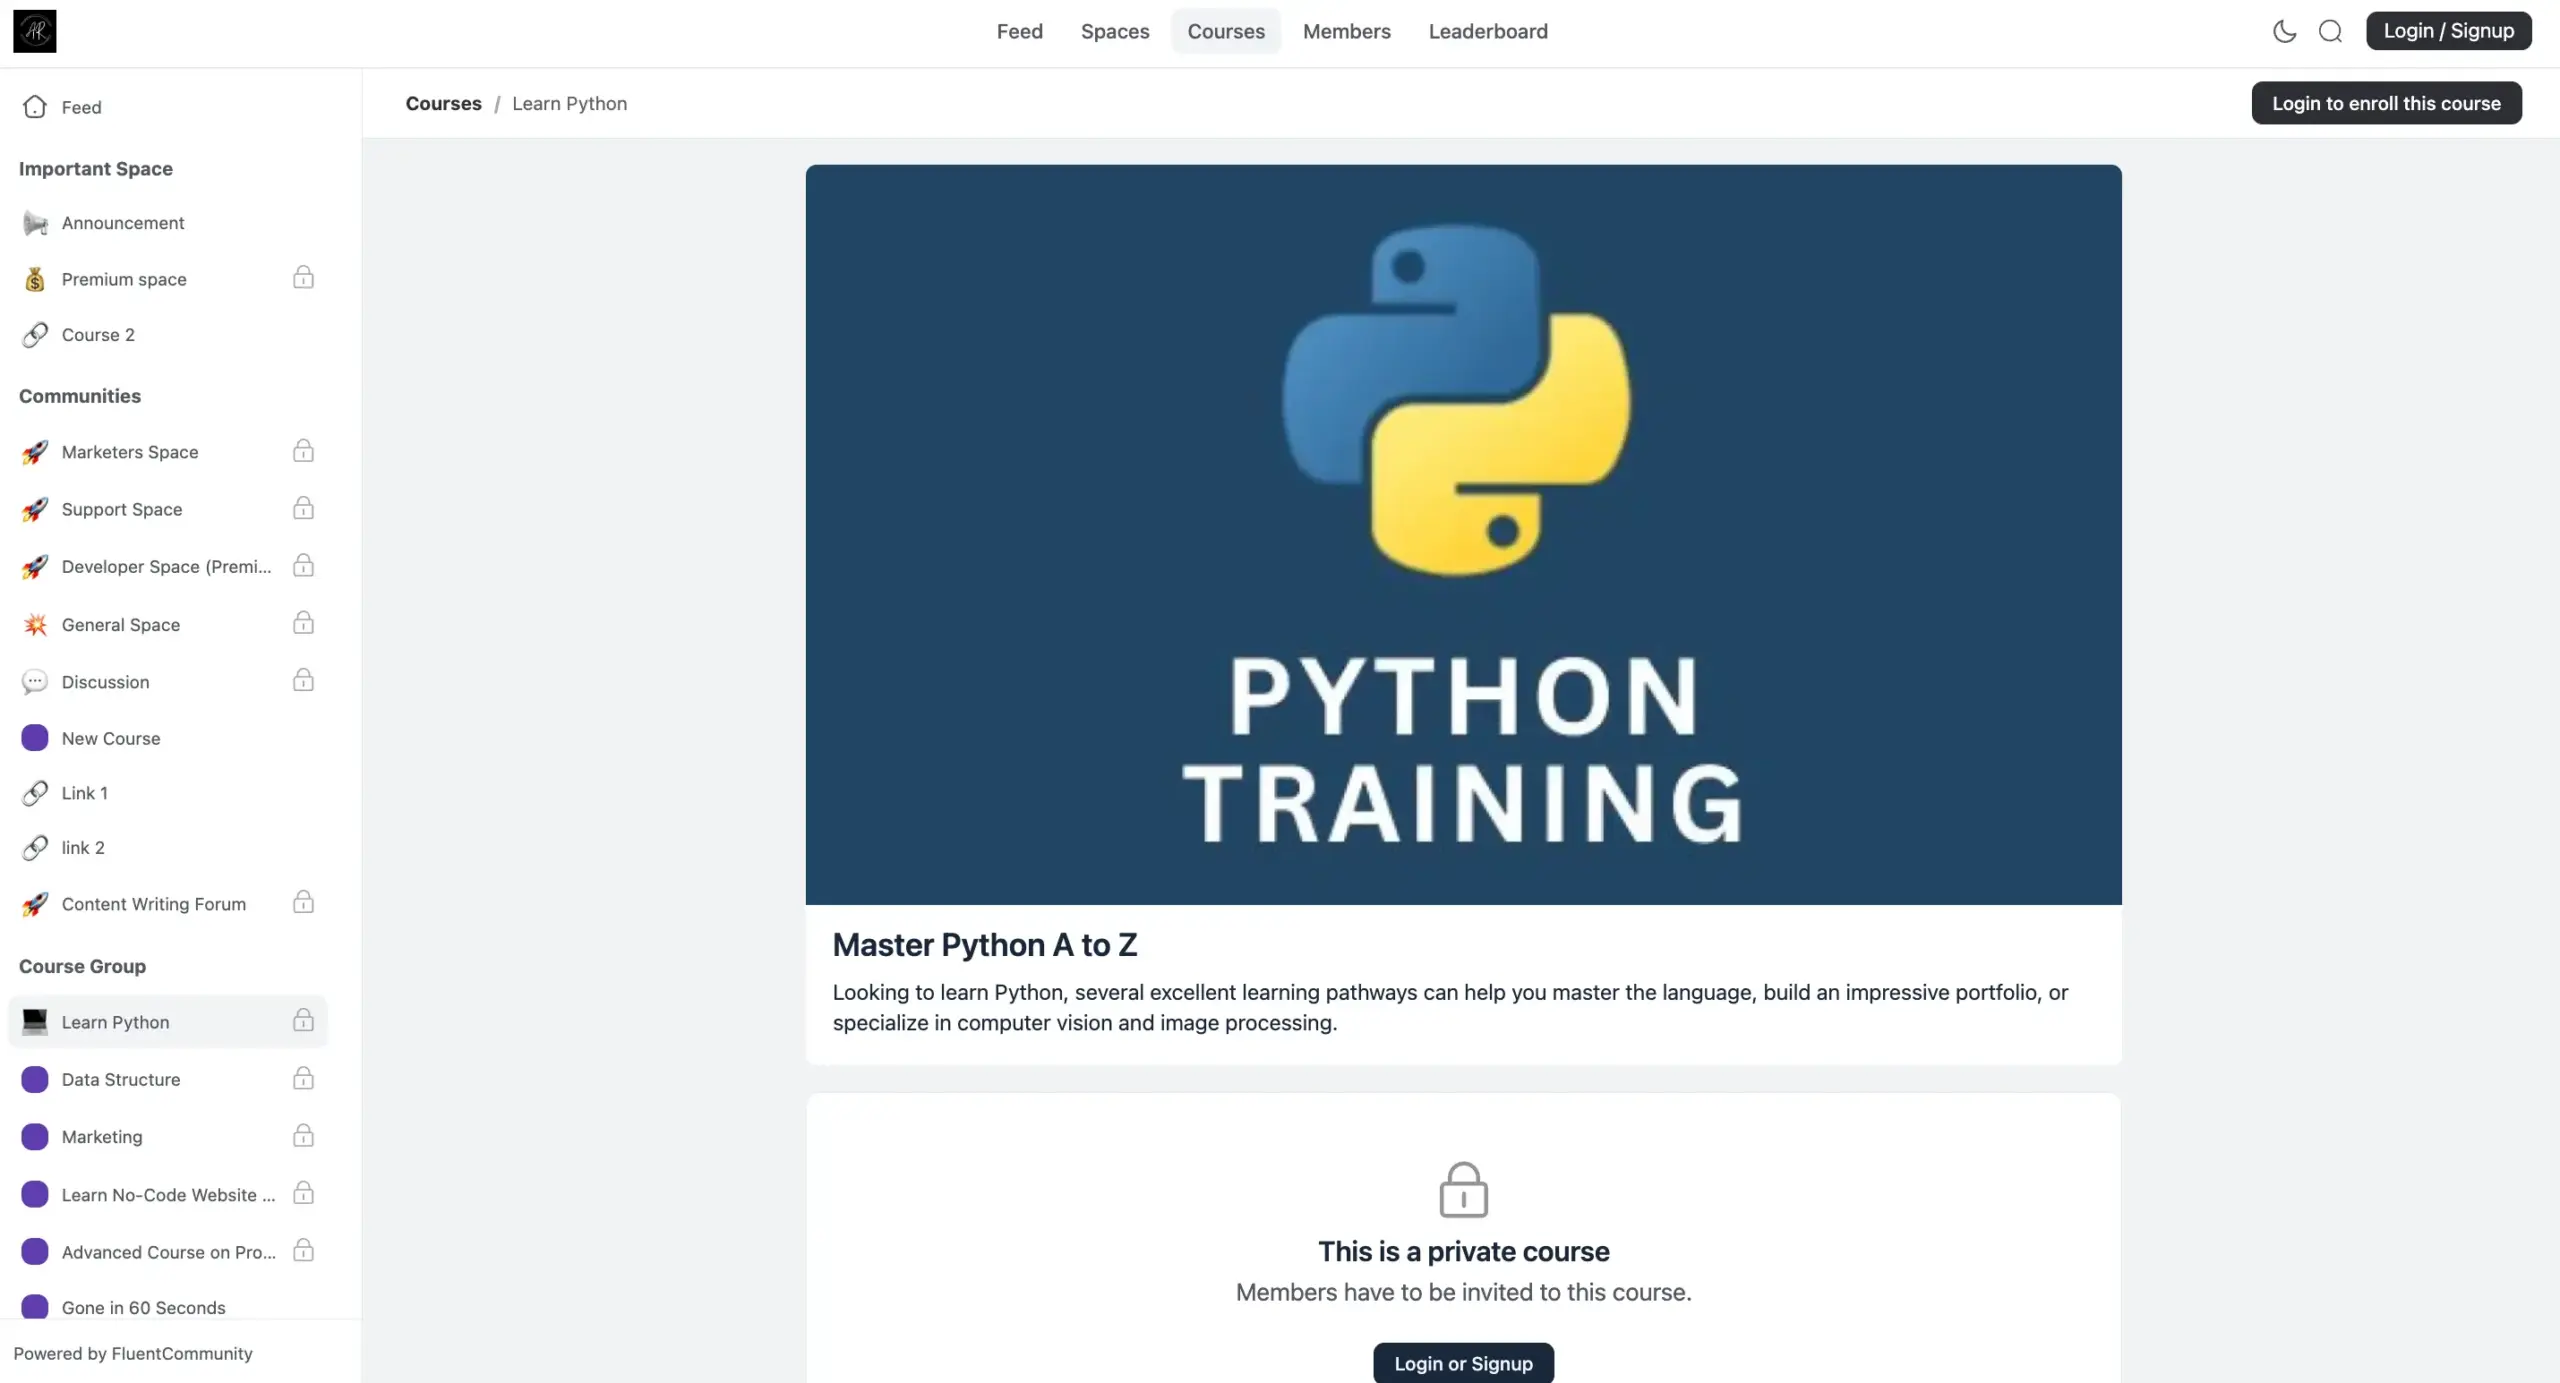
Once you've finished setting up your Welcome Banner, it's always a good idea to check how your new image or video looks on the live course page. Below is the "Not Enrolled" (visitor) view of the Welcome Banner.
WARNING
Always test your course page to make sure your images fit well, your text is easy to read, and your videos play smoothly before you invite real members.
For the portal-wide equivalent of this feature, see Welcome Banner.