

Appearance
Creating & Editing Posts
Posts are the lifeblood of your community. They are the primary way for you and your members to share updates, ask questions, and start discussions. This guide covers how to create, format, and edit posts within a Space.
How to Create a New Post
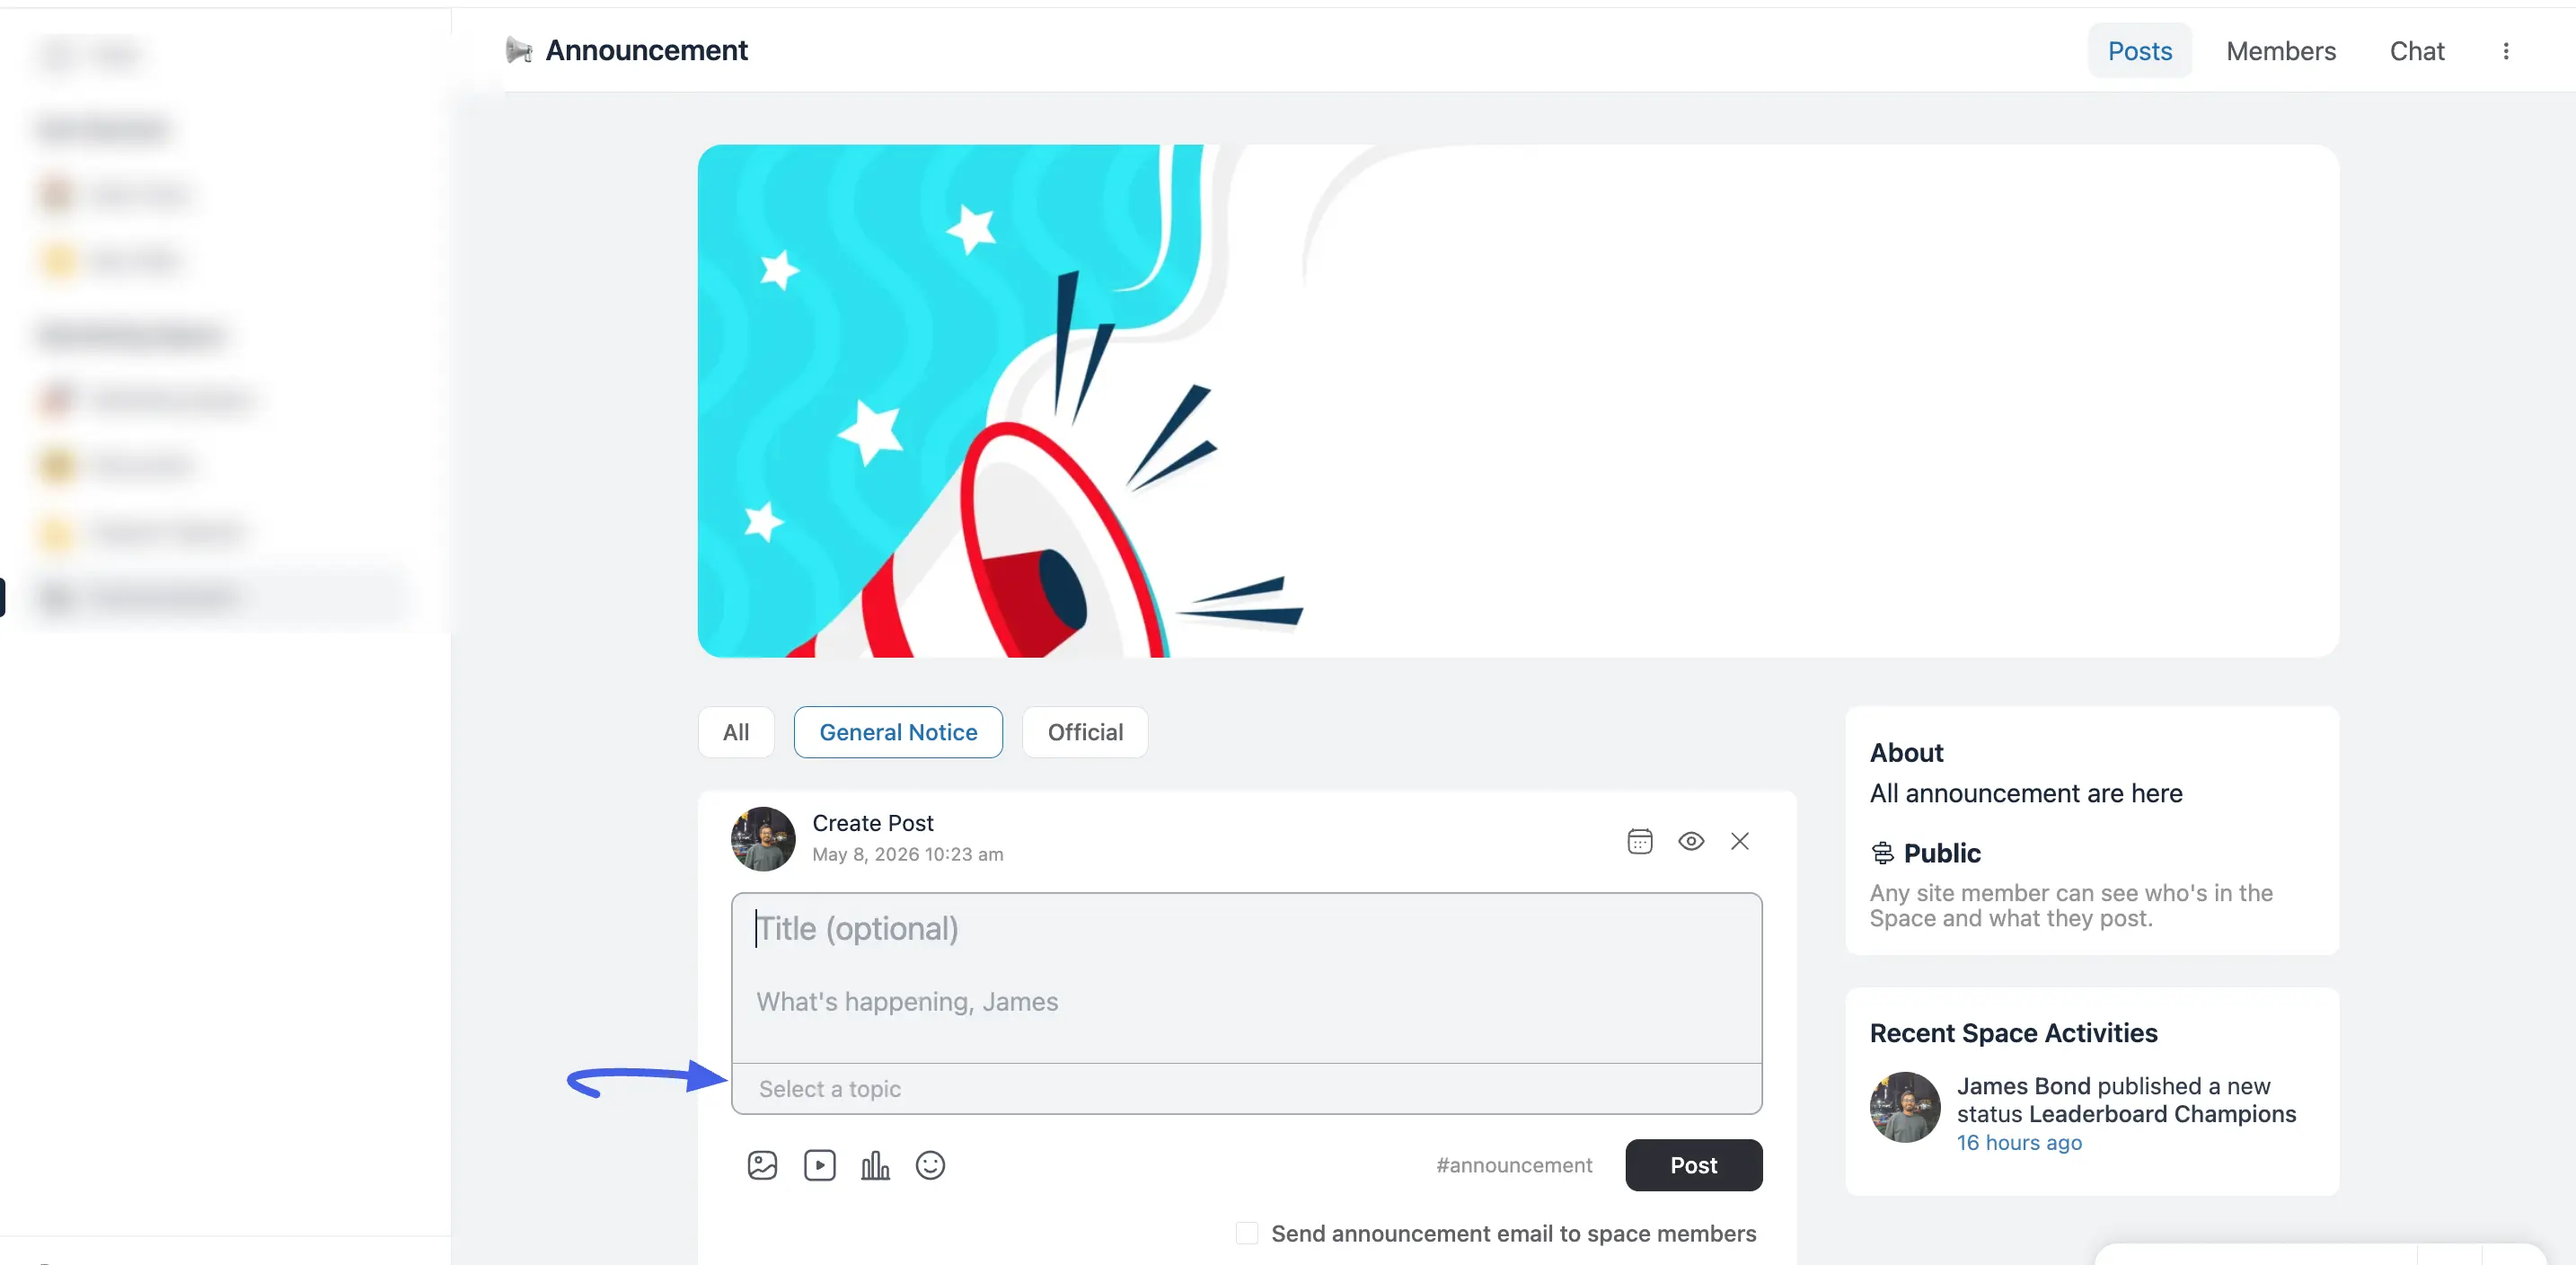
Any member of a Space can create a new post to engage with others.
- Navigate to the Space: Go to the specific Space or the main community Feed where you want to share your content.
- Open the Editor: At the top of the feed, you will see a content editor box labeled "What's happening, [Name]?". Click inside it to begin writing.
- Write Your Content: Enter your message in the main text area.
- Add a Title (Optional): You can include a title to help your post stand out and summarize the topic.
- Add Media and Attachments: Use the icons at the bottom left of the editor to upload images, videos, or GIFs.
- Inline Media: You can now insert Inline Images directly within the text area by using the block selector or typing
/to select the Image option. - Select a Space: If you are posting from the main Feed, use the Posting in: Select Space dropdown to choose the correct destination for your post.
- Publish: Once you are finished, click the Post button to publish it to the feed.
Formatting Your Posts
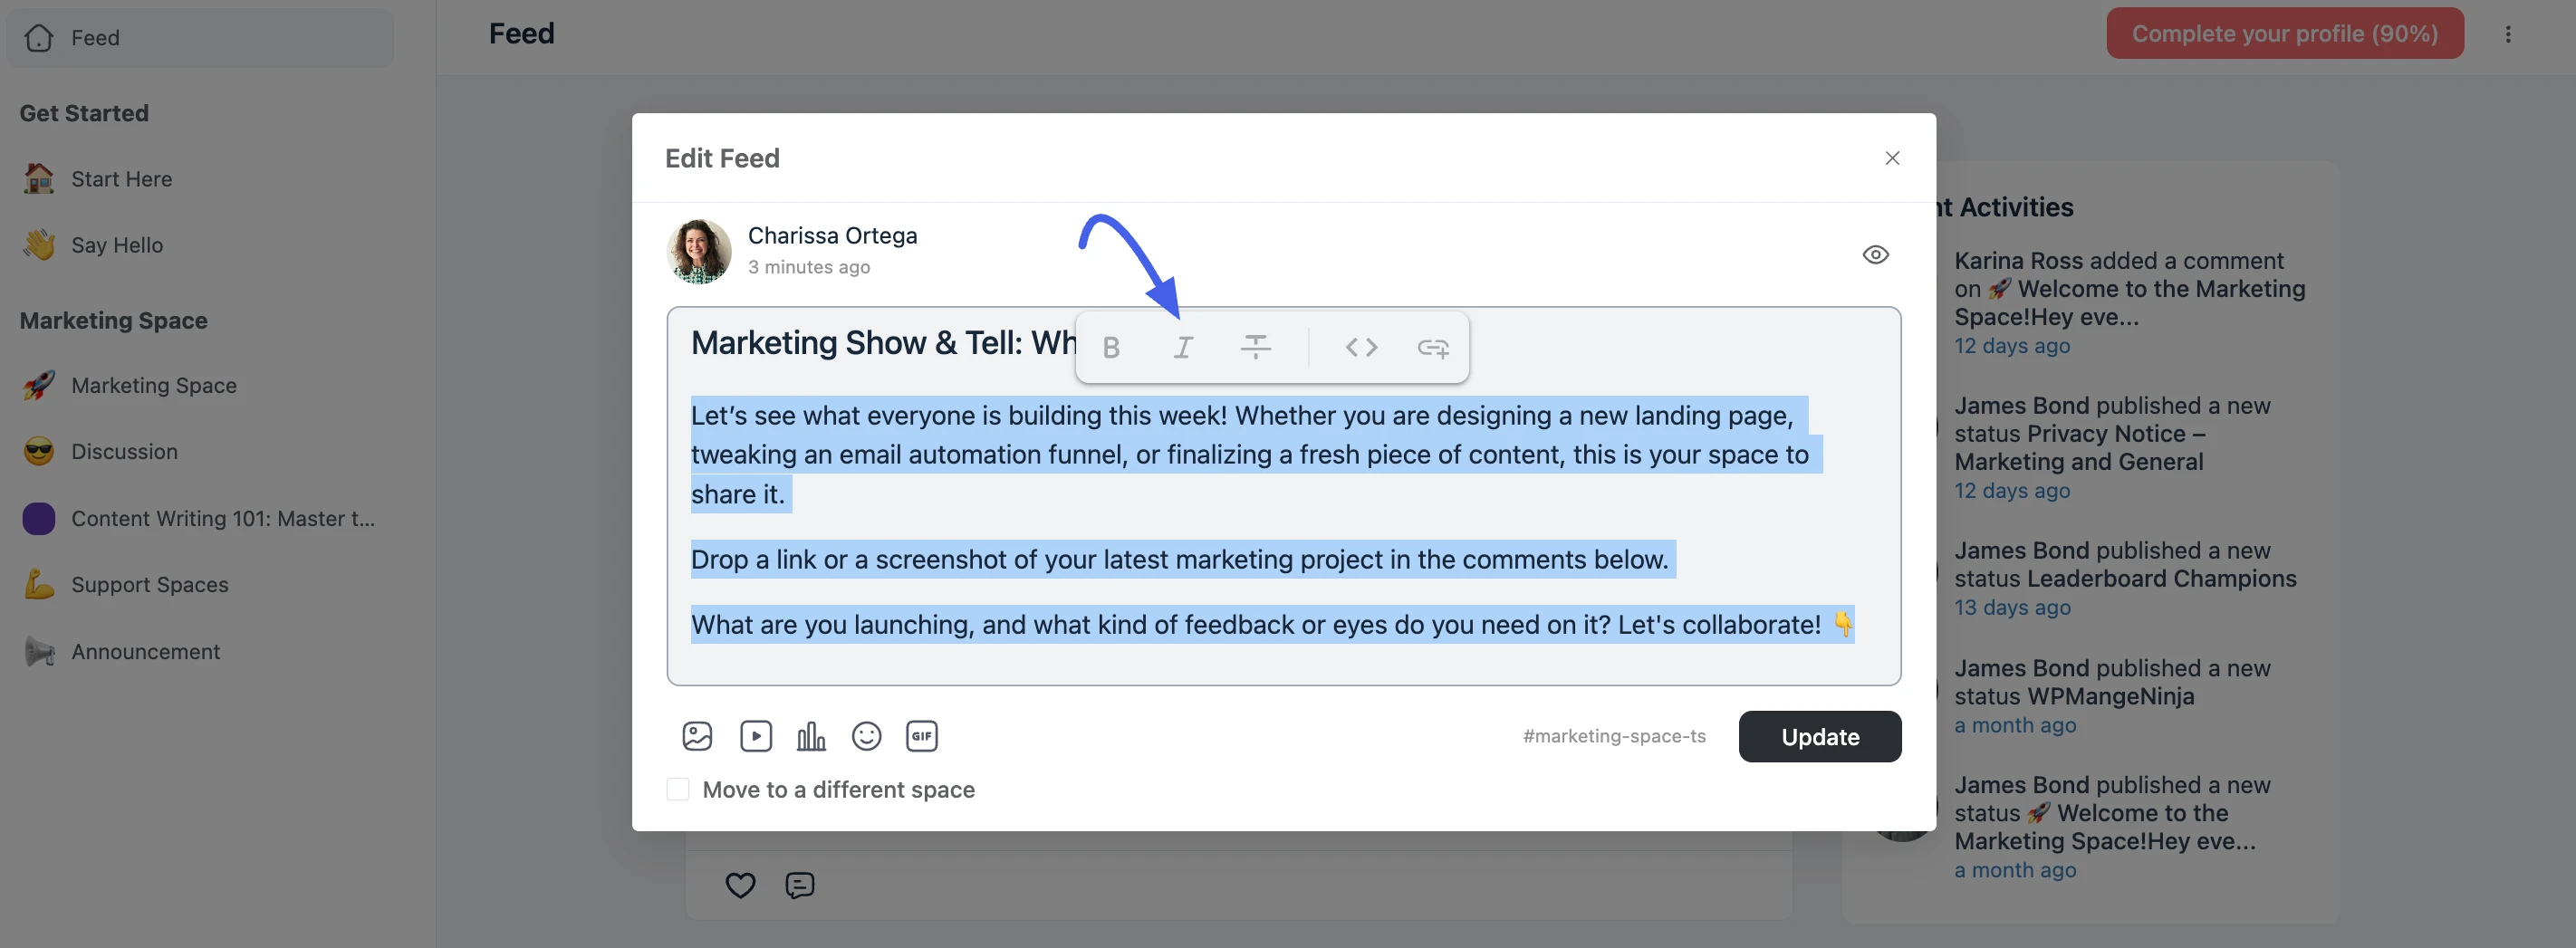
FluentCommunity uses a rich text editor, allowing you to format your posts for better clarity and emphasis. You can access formatting options by highlighting text or using the inline block menu:
- Headings: Organize your content using Heading 2, Heading 3, or Heading 4.
- Lists: Use Bullet Lists or Ordered Lists to make information easier to scan.
- Emphasis: Apply Bold and Italics to key phrases.
- Special Blocks: Add Quotes for citations or Code Blocks for technical snippets.
✨ Note: Using formatting, especially headings and lists, is a great way to make longer posts easier to read and scan for other members.
Share the Post
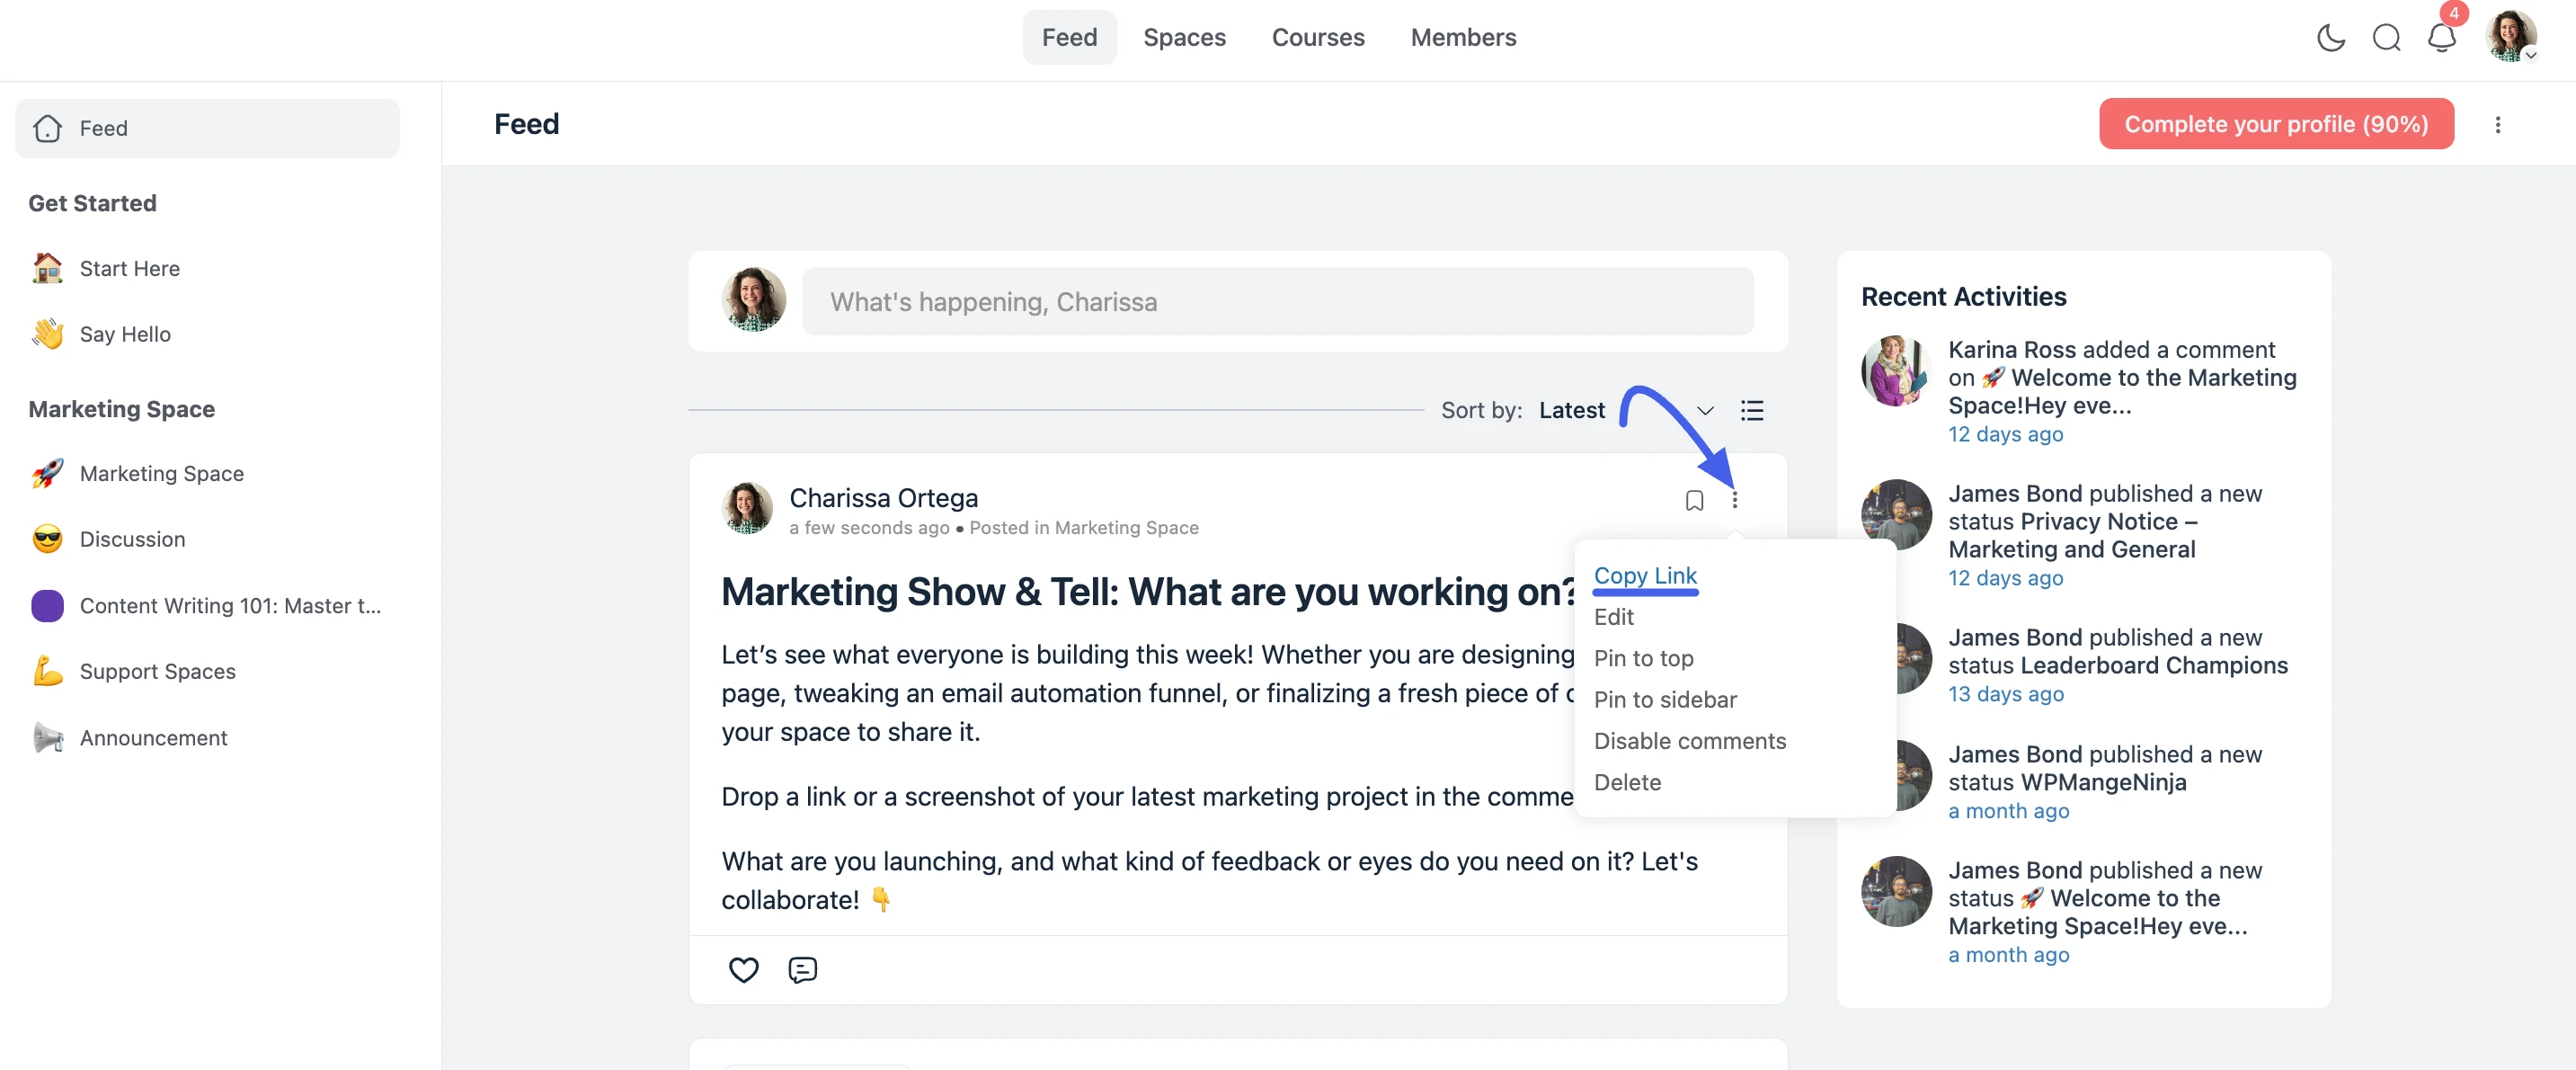
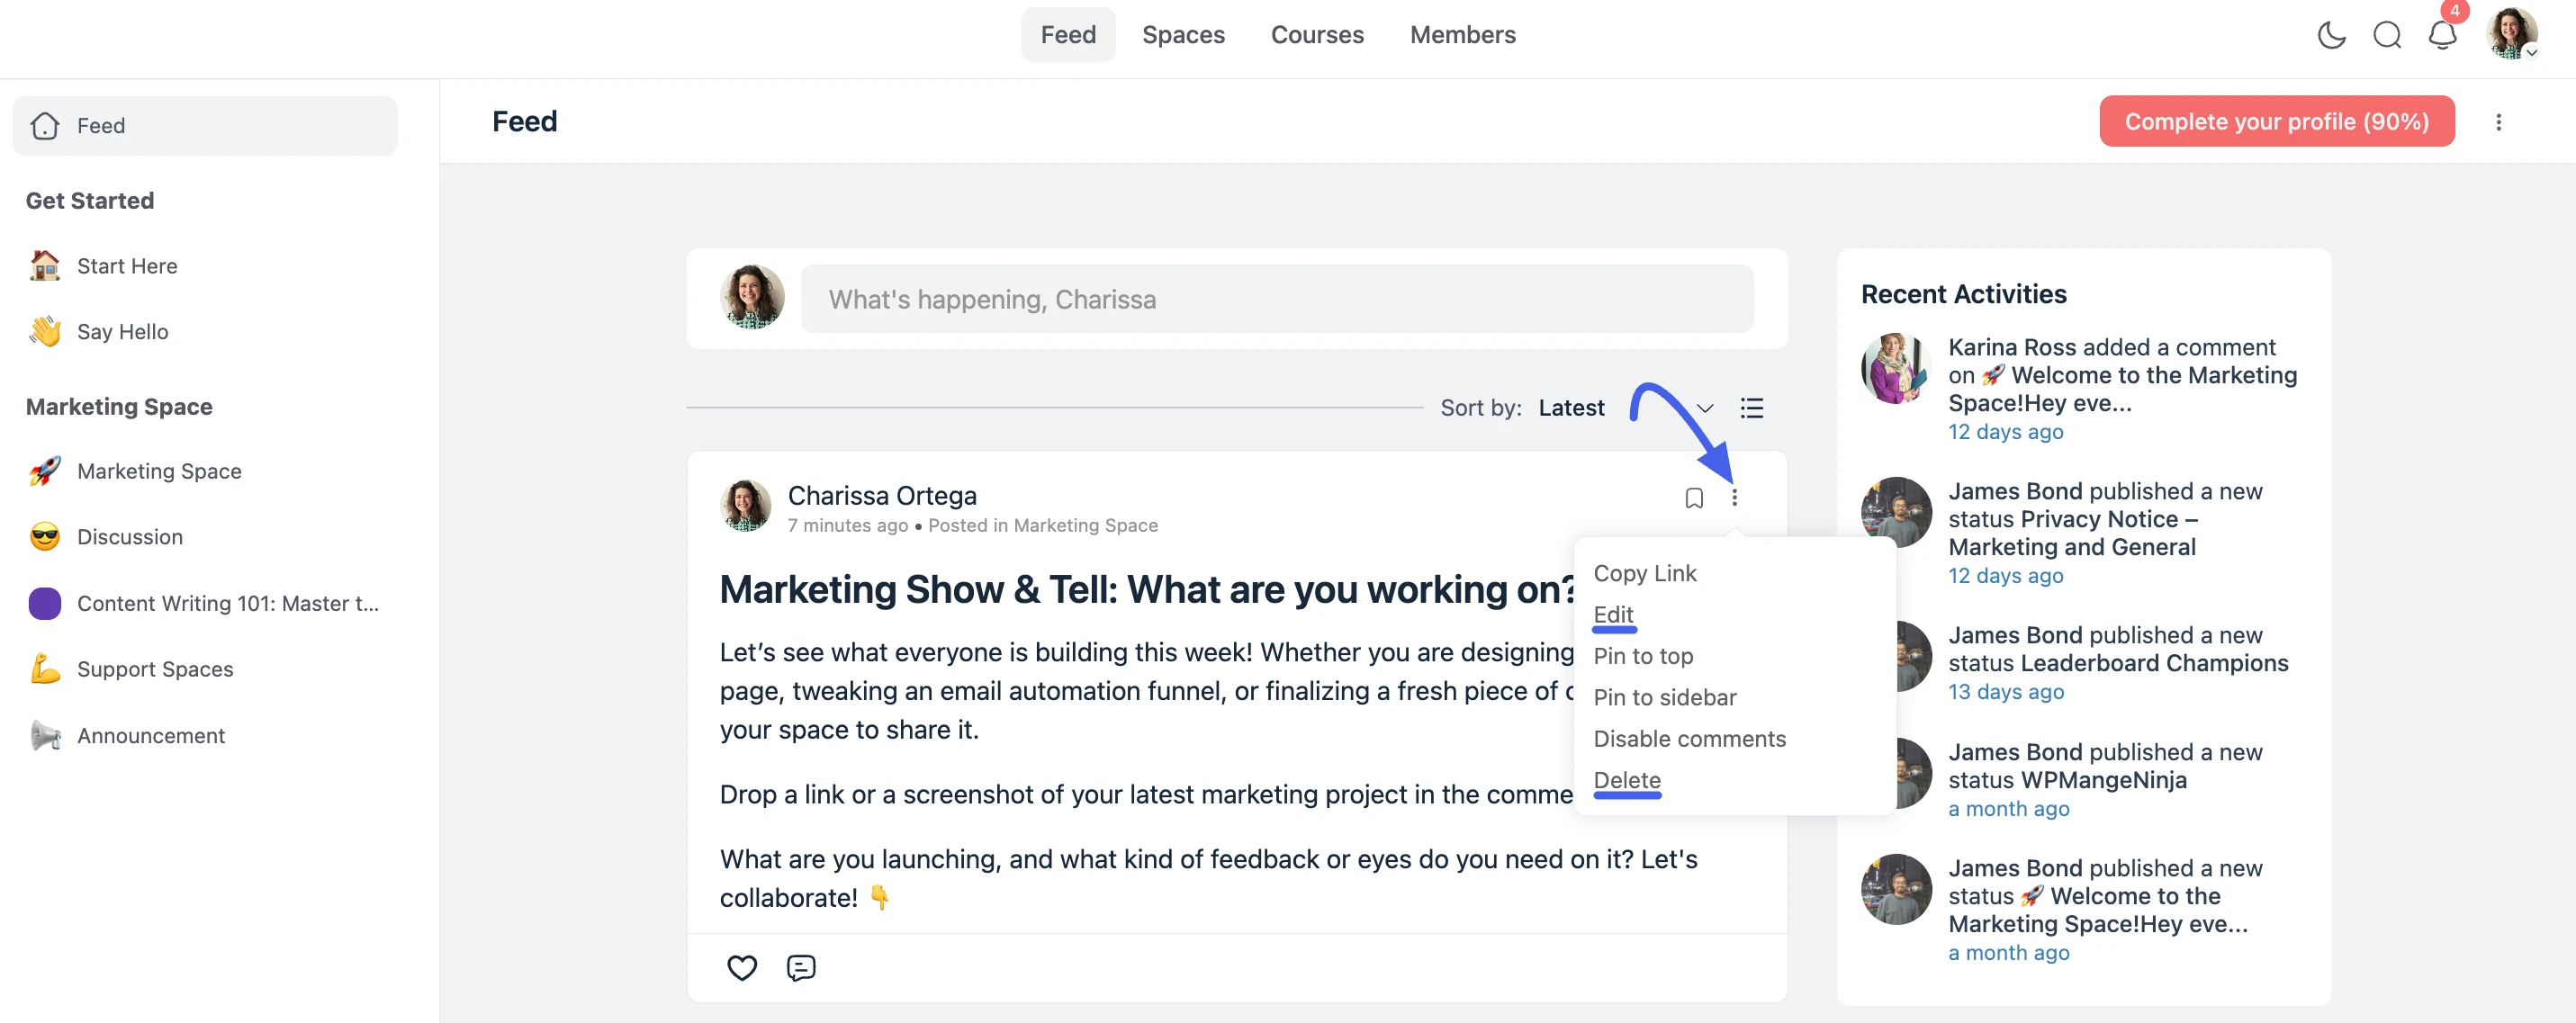
You can also share the post with the link. To get the post link click on the three-dot button and you will find the link.
Making a Post Unlisted (Pro)
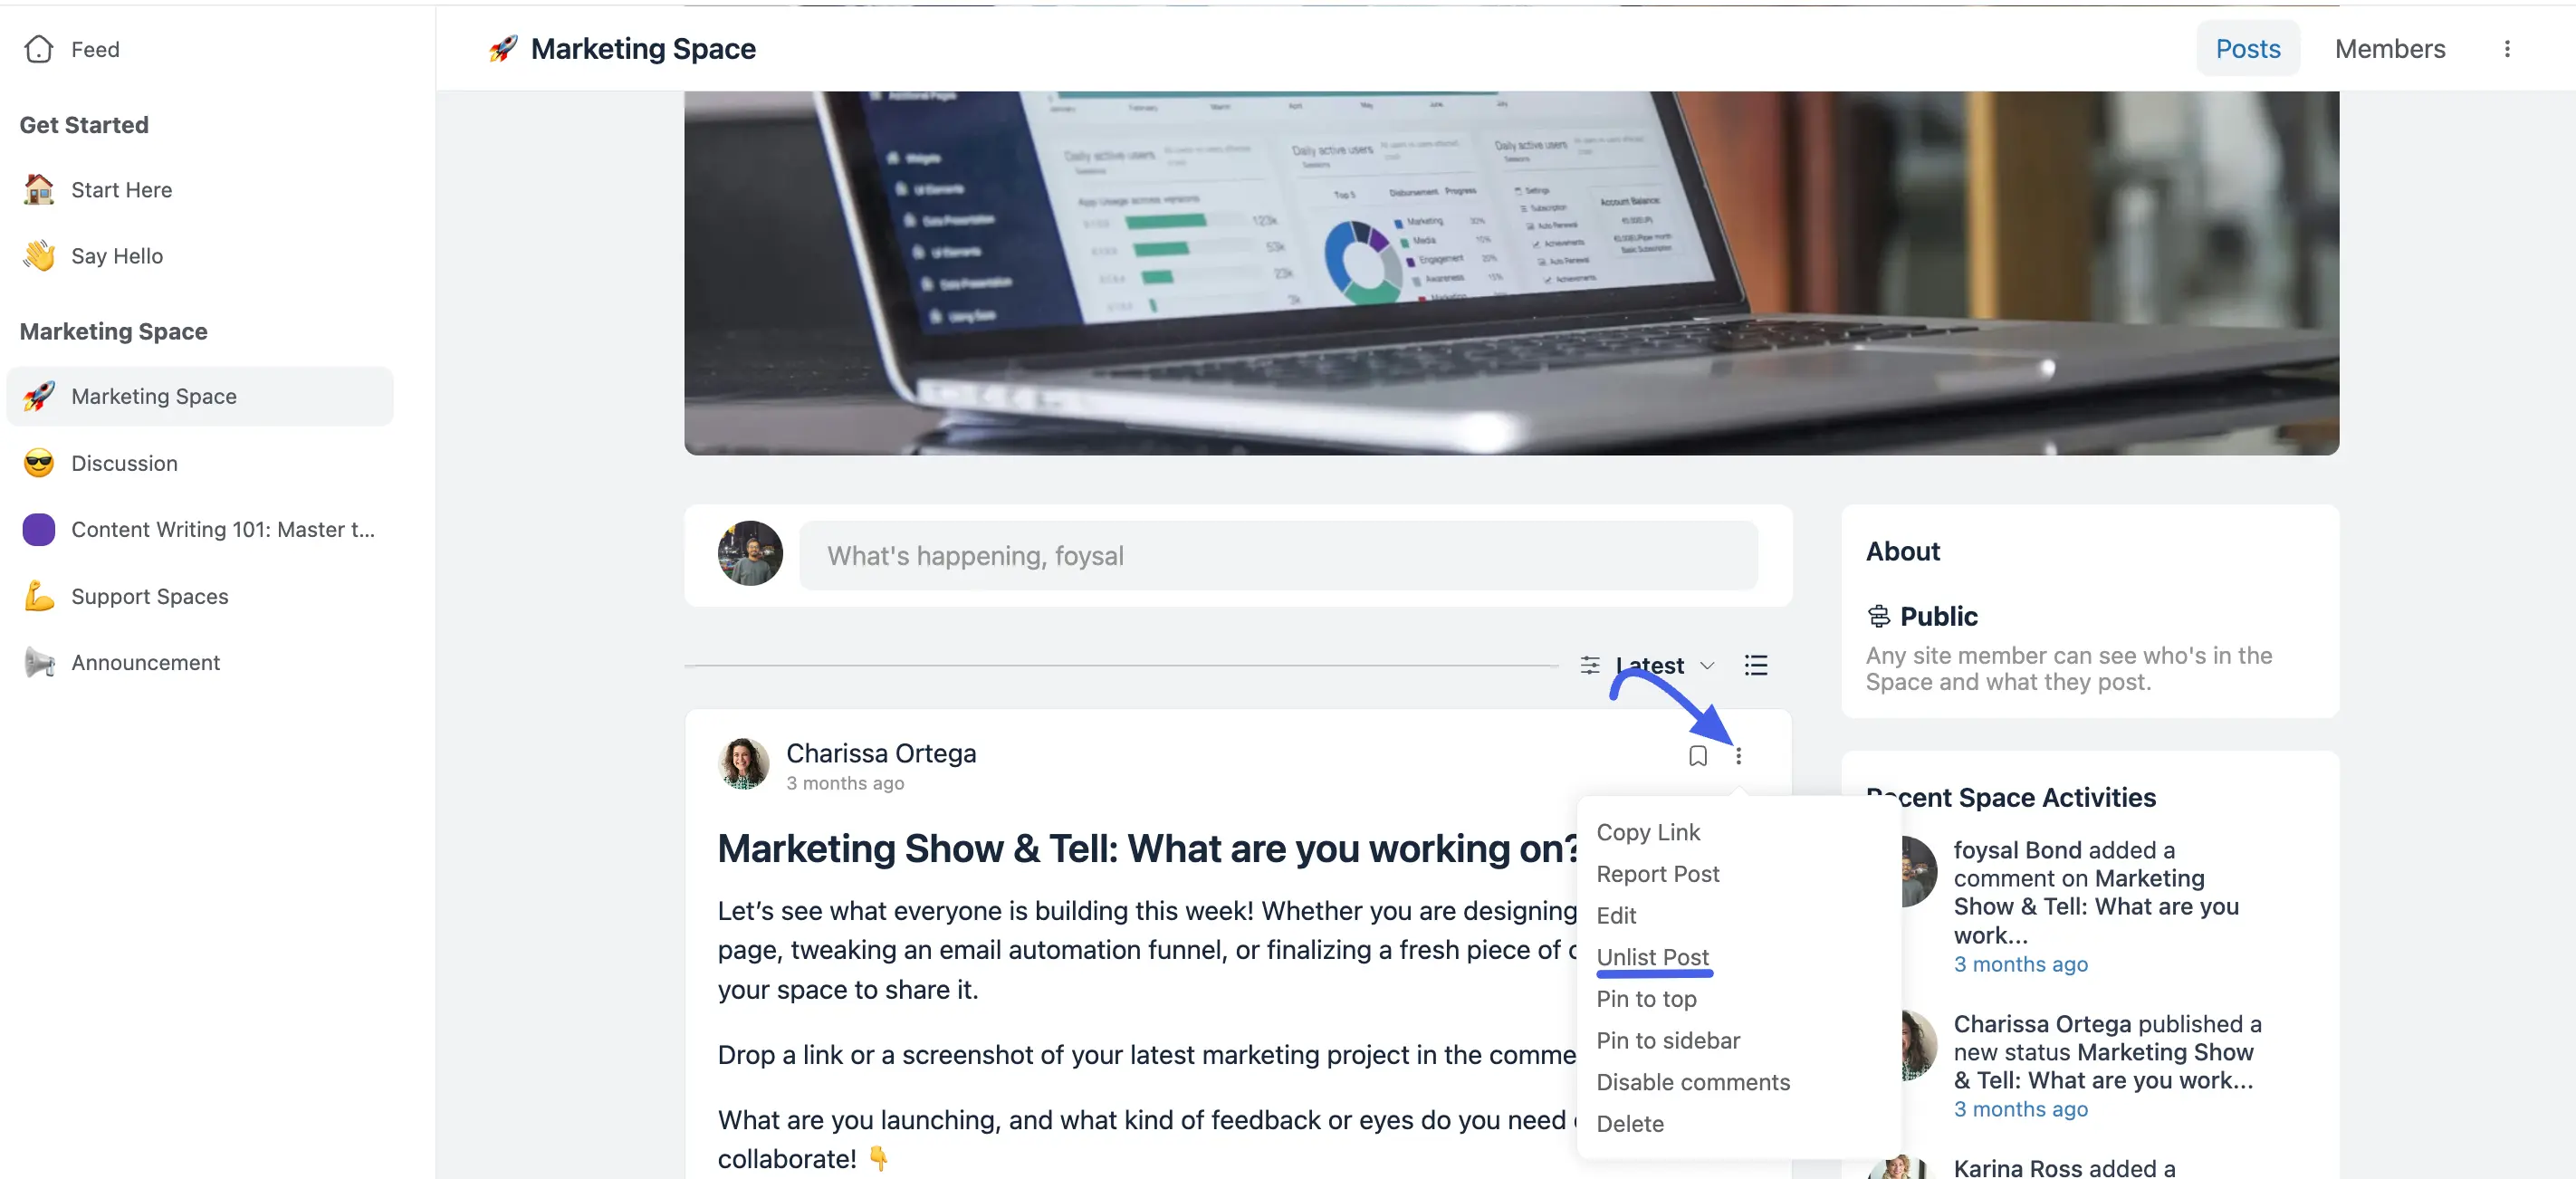
Some posts aren't meant for the main feed meeting notes for one team, an early draft you want feedback on, or a resource you only hand out when someone asks. Check the Unlisted box in the editor before publishing to keep the post out of every feed and listing. Anyone with the direct link can still open it normally.
You can flip an existing post to Unlisted or back to listed from its Edit screen at any time.
Unlisted posts carry a clear Unlisted badge, so there's never confusion about what's visible where. You'll still see your own unlisted posts on your profile timeline; nobody else will.
NOTE
Moderators can review every unlisted post in one place using the visibility filter in the feed's sort dropdown. See Content Moderation.
Editing or Deleting a Post
If you need to make changes after publishing, you can easily modify or remove your content.
- Find the post you wish to edit in the Space's feed.
- Click the three-dot menu (...) at the top right corner of the post.
- Select Edit from the dropdown menu. This will re-open the post in the editor.
- Make your desired changes and click Update Post.
To remove a post permanently, you can select Delete from the same three-dot menu.
Now that you know how to create and edit posts, explore more community features.
✨ Note: Only administrators and moderators have the additional ability to Pin to Top or manage reported content to maintain community standards.